소개
If your Turtle Beach Recon 200 Gen 2 headset isn't producing clear audio or there is no audio at all from one or both speakers, use this guide to fix damage to the internal connections in the headset. Things like dropping your headset or other wear and tear can loosen the cable connections to the speakers. It's possible that you can fix the problem without requiring a new component but just reconnecting the cables that have come undone.
Before using this guide, inspect that the port of the other device isn't piled up with dust. Sometimes a pile of dust doesn't allow for proper connection resulting in a lack of audio or no audio at all but can be fixed with ++an ESD-safe brush or small dust blower++. With this test, you will be able to determine with confirmation that your headset issue isn't an external one.
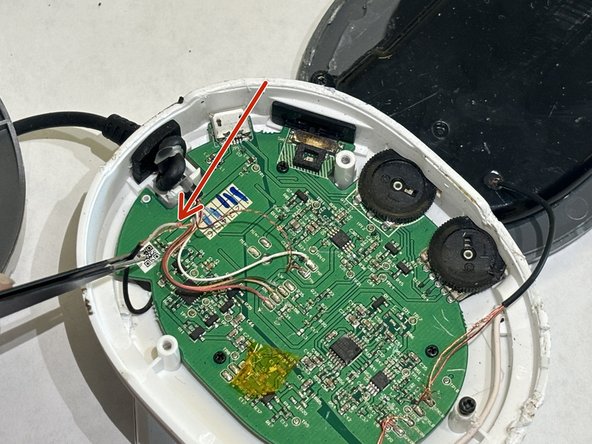
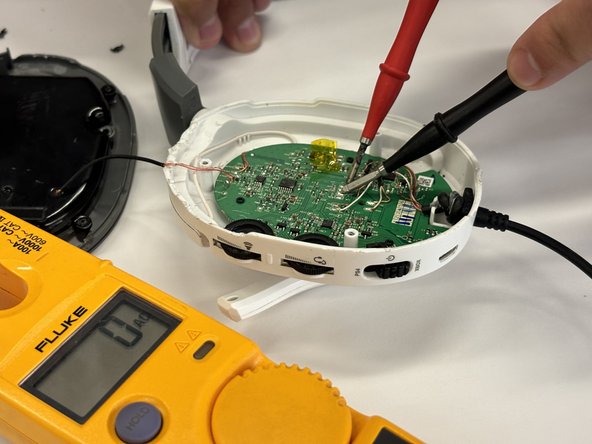
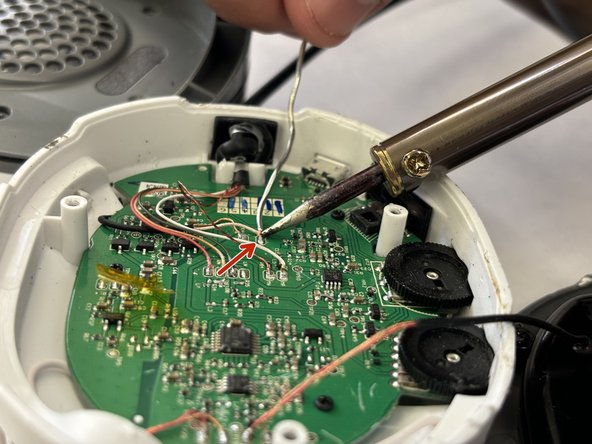
Step 7 is going to require you to identify if any wiring has been broken off. Once you've identified the wire you'll need to Solder it back to its original location. Its important to note that the soldering machine is very hot and will burn skin. Soldering can produce fumes as well so when working on this repair, be sure that your workspace is well-ventilated. For more information on soldering, take a look at this How to Solder and Desolder Connections guide.
Before you begin this repair, ensure that the headset is completely off and it's disconnected from all devices or chargers.
필요한 것
-
-
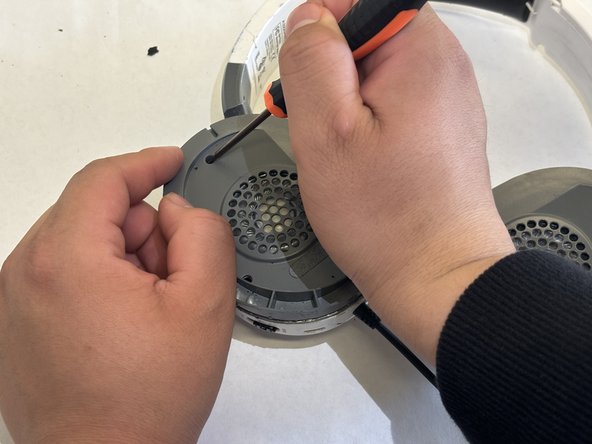
Place the headset on a flat surface.
-
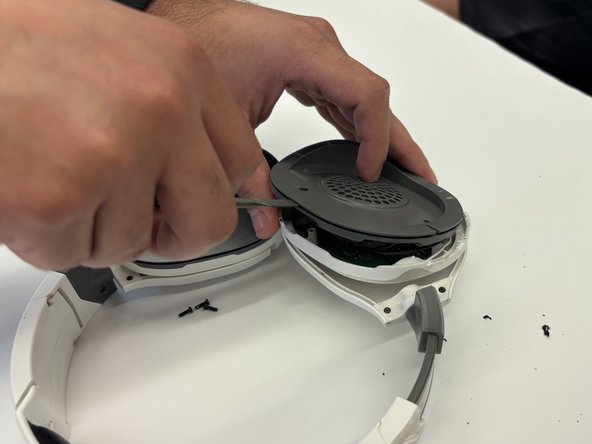
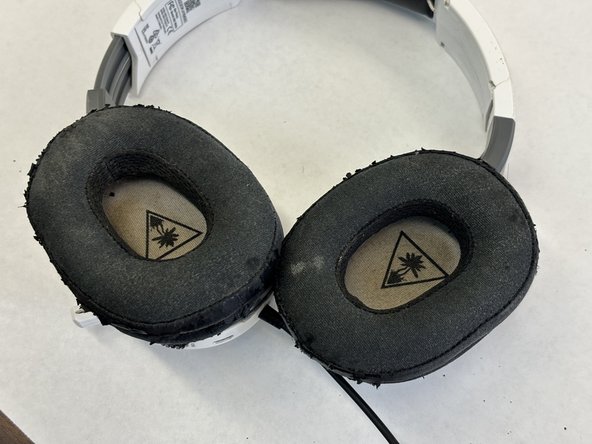
Grab the outer layer of the cushion and gently pull each ear cup off the headset.
-
-


To reassemble your device, follow these instructions in reverse order.
To reassemble your device, follow these instructions in reverse order.
다른 한 분이 해당 안내서를 완성하였습니다.

팀

CSU Los Angeles, Team 7-4, Grodsky Spring 2024 CSU Los Angeles, Team 7-4, Grodsky Spring 2024 회원
CSULA-GRODSKY-S24S7G4
3 회원들
안내서 1개 작성하였습니다