소개
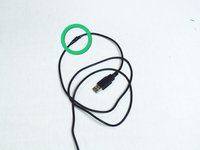
Most USB cables consist of four wires: red, black, white, and green. Some newer cables have eight wires, but the same steps apply. If the USB plug itself is damaged, you'll need to remove and replace the whole plug itself. Otherwise, just the damaged portion of the cable can be removed.
필요한 것
-
-
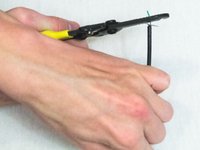
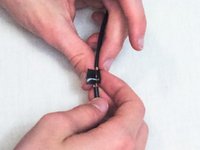
Remove the broken portion of the USB cable with the wire cutters.
-
You should now have two pieces of the cable left. If you had to remove the whole USB plug, you'll need a replacement plug.
 FixBot에 문의하기
-
-
-
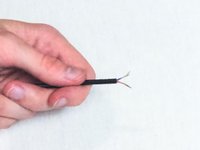
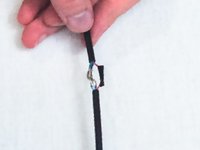
Cut the outer cable covering with wire cutters or scissors of both cables and be careful not to cut the wires themselves.
-
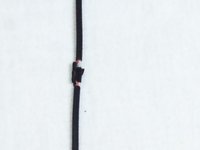
Pull off the piece of cover that you've separated from the rest. You should be left with four exposed individual wires.
-
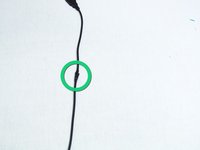
If there are more than 4 wires, you probably have a USB 3.0 cable. In this case, make sure that whatever wires you'll be reconnecting are both USB 3.0.
-
-
-
-
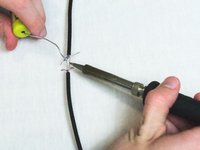
Strip all the wires out from both cables using a wire stripper. You'll need about three quarters of an inch of exposed copper wire.
-
-
이 단계에 사용된 도구:FixHub Smart Soldering Iron$79.95
-
Solder like-colored wires to each other.
-
Here is a video on how to solder wires together. https://www.youtube.com/watch?v=qxqZJH3S...
-
-
-
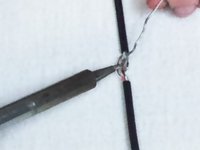
Wrap each wire in electrical tape and make sure that there is no exposed copper showing.
-
-
-
Wrap all the wires and both cables together in electrical tape to connect everything back into one cable and so it lasts longer.
-


Once your device is assembled and taped up then the repair is done and you can go back and do this multiple times.
다른 41명이 해당 안내서를 완성하였습니다.
팀

Cal Poly, Team 18-36, Regan Winter 2013 Cal Poly, Team 18-36, Regan Winter 2013 회원
CPSU-REGAN-W13S18G36
3 회원들
안내서 30개를 작성함
7가이드 댓글
thanks you verb much
obito uchiha - 답글 공유
very i meant
obito uchiha - 답글 공유
What if it has a wire shield around it? Like crazy silver wires wrapped around it?
Then slowly wnwrap it not to remove it. And when u have repaired wires and taped them re wrap with silver shielding if it does have shielding it best to add a step to the repair and tbats to add a short section of shrink tubeing just big enough to cover spliced section and shielding. Once shielding is wrapped slid tubeing over repaired section and apply heat a hairdryer on high heat will work as well.
i tried solding the same wires but it still do not work
Faizan Ali - 답글 공유