소개
How does a bean-to-cup coffee machine work? In this guide, we delve into the workings of a fully automatic coffee machine, focusing on the crucial component known as the Brew Unit.
Disassembly will be shown using the example of a Jura machine, but the general functioning described as of step 9 is basically the same for all automatic coffee machines.
Following this guide, you may gain some insights and become more knowledgeable about the Brew Unit in a fully automatic coffee machine and ensure a delightful coffee experience at home.
필요한 것
-
-
The instructions are suitable for nearly every model of Jura and similar ones e.g. AEG and Krups.
-
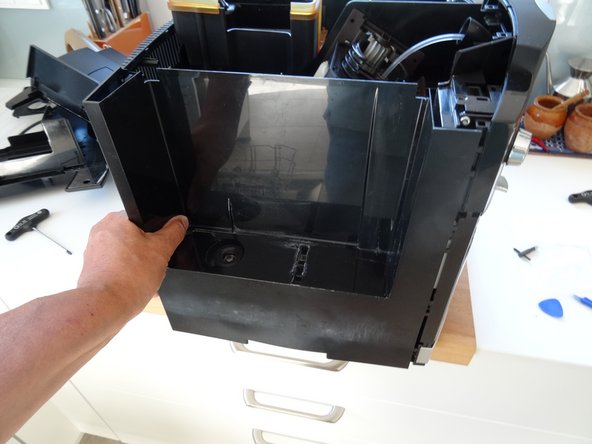
Remove the water reservoir.
-
-
이 단계에 사용된 도구:iFixit Precision 4 mm Screwdriver Bit$2.99
-
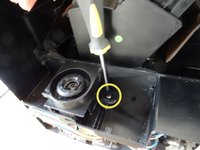
Using an oval head bit you can screw them out. If you haven´t got one you can carefully use pliers. It is a good idea to later change the screws for normal ones.
-
Beneath both top side covers are two Torx T15 screws. Remove those. Now lift off the whole top cover. Sometimes it jams and you have to use a bit of force.
-
The side covers must be pushed backwards by about 1 cm. Sometimes this is a little bit difficult to move. If necessary, wedge a plastic opening tool into the gap between the side covers and the front panel. The rear cover can be easily removed.
-
-
-
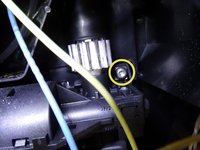
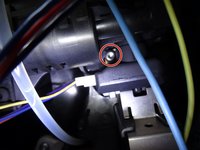
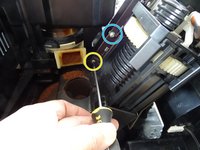
Slide the coffee funnel up and lift it out. It often sits very tight and you have to pull hard until it becomes free.
-
It is often firmly locked in place, it loosens if you wiggle it back and forth a little. It can also be fastened with a screw.
-
-
-
-
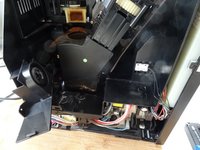
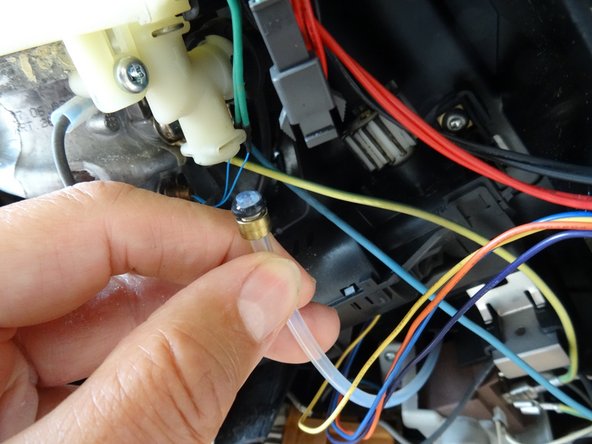
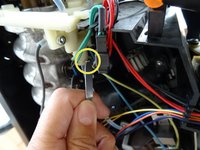
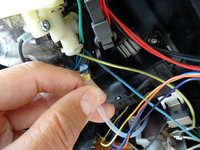
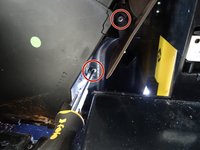
Now the brew unitis free. Tilt it to the bottom but pay attention to the pressure hose. It must be led through an opening. Then push the brew group slightly downward to lift it out of the unit.
-
For further disassembly of the brew unit use this manual JURA Brewgroup Disassembly
-
-
-
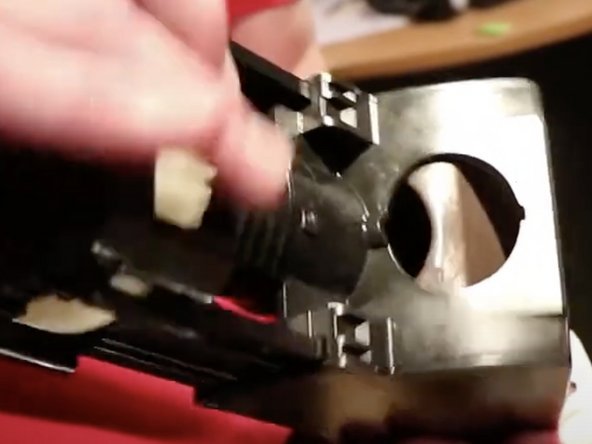
In the picture, you'll see the brew unit. Some manufacturers also call it central unit or main unit - basically the equivalent of the CPU in a computer.
-
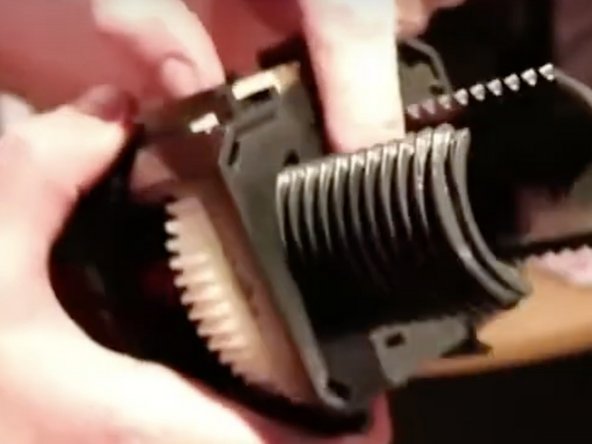
When the gear wheel is at the extreme end of the thread, this is referred to as the zero position, i.e. the position in which the brewing chamber is open.
-
-
-
The piston then goes up again, i.e. the gear wheel turns back towards the zero position via the thread.
-
At the point where the finger is located in the picture, the coffee cake is then scraped outwards and ejected into the bowl.
-
The closer the cogwheel gets to the zero position, the more the lid of the powder container opens again until it is finally completely open when the zero position is reached again.
-
The machine is now ready for the next coffee.
-
-
-
The significance of the Brew Unit in the coffee-making process of a fully automatic machine is vital. It's extracting the flavors and aromas from the coffee grounds to create a perfect cup of coffee.
-
The valve of a brew unit is a common cause for a coffee machine to leak, learn about replacing it here: Saeco Talea/Odea Brew Unit SBS Valve Replacement.
-
Remember that any repairs or maintenance performed on your coffee fully automatic machine are at your own risk and responsibility. Always exercise caution. If you feel you need assistance, explore the option of visiting a Repair Café in your area. The experts there can provide guidance on repairing your coffee machine, including the Brew Unit.
-


To reassemble your device, follow these instructions in reverse order.

