주요 콘텐츠로 건너뛰기
수리 커뮤니티 가입 - 계정 만들기

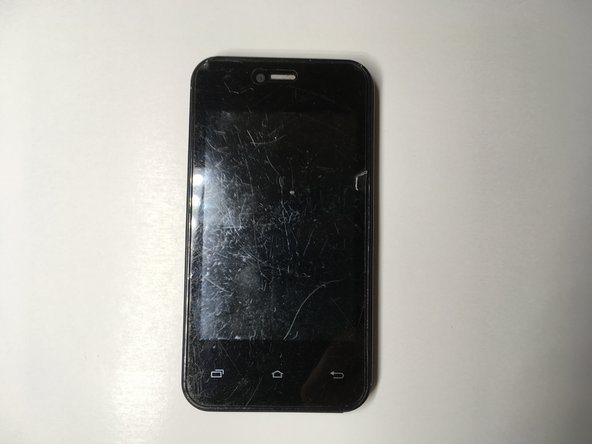
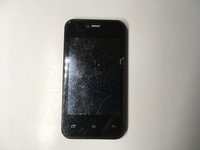
Unnecto Drone M Digitizer Replacement

필요한 것

    1. Unnecto Drone M Digitizer Replacement, Unnecto Drone M Disassembly: 1 단계, 이미지 2개 중 1개 Unnecto Drone M Digitizer Replacement, Unnecto Drone M Disassembly: 1 단계, 이미지 2개 중 2개
      • Place the phone facedown on a cleared work area

      • Remove the back case by applying moderate force to the indentation in the lower left corner of the case.

      댓글 쓰기

    2. Unnecto Drone M Digitizer Replacement: 2 단계, 이미지 1개 중 1개
      • Grip the top right corner of the battery.

      • Remove the battery by pulling it outwards.

      댓글 쓰기

    3. Unnecto Drone M Digitizer Replacement: 3 단계, 이미지 1개 중 1개
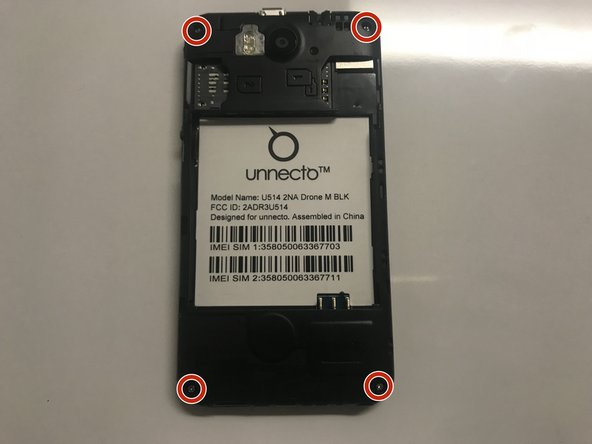
      • Remove the four screws on the back of the phone using a Philips 000 screwdriver

      댓글 쓰기

    4. Unnecto Drone M Digitizer Replacement: 4 단계, 이미지 1개 중 1개
      • Separate the frame evenly using a plastic opening tool.

      • Be careful, as the frame is thin and can break easily.

      댓글 쓰기

    5. Unnecto Drone M Digitizer Replacement: 5 단계, 이미지 2개 중 1개 Unnecto Drone M Digitizer Replacement: 5 단계, 이미지 2개 중 2개
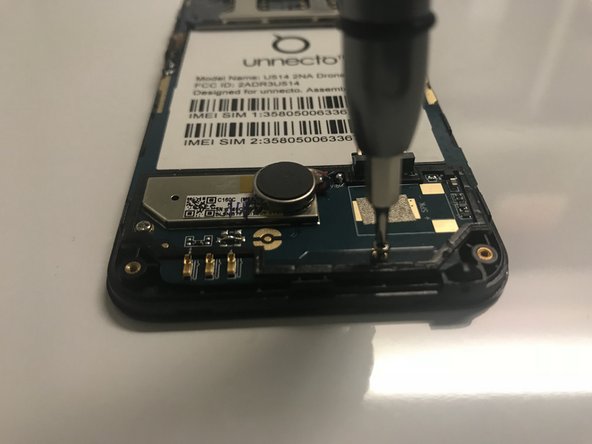
      • Use a Phillips #000 screwdriver to remove the four screws that secure the motherboard.

      댓글 쓰기

    6. Unnecto Drone M Digitizer Replacement: 6 단계, 이미지 1개 중 1개
      이 단계에 사용된 도구:
      Tweezers
      $4.99
      • Disconnect the ribbon cable from the motherboard using rounded, spade-tipped tweezers.

      댓글 쓰기

    7. Unnecto Drone M Digitizer Replacement: 7 단계, 이미지 1개 중 1개
      • Peel the white circuit on left side of the frame by inserting fine-tipped tweezers between it and the frame.

      • The white circuit is flimsy and securely glued to the frame.

      댓글 쓰기

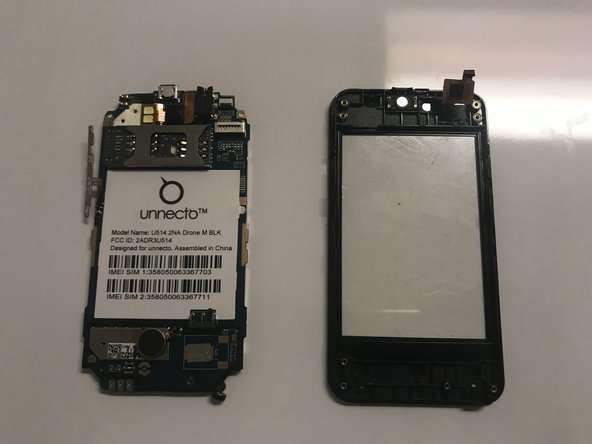
    8. Unnecto Drone M Digitizer Replacement: 8 단계, 이미지 2개 중 1개 Unnecto Drone M Digitizer Replacement: 8 단계, 이미지 2개 중 2개
      • Set aside the circuit board from the screen protector.

      댓글 쓰기

    1. Unnecto Drone M Digitizer Replacement, Digitizer: 9 단계, 이미지 2개 중 1개 Unnecto Drone M Digitizer Replacement, Digitizer: 9 단계, 이미지 2개 중 2개
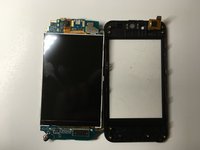
      • Replace the old plastic screen with the new one.

      • Reassemble the phone by following the steps in reverse order.

      댓글 쓰기

결론

To reassemble your device, follow these instructions in reverse order.

취소: 해당 안내서를 완성하지 않았습니다.

작성자

4다른 기여자 명과 함께

John Stavrianopoulos

회원 가입일: 02/08/18

181 평판

안내서 2개를 작성함

0가이드 댓글

댓글 쓰기

조회 통계:

지난 24시간: 0

지난 7일: 6

지난 30일: 23

전체 시간: 542