주요 콘텐츠로 건너뛰기
수리 커뮤니티 가입 - 계정 만들기

VENSTAR Taco Microphone Replacement Replacement

필요한 것

    1. VENSTAR Taco Microphone Replacement Replacement, VENSTAR Taco Disassembly: 1 단계, 이미지 3개 중 1개 VENSTAR Taco Microphone Replacement Replacement, VENSTAR Taco Disassembly: 1 단계, 이미지 3개 중 2개 VENSTAR Taco Microphone Replacement Replacement, VENSTAR Taco Disassembly: 1 단계, 이미지 3개 중 3개
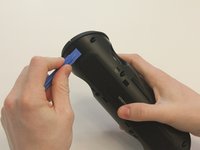
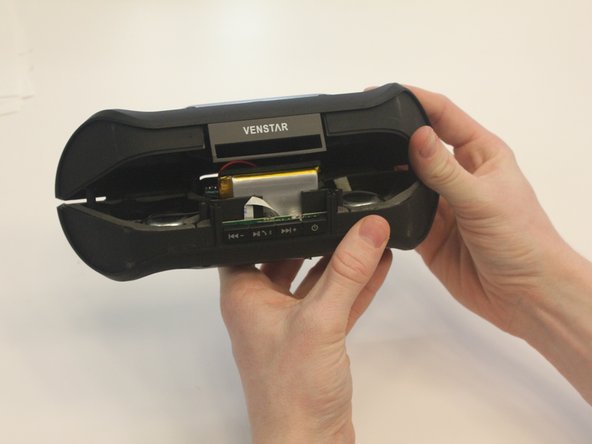
      • Starting with the Taco on its side, use the plastic opening tool to pop off the outer casing near the base.

      • The base labeled "VENSTAR TACO" is glued. Be careful separating the two sides of the device.

      댓글 쓰기

    2. VENSTAR Taco Microphone Replacement Replacement: 2 단계, 이미지 2개 중 1개 VENSTAR Taco Microphone Replacement Replacement: 2 단계, 이미지 2개 중 2개
      • Repeat the previous step on the opposite side to remove the other outer casing.

      댓글 쓰기

    3. VENSTAR Taco Microphone Replacement Replacement: 3 단계, 이미지 2개 중 1개 VENSTAR Taco Microphone Replacement Replacement: 3 단계, 이미지 2개 중 2개
      이 단계에 사용된 도구:
      Phillips #0 Screwdriver
      $5.49
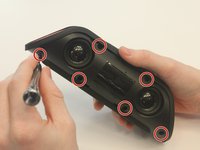
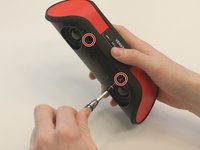
      • Using a Phillips PH0 3 mm-bit screwdriver, remove the six screws on the inner layer of the Taco.

      • The screws are small and can get stuck. Use tweezers to pull them out if you are having trouble.

      댓글 쓰기

    4. VENSTAR Taco Microphone Replacement Replacement: 4 단계, 이미지 2개 중 1개 VENSTAR Taco Microphone Replacement Replacement: 4 단계, 이미지 2개 중 2개
      • From the same side you just unscrewed, use a plastic opening tool to unwedge the inner cover on both sides of the base.

      댓글 쓰기

    5. VENSTAR Taco Microphone Replacement Replacement: 5 단계, 이미지 2개 중 1개 VENSTAR Taco Microphone Replacement Replacement: 5 단계, 이미지 2개 중 2개
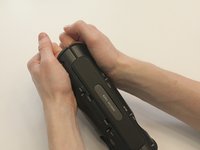
      • Slide off the inner cover. It pulls apart and is held on by a small amount of glue.

      댓글 쓰기

    1. VENSTAR Taco Microphone Replacement Replacement, Logic Board Replacement: 6 단계, 이미지 1개 중 1개
      • Remove the rubber covering from the buttons.

      댓글 쓰기

    2. VENSTAR Taco Microphone Replacement Replacement: 7 단계, 이미지 3개 중 1개 VENSTAR Taco Microphone Replacement Replacement: 7 단계, 이미지 3개 중 2개 VENSTAR Taco Microphone Replacement Replacement: 7 단계, 이미지 3개 중 3개
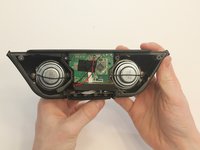
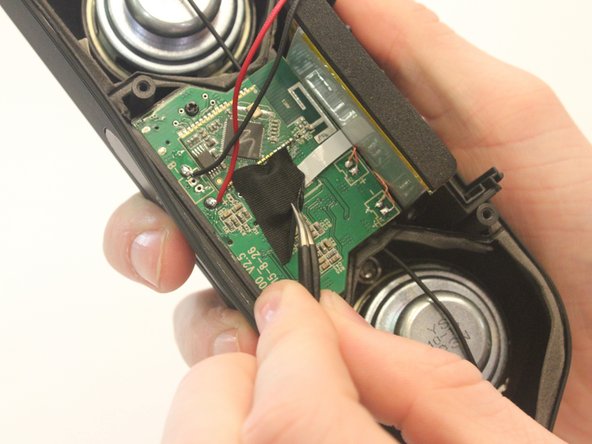
      • Remove the black fabric covering the logic board.

      댓글 쓰기

    3. VENSTAR Taco Microphone Replacement Replacement: 8 단계, 이미지 2개 중 1개 VENSTAR Taco Microphone Replacement Replacement: 8 단계, 이미지 2개 중 2개
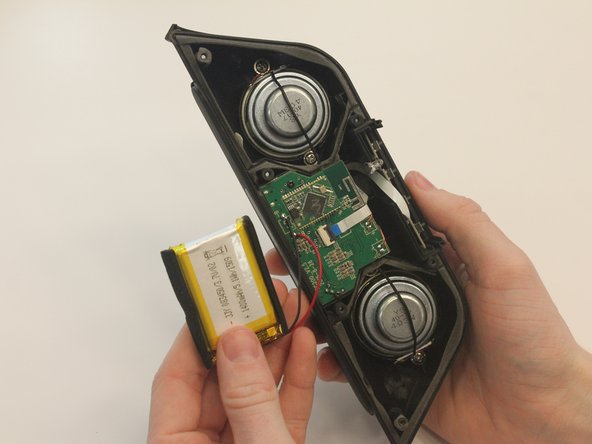
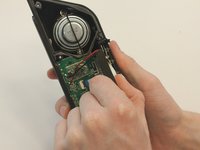
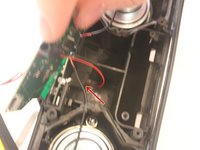
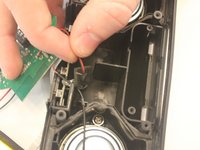
      • Move the battery out of the way of the connector.

      댓글 쓰기

    4. VENSTAR Taco Microphone Replacement Replacement: 9 단계, 이미지 2개 중 1개 VENSTAR Taco Microphone Replacement Replacement: 9 단계, 이미지 2개 중 2개
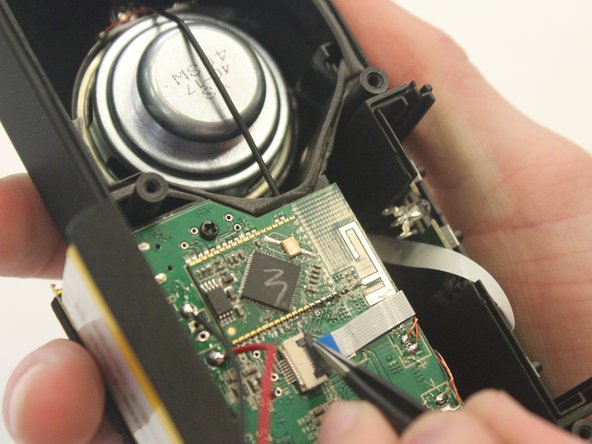
      • Undo the connector of the flat white ribbon between the switches and the logic board.

      댓글 쓰기

    5. VENSTAR Taco Microphone Replacement Replacement: 10 단계, 이미지 1개 중 1개
      • Undo the two black 3mm screws on the logic board using the PH0 screwdriver.

      댓글 쓰기

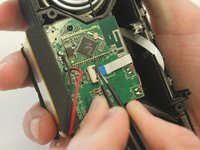
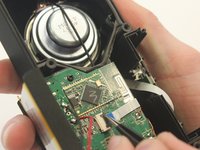
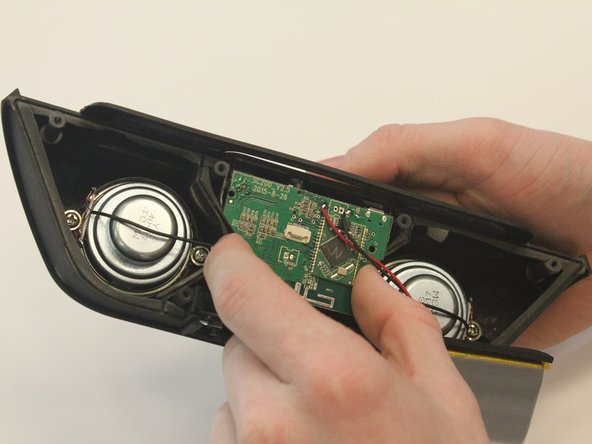
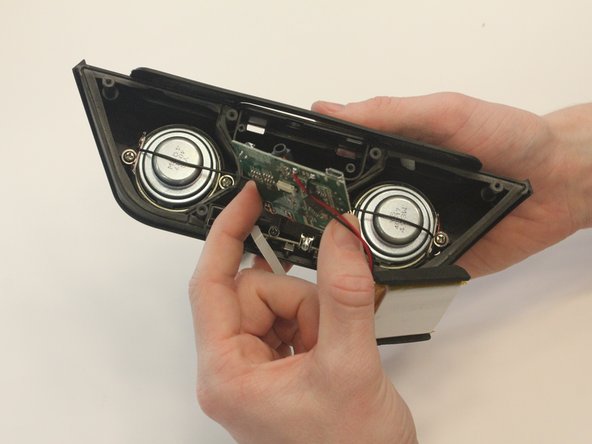
    6. VENSTAR Taco Microphone Replacement Replacement: 11 단계, 이미지 3개 중 1개 VENSTAR Taco Microphone Replacement Replacement: 11 단계, 이미지 3개 중 2개 VENSTAR Taco Microphone Replacement Replacement: 11 단계, 이미지 3개 중 3개
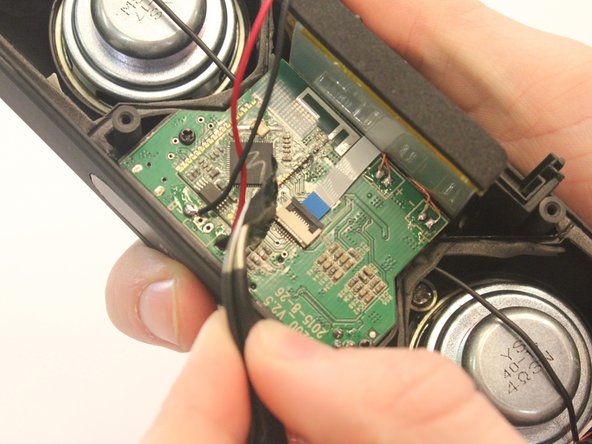
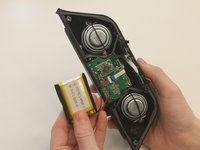
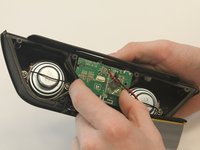
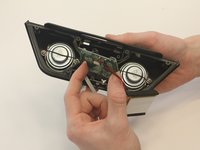
      • Gently pull out the logic board.

      • Note that the battery and the logic board are connected and must be removed together.

      댓글 쓰기

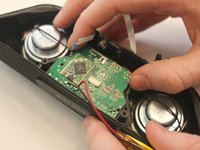
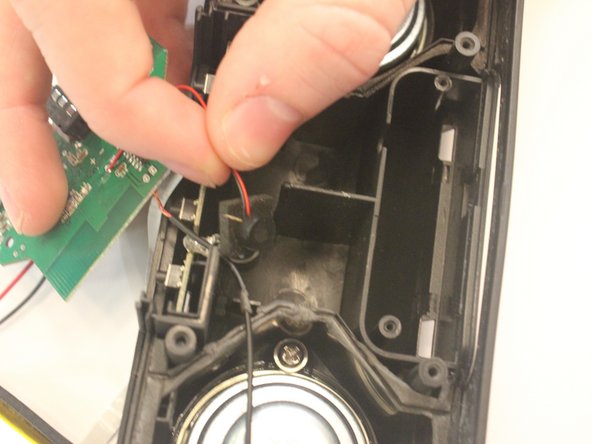
    1. VENSTAR Taco Microphone Replacement Replacement, Microphone Replacement: 12 단계, 이미지 2개 중 1개 VENSTAR Taco Microphone Replacement Replacement, Microphone Replacement: 12 단계, 이미지 2개 중 2개
      • Below the logic board, the small black microphone is resting within the case.

      댓글 쓰기

결론

To reassemble your device, follow these instructions in reverse order.

취소: 해당 안내서를 완성하지 않았습니다.

다른 한 분이 해당 안내서를 완성하였습니다.

작성자

5다른 기여자 명과 함께

Kaylee Simms

회원 가입일: 01/30/16

310 평판

안내서 3개를 작성함

0가이드 댓글

댓글 쓰기

조회 통계:

지난 24시간: 0

지난 7일: 5

지난 30일: 23

전체 시간: 472