주요 콘텐츠로 건너뛰기
수리 커뮤니티 가입 - 계정 만들기

Visual Land Prestige Elite 7Q Digitizer / Front Screen Replacement

필요한 것

    1. Visual Land Prestige Elite 7Q Digitizer / Front Screen Replacement, Digitizer / Front Screen: 1 단계, 이미지 2개 중 1개 Visual Land Prestige Elite 7Q Digitizer / Front Screen Replacement, Digitizer / Front Screen: 1 단계, 이미지 2개 중 2개
      • At the bottom of the tablet, remove the two 3.6mm screws with a Phillips #000 screwdriver.

      댓글 쓰기

    2. Visual Land Prestige Elite 7Q Digitizer / Front Screen Replacement: 2 단계, 이미지 2개 중 1개 Visual Land Prestige Elite 7Q Digitizer / Front Screen Replacement: 2 단계, 이미지 2개 중 2개
      • Wedge a plastic opening tool into the edges of the tablet to pry it open.

      댓글 쓰기

    3. Visual Land Prestige Elite 7Q Digitizer / Front Screen Replacement: 3 단계, 이미지 3개 중 1개 Visual Land Prestige Elite 7Q Digitizer / Front Screen Replacement: 3 단계, 이미지 3개 중 2개 Visual Land Prestige Elite 7Q Digitizer / Front Screen Replacement: 3 단계, 이미지 3개 중 3개
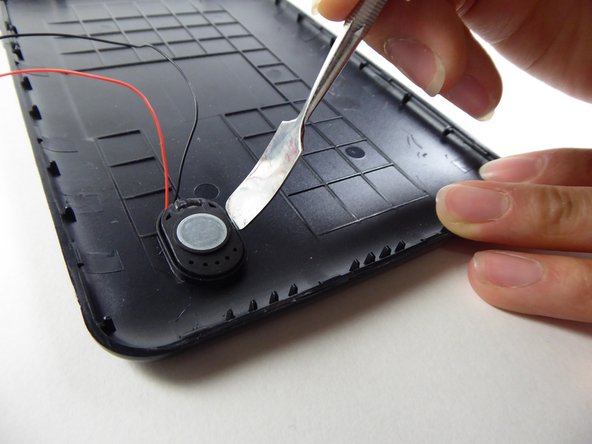
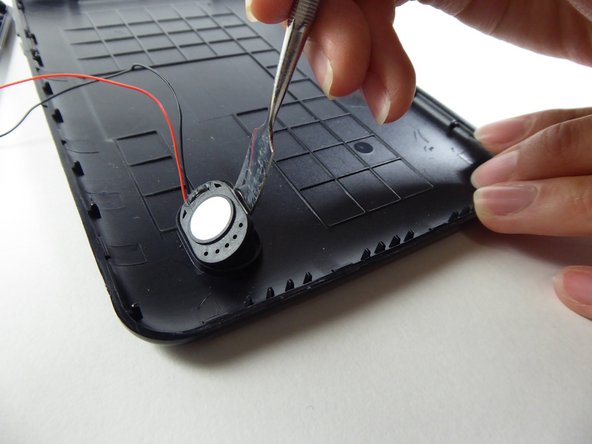
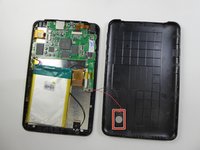
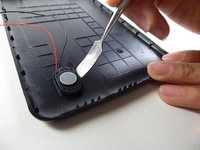
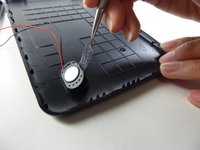
      • Wedge a curved metal spudger under the speaker in order to remove it.

      • The speaker is held in place by an adhesive and can be difficult to remove.

      댓글 쓰기

    4. Visual Land Prestige Elite 7Q Digitizer / Front Screen Replacement: 4 단계, 이미지 3개 중 1개 Visual Land Prestige Elite 7Q Digitizer / Front Screen Replacement: 4 단계, 이미지 3개 중 2개 Visual Land Prestige Elite 7Q Digitizer / Front Screen Replacement: 4 단계, 이미지 3개 중 3개
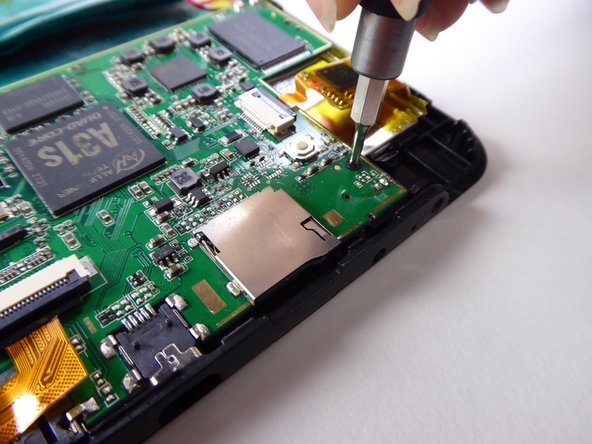
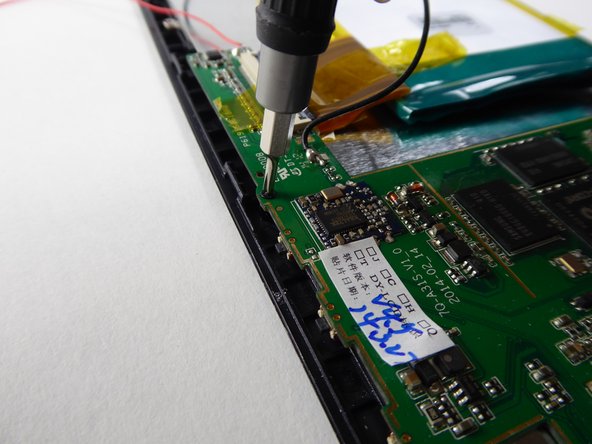
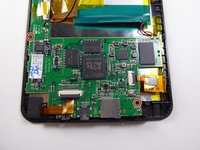
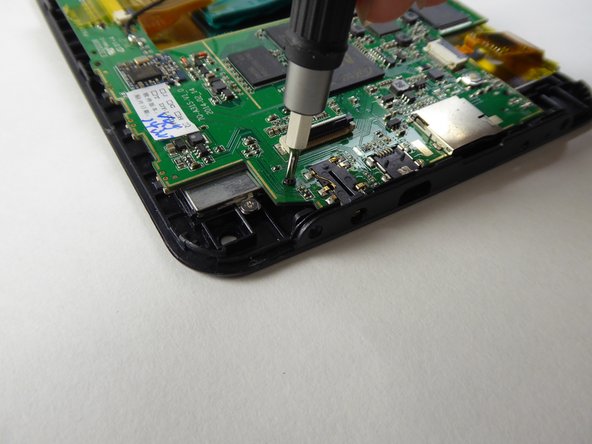
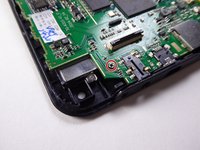
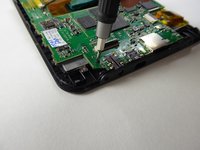
      • Use a Phillips #000 screwdriver to remove the two 3.6mm screws.

      댓글 쓰기

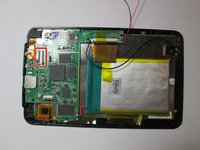
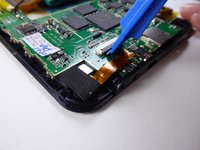
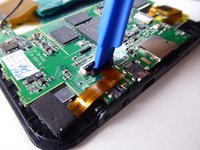
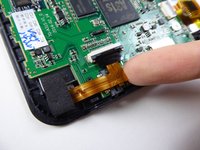
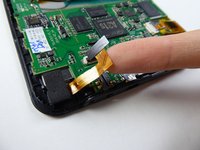
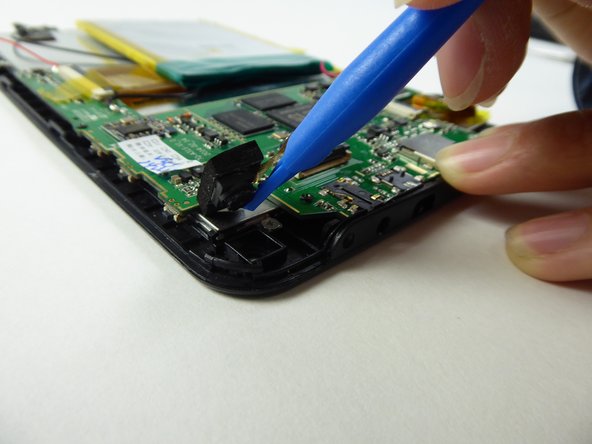
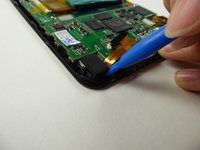
    5. Visual Land Prestige Elite 7Q Digitizer / Front Screen Replacement: 5 단계, 이미지 3개 중 1개 Visual Land Prestige Elite 7Q Digitizer / Front Screen Replacement: 5 단계, 이미지 3개 중 2개 Visual Land Prestige Elite 7Q Digitizer / Front Screen Replacement: 5 단계, 이미지 3개 중 3개
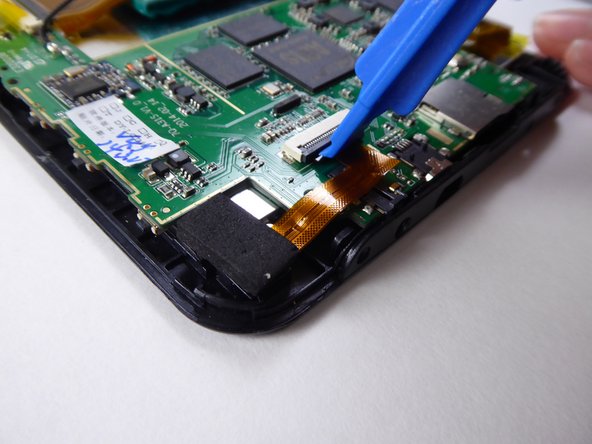
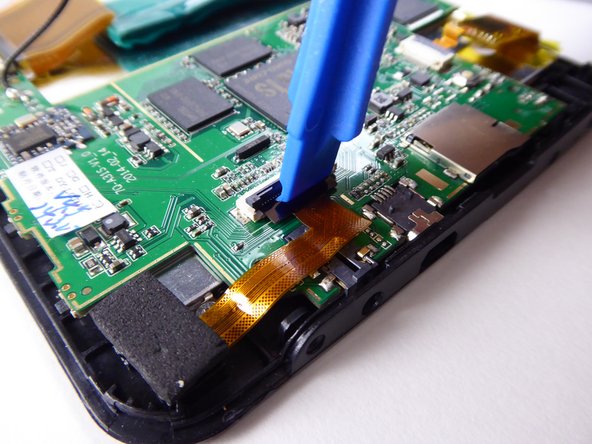
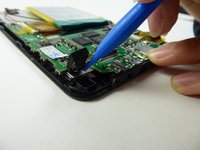
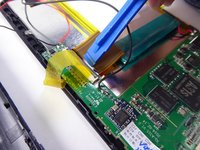
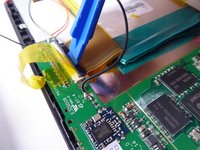
      • Use a plastic opening tool to lift the black tab.

      댓글 쓰기

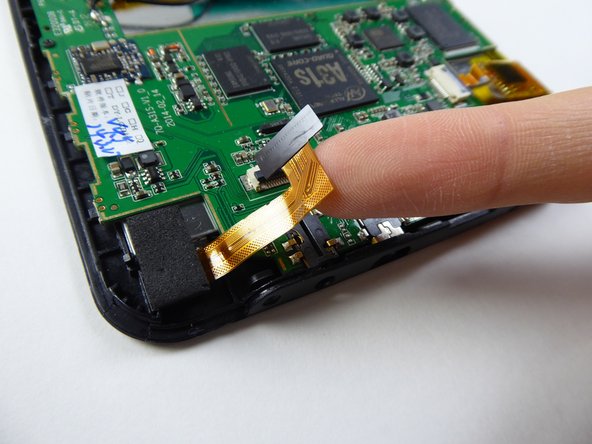
    6. Visual Land Prestige Elite 7Q Digitizer / Front Screen Replacement: 6 단계, 이미지 2개 중 1개 Visual Land Prestige Elite 7Q Digitizer / Front Screen Replacement: 6 단계, 이미지 2개 중 2개
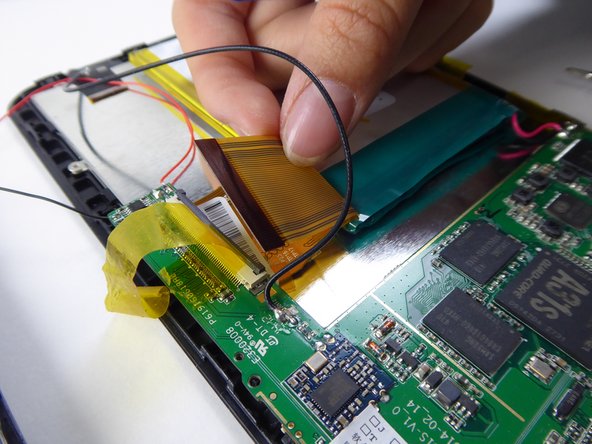
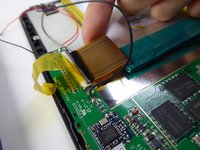
      • Carefully lift and remove the ribbon cable from the black tab.

      댓글 쓰기

    7. Visual Land Prestige Elite 7Q Digitizer / Front Screen Replacement: 7 단계, 이미지 2개 중 1개 Visual Land Prestige Elite 7Q Digitizer / Front Screen Replacement: 7 단계, 이미지 2개 중 2개
      • Use a plastic opening tool to remove the camera.

      댓글 쓰기

    8. Visual Land Prestige Elite 7Q Digitizer / Front Screen Replacement: 8 단계, 이미지 2개 중 1개 Visual Land Prestige Elite 7Q Digitizer / Front Screen Replacement: 8 단계, 이미지 2개 중 2개
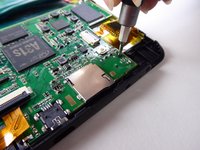
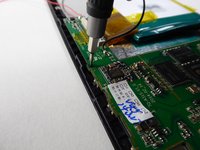
      • Use a Phillips #000 screwdriver to remove the 3.6mm screw.

      댓글 쓰기

    9. Visual Land Prestige Elite 7Q Digitizer / Front Screen Replacement: 9 단계, 이미지 3개 중 1개 Visual Land Prestige Elite 7Q Digitizer / Front Screen Replacement: 9 단계, 이미지 3개 중 2개 Visual Land Prestige Elite 7Q Digitizer / Front Screen Replacement: 9 단계, 이미지 3개 중 3개
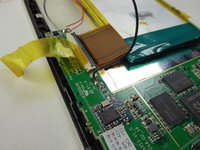
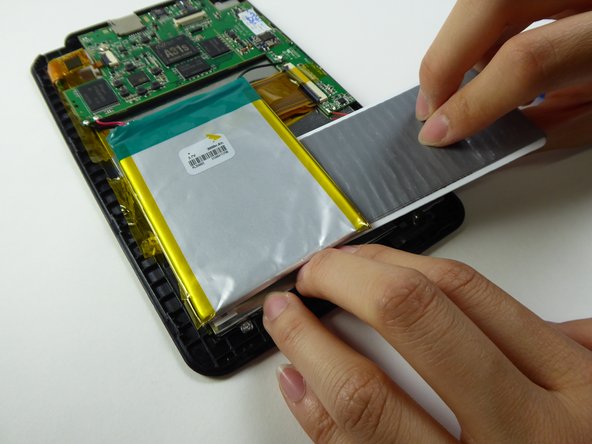
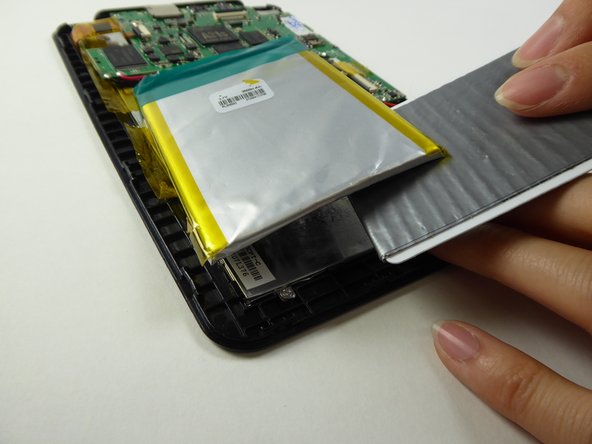
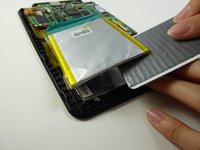
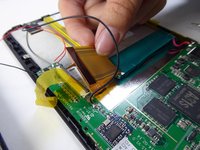
      • Lift the tape holding down the battery.

      댓글 쓰기

    10. Visual Land Prestige Elite 7Q Digitizer / Front Screen Replacement: 10 단계, 이미지 2개 중 1개 Visual Land Prestige Elite 7Q Digitizer / Front Screen Replacement: 10 단계, 이미지 2개 중 2개
      이 단계에 사용된 도구:
      Plastic Cards
      $2.99

      댓글 쓰기

    11. Visual Land Prestige Elite 7Q Digitizer / Front Screen Replacement: 11 단계, 이미지 3개 중 1개 Visual Land Prestige Elite 7Q Digitizer / Front Screen Replacement: 11 단계, 이미지 3개 중 2개 Visual Land Prestige Elite 7Q Digitizer / Front Screen Replacement: 11 단계, 이미지 3개 중 3개
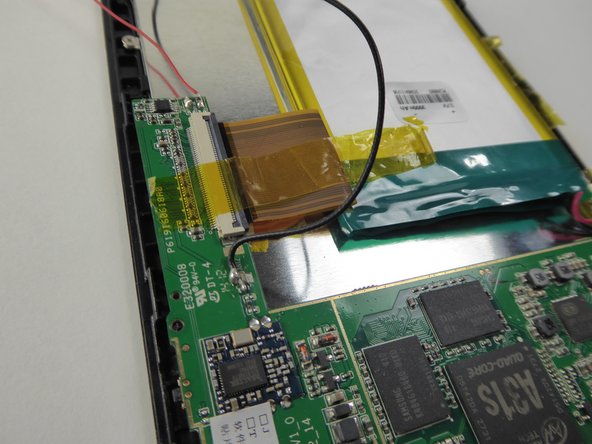
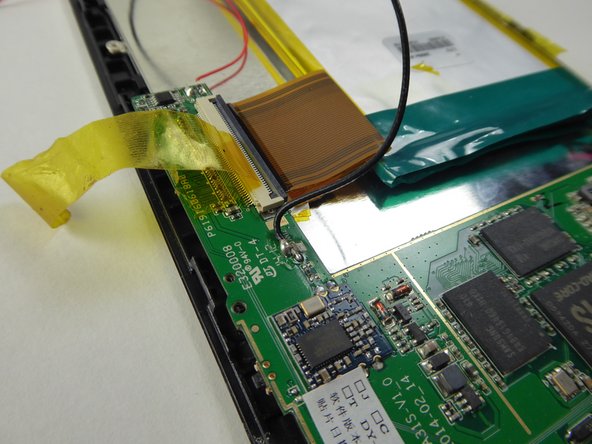
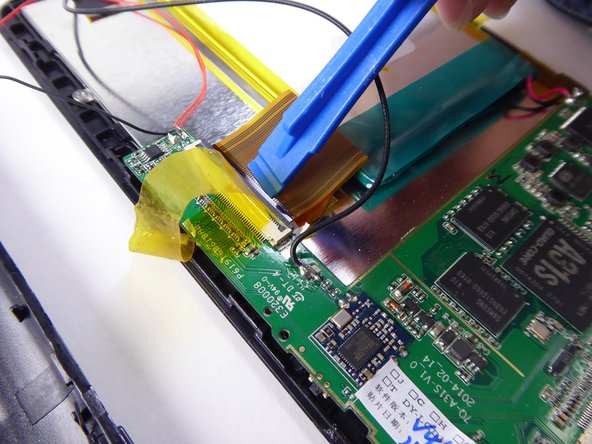
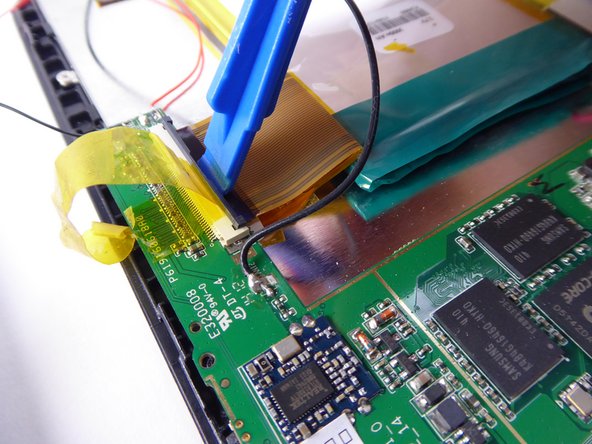
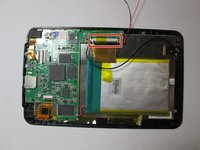
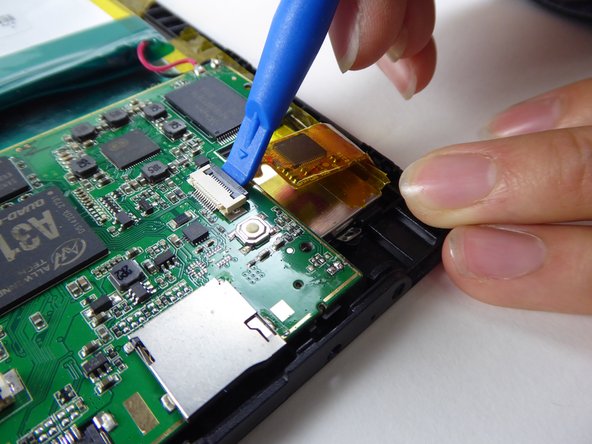
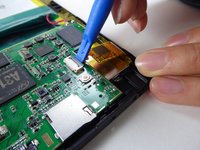
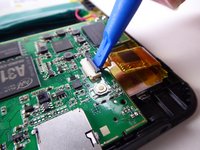
      • Use a plastic opening tool to lift the black tab.

      댓글 쓰기

    12. Visual Land Prestige Elite 7Q Digitizer / Front Screen Replacement: 12 단계, 이미지 2개 중 1개 Visual Land Prestige Elite 7Q Digitizer / Front Screen Replacement: 12 단계, 이미지 2개 중 2개
      • Carefully lift and remove the ribbon cable from the black tab.

      댓글 쓰기

    13. Visual Land Prestige Elite 7Q Digitizer / Front Screen Replacement: 13 단계, 이미지 3개 중 1개 Visual Land Prestige Elite 7Q Digitizer / Front Screen Replacement: 13 단계, 이미지 3개 중 2개 Visual Land Prestige Elite 7Q Digitizer / Front Screen Replacement: 13 단계, 이미지 3개 중 3개
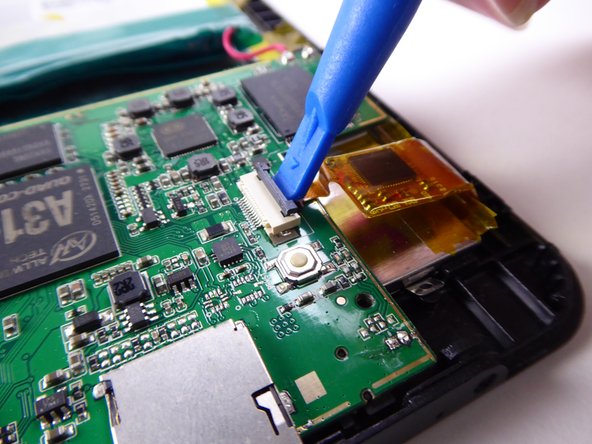
      • Use a plastic opening tool to lift the black tab.

      댓글 쓰기

    14. Visual Land Prestige Elite 7Q Digitizer / Front Screen Replacement: 14 단계, 이미지 1개 중 1개
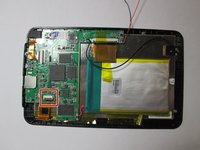
      • Safely remove the battery and motherboard from the tablet.

      댓글 쓰기

    15. Visual Land Prestige Elite 7Q Digitizer / Front Screen Replacement: 15 단계, 이미지 3개 중 1개 Visual Land Prestige Elite 7Q Digitizer / Front Screen Replacement: 15 단계, 이미지 3개 중 2개 Visual Land Prestige Elite 7Q Digitizer / Front Screen Replacement: 15 단계, 이미지 3개 중 3개
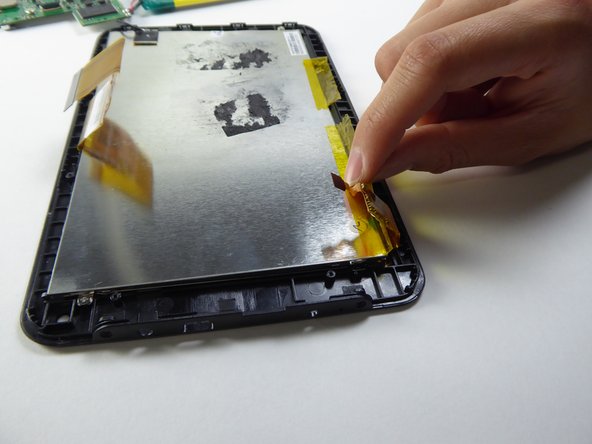
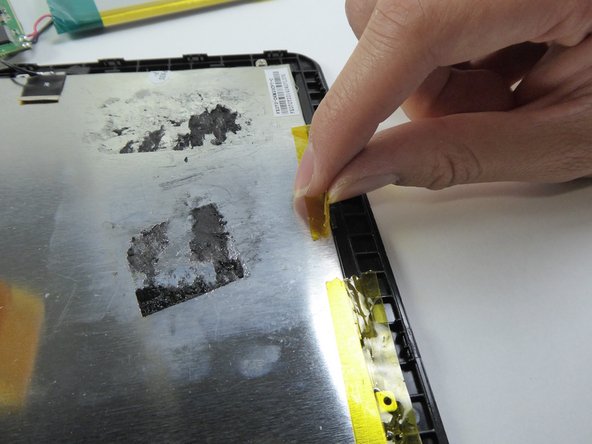
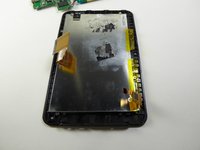
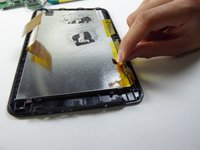
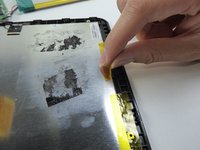
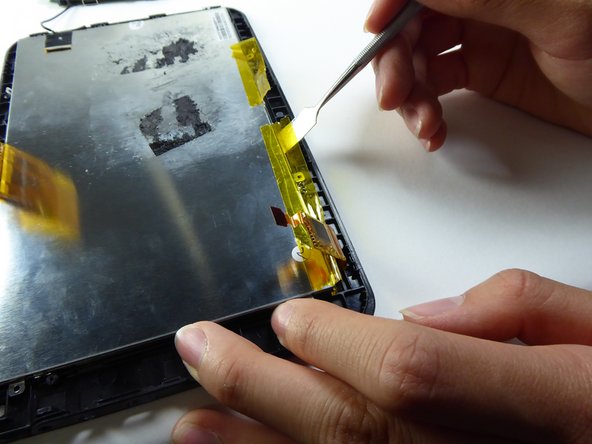
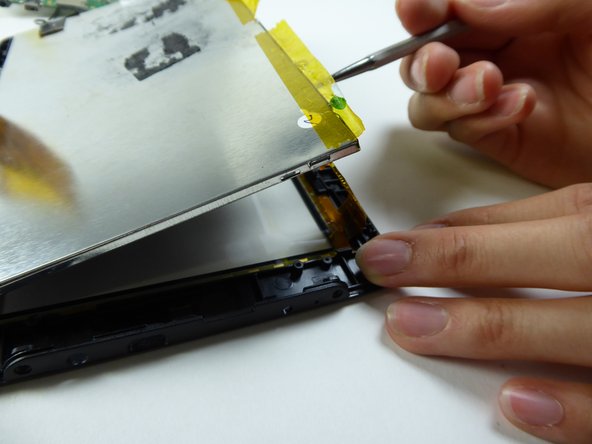
      • Lift the tape on the sides.

      댓글 쓰기

    16. Visual Land Prestige Elite 7Q Digitizer / Front Screen Replacement: 16 단계, 이미지 3개 중 1개 Visual Land Prestige Elite 7Q Digitizer / Front Screen Replacement: 16 단계, 이미지 3개 중 2개 Visual Land Prestige Elite 7Q Digitizer / Front Screen Replacement: 16 단계, 이미지 3개 중 3개
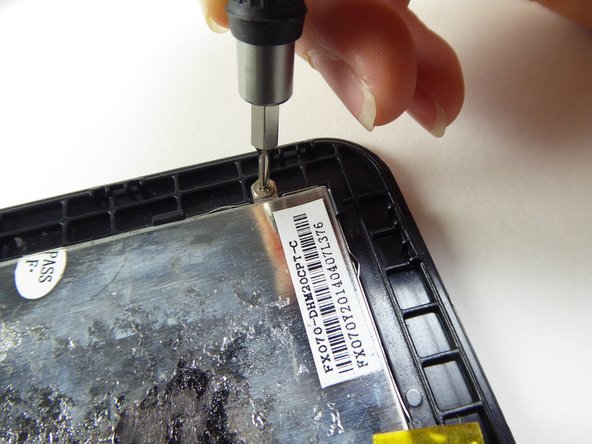
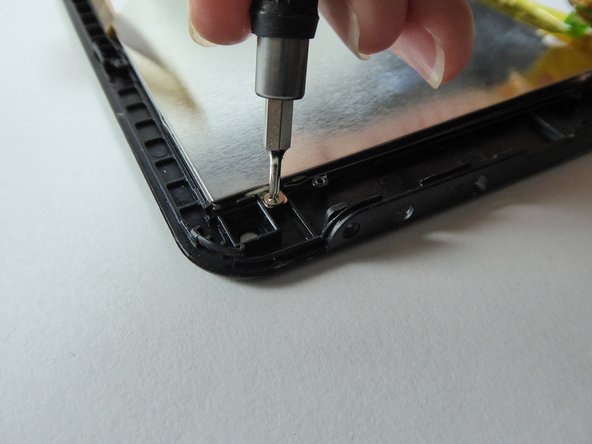
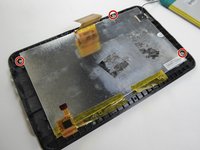
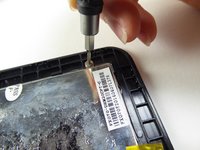
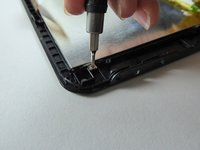
      • Use a Phillips #000 screwdriver to remove the three 2.5mm screws.

      댓글 쓰기

    17. Visual Land Prestige Elite 7Q Digitizer / Front Screen Replacement: 17 단계, 이미지 3개 중 1개 Visual Land Prestige Elite 7Q Digitizer / Front Screen Replacement: 17 단계, 이미지 3개 중 2개 Visual Land Prestige Elite 7Q Digitizer / Front Screen Replacement: 17 단계, 이미지 3개 중 3개
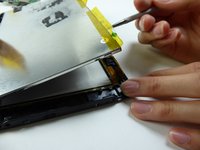
      • Wedge a metal spudger underneath the LCD screen to remove it.

      댓글 쓰기

    18. Visual Land Prestige Elite 7Q Digitizer / Front Screen Replacement: 18 단계, 이미지 1개 중 1개
      • Replace the front screen to replace the digitizer.

      댓글 쓰기

결론

To reassemble your device, follow these instructions in reverse order.

취소: 해당 안내서를 완성하지 않았습니다.

작성자

5다른 기여자 명과 함께

Sabrina Scholten

회원 가입일: 09/22/16

621 평판

안내서 6개를 작성함

UC Davis, Team 2-1, Oliver Fall 2016 UC Davis, Team 2-1, Oliver Fall 2016 회원

UCD-OLIVER-F16S2G1

5 회원들

안내서 18개를 작성함

0가이드 댓글

댓글 쓰기

조회 통계:

지난 24시간: 0

지난 7일: 4

지난 30일: 21

전체 시간: 784