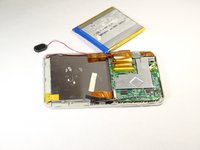
주요 콘텐츠로 건너뛰기
수리 커뮤니티 가입 - 계정 만들기

Vivitar XO 7 Camera Replacement

필요한 것

  1. Vivitar XO 7 Camera Replacement, Back Cover: 1 단계, 이미지 1개 중 1개
    • Remove the two 3mm Phillips #00 screws on the bottom of the tablet.

  2. Vivitar XO 7 Camera Replacement: 2 단계, 이미지 1개 중 1개
    • With the plastic opening tools, pry open the back cover.

  3. Vivitar XO 7 Camera Replacement: 3 단계, 이미지 1개 중 1개
    • Remove the back cover from the tablet.

  4. Vivitar XO 7 Camera Replacement, Battery: 4 단계, 이미지 2개 중 1개 Vivitar XO 7 Camera Replacement, Battery: 4 단계, 이미지 2개 중 2개
    • Peel off the black pieces of tape from the internal components.

  5. Vivitar XO 7 Camera Replacement: 5 단계, 이미지 2개 중 1개 Vivitar XO 7 Camera Replacement: 5 단계, 이미지 2개 중 2개
    • Carefully remove the battery from the tablet.

  6. Vivitar XO 7 Camera Replacement: 6 단계, 이미지 2개 중 1개 Vivitar XO 7 Camera Replacement: 6 단계, 이미지 2개 중 2개
    이 단계에 사용된 도구:
    Tweezers
    $4.99
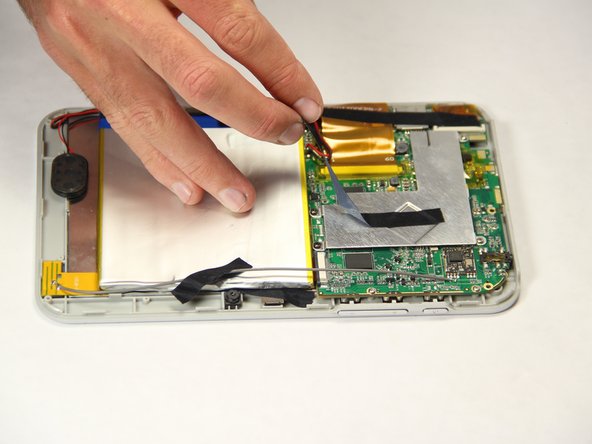
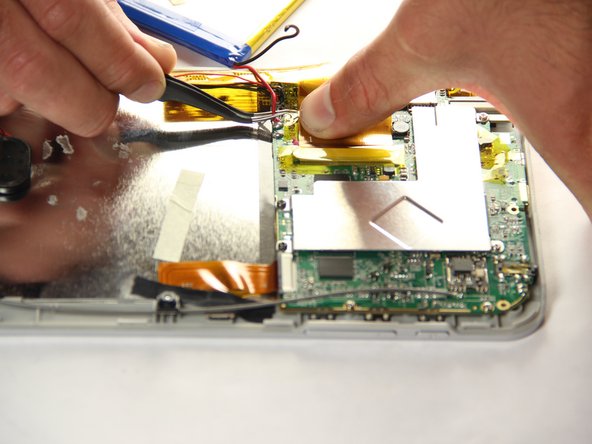
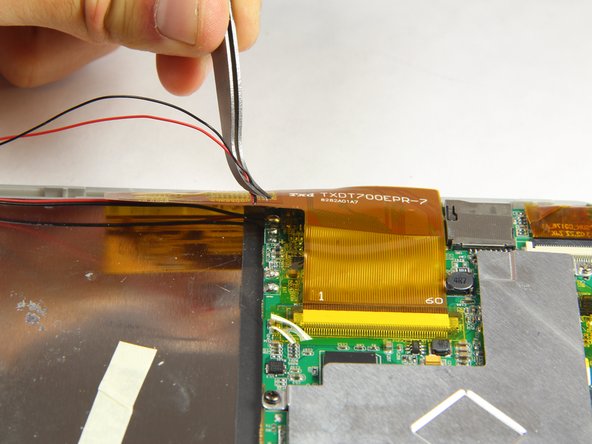
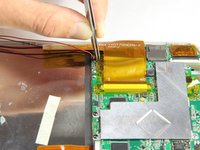
    • With the tweezers, firmly grab the wire at the base and pull to disconnect the battery from the motherboard.

  7. Vivitar XO 7 Camera Replacement, Camera: 7 단계, 이미지 1개 중 1개
    • Peel off black tape that is holding the camera in place.

  8. Vivitar XO 7 Camera Replacement: 8 단계, 이미지 1개 중 1개
    • Carefully disconnect the ribbon cables from the motherboard.

  9. Vivitar XO 7 Camera Replacement: 9 단계, 이미지 2개 중 1개 Vivitar XO 7 Camera Replacement: 9 단계, 이미지 2개 중 2개
    이 단계에 사용된 도구:
    Tweezers
    $4.99
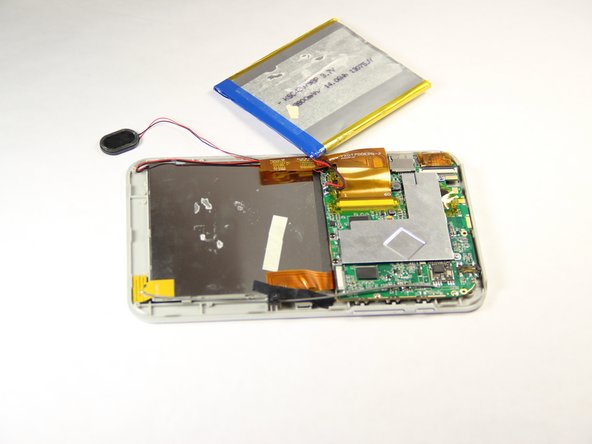
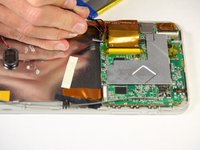
    • Using the tweezers, firmly grab wires and pull to disconnect them from the motherboard.

결론

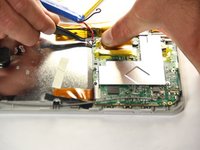
To reassemble your device, follow these instructions in reverse order.

작성자

3다른 기여자 명과 함께

Braanah Craig

회원 가입일: 01/20/15

386 평판

안내서 2개를 작성함

USF Tampa, Team 11-1, Blackwell Winter 2015 USF Tampa, Team 11-1, Blackwell Winter 2015 회원

USFT-BLACKWELL-W15S11G1

4 회원들

안내서 10개를 작성함

0가이드 댓글

댓글 쓰기

조회 통계:

지난 24시간: 1

지난 7일: 3

지난 30일: 13

전체 시간: 334