소개
In this guide it is not necessary to replace the motor but you do need to move it out of the way to reach the switch.
필요한 것
-
-
-
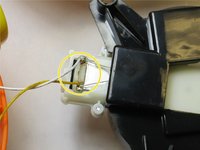
There are two screws that require a 4.0mm flat head screwdriver. Twist them counter clockwise to remove. When you remove them they stay contained within the blue outer case.
 FixBot에 문의하기
-
-
-
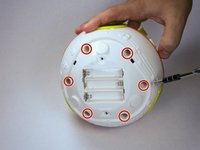
Pry the batteries out with your finger. When you replace them be sure to orient them correctly according to the markings in the slots. Match the plus symbol on the battery to the plus symbol in the slot.
-
-
-
-
-
-
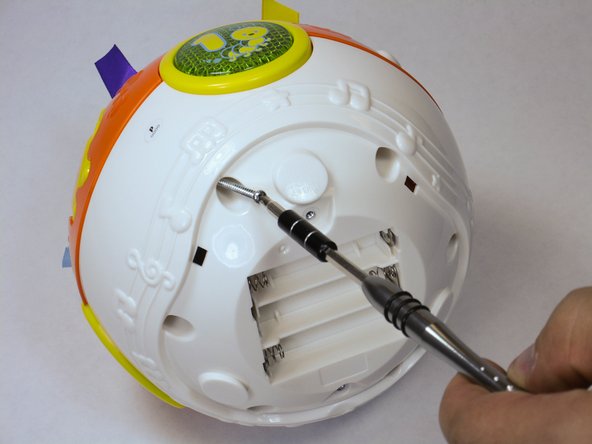
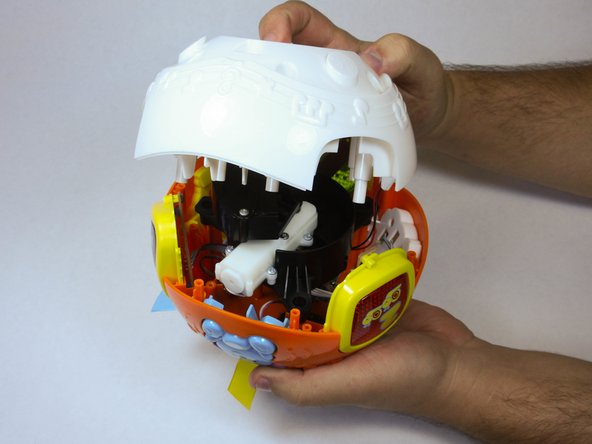
Remove 6 screws in order to pop off the outer shell and reach the inside components.
-
-
-
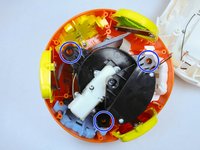
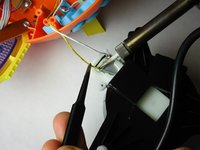
Remove the motor by lifting it out of the shell, and find the attached wires at both ends: the circuit board and the motor itself. Use the soldering iron to remove the existing attachments by heating the solder joint with the solder iron tip while pulling on the wire.
-
-
-
-
-
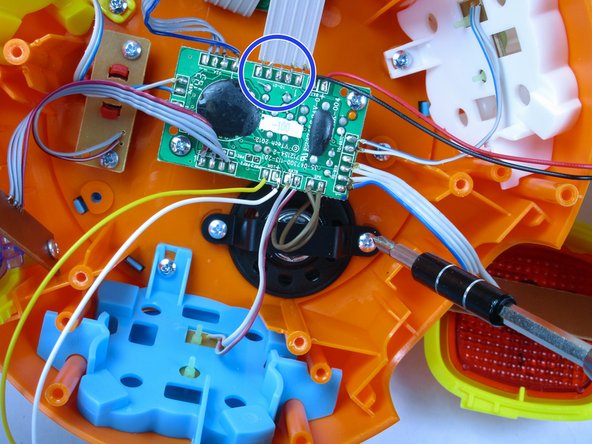
Unscrew the two screws to the power switch located beside the circuit board
-
-
-
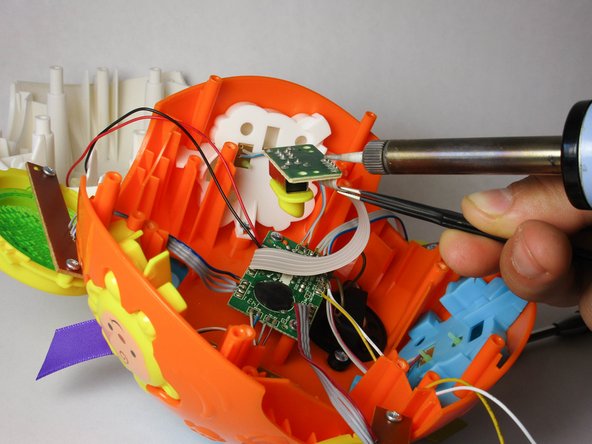
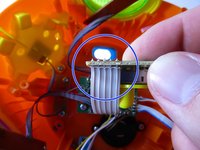
Remove the existing attachments at both ends of the wires with the soldering iron. Heat the solder joint with the solder iron tip and pull the wire.
-
-


To reassemble your device, follow these instructions in reverse order.
팀

USF Tampa, Team 2-1, Sullivan Fall 2015 USF Tampa, Team 2-1, Sullivan Fall 2015 회원
USFT-SULLIVAN-F15S2G1
4 회원들
안내서 10개를 작성함