주요 콘텐츠로 건너뛰기
수리 커뮤니티 가입 - 계정 만들기

WRS315SDHW Dispenser Assembly Replacement

필요한 것

    1. WRS315SDHW Dispenser Assembly Replacement, Safety precautions: 1 단계, 이미지 1개 중 1개
      • Before you begin your repair, perform the following:

      • Turn off your main water supply

      • Unplug your device

      댓글 쓰기

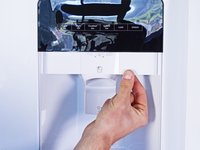
    1. WRS315SDHW Dispenser Assembly Replacement, Unfasten the dispenser panels: 2 단계, 이미지 2개 중 1개 WRS315SDHW Dispenser Assembly Replacement, Unfasten the dispenser panels: 2 단계, 이미지 2개 중 2개
      • The dispenser panel screws are located under the dispenser as if you're looking up into the dispenser tube (where the ice cubes and water come out).

      • Use a 1/4 inch socket wrench to remove the two 15.6 mm-long screws securing the two dispenser panels.

      댓글 쓰기

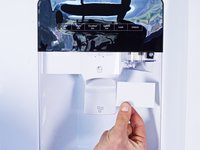
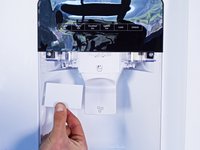
    2. WRS315SDHW Dispenser Assembly Replacement, Remove the dispenser panels: 3 단계, 이미지 3개 중 1개 WRS315SDHW Dispenser Assembly Replacement, Remove the dispenser panels: 3 단계, 이미지 3개 중 2개 WRS315SDHW Dispenser Assembly Replacement, Remove the dispenser panels: 3 단계, 이미지 3개 중 3개
      • Pull the dispenser panels straight down to separate them from the chassis.

      • Remove the dispenser panels.

      댓글 쓰기

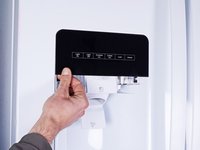
    3. WRS315SDHW Dispenser Assembly Replacement, Unfasten the control board: 4 단계, 이미지 1개 중 1개
      • Use a 1/4 inch socket wrench to remove the two 15.6 mm-long screws securing the control board.

      댓글 쓰기

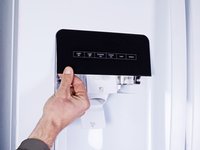
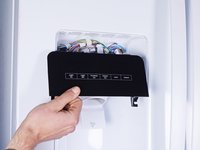
    4. WRS315SDHW Dispenser Assembly Replacement: 5 단계, 이미지 3개 중 1개 WRS315SDHW Dispenser Assembly Replacement: 5 단계, 이미지 3개 중 2개 WRS315SDHW Dispenser Assembly Replacement: 5 단계, 이미지 3개 중 3개
      • Tilt the bottom of the control board away from the chassis to release its clips.

      • Pull straight down to separate the control board enough to access its connectors.

      댓글 쓰기

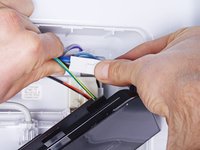
    5. WRS315SDHW Dispenser Assembly Replacement, Disconnect the control board: 6 단계, 이미지 3개 중 1개 WRS315SDHW Dispenser Assembly Replacement, Disconnect the control board: 6 단계, 이미지 3개 중 2개 WRS315SDHW Dispenser Assembly Replacement, Disconnect the control board: 6 단계, 이미지 3개 중 3개
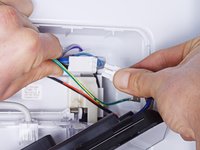
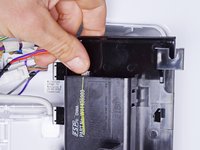
      • Disconnect the large connector attached to the right edge of the control board.

      댓글 쓰기

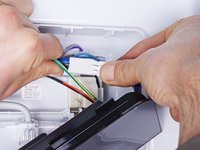
    6. WRS315SDHW Dispenser Assembly Replacement: 7 단계, 이미지 2개 중 1개 WRS315SDHW Dispenser Assembly Replacement: 7 단계, 이미지 2개 중 2개
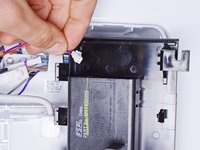
      • Disconnect the small connector attached to the left edge of the control board.

      댓글 쓰기

    7. WRS315SDHW Dispenser Assembly Replacement, Remove the control board: 8 단계, 이미지 1개 중 1개
      • Remove the control board.

      댓글 쓰기

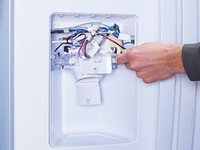
    1. WRS315SDHW Dispenser Assembly Replacement, Remove the plastic clip: 9 단계, 이미지 3개 중 1개 WRS315SDHW Dispenser Assembly Replacement, Remove the plastic clip: 9 단계, 이미지 3개 중 2개 WRS315SDHW Dispenser Assembly Replacement, Remove the plastic clip: 9 단계, 이미지 3개 중 3개
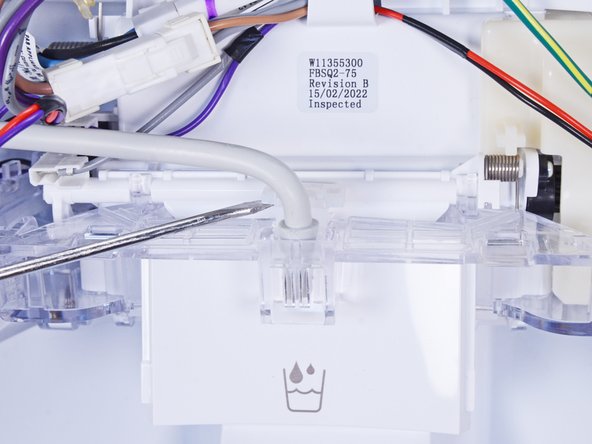
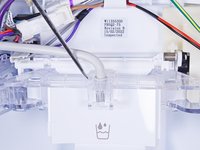
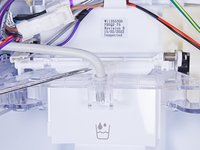
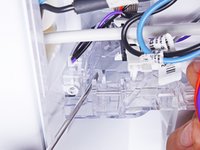
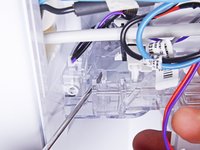
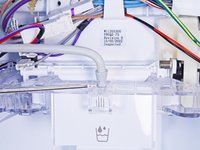
      • Use a flathead screwdriver, or a similar tool, to pry up the plastic clip securing the water hose.

      • Remove the plastic clip.

      댓글 쓰기

    2. WRS315SDHW Dispenser Assembly Replacement, Disconnect the water hose: 10 단계, 이미지 3개 중 1개 WRS315SDHW Dispenser Assembly Replacement, Disconnect the water hose: 10 단계, 이미지 3개 중 2개 WRS315SDHW Dispenser Assembly Replacement, Disconnect the water hose: 10 단계, 이미지 3개 중 3개
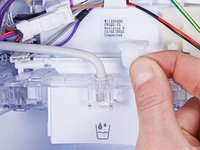
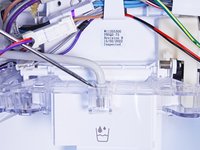
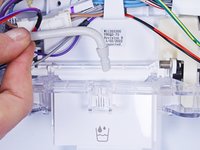
      • Use a flathead screwdriver, or a similar tool, to pry up the water hose enough to grip it with your fingers.

      • Pull the water hose straight up to disconnect it.

      댓글 쓰기

    3. WRS315SDHW Dispenser Assembly Replacement, Reposition the cables: 11 단계, 이미지 2개 중 1개 WRS315SDHW Dispenser Assembly Replacement, Reposition the cables: 11 단계, 이미지 2개 중 2개
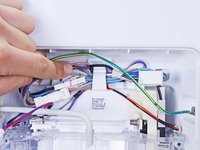
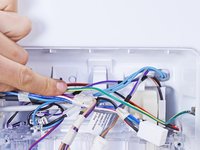
      • Reposition the cables so they lay in front of the top plastic clip.

      댓글 쓰기

    4. WRS315SDHW Dispenser Assembly Replacement, Unclip the dispenser assembly: 12 단계, 이미지 3개 중 1개 WRS315SDHW Dispenser Assembly Replacement, Unclip the dispenser assembly: 12 단계, 이미지 3개 중 2개 WRS315SDHW Dispenser Assembly Replacement, Unclip the dispenser assembly: 12 단계, 이미지 3개 중 3개
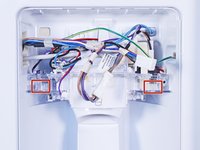
      • There are two plastic clips that secure the dispenser assembly in the chassis.

      • Use a flathead screwdriver, or a similar tool, to press the plastic clip toward the dispenser assembly.

      • Repeat for the other plastic clip to completely separate the dispenser assembly from the chassis.

      댓글 쓰기

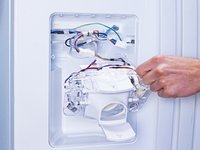
    5. WRS315SDHW Dispenser Assembly Replacement, Reposition the dispenser assembly: 13 단계, 이미지 3개 중 1개 WRS315SDHW Dispenser Assembly Replacement, Reposition the dispenser assembly: 13 단계, 이미지 3개 중 2개 WRS315SDHW Dispenser Assembly Replacement, Reposition the dispenser assembly: 13 단계, 이미지 3개 중 3개
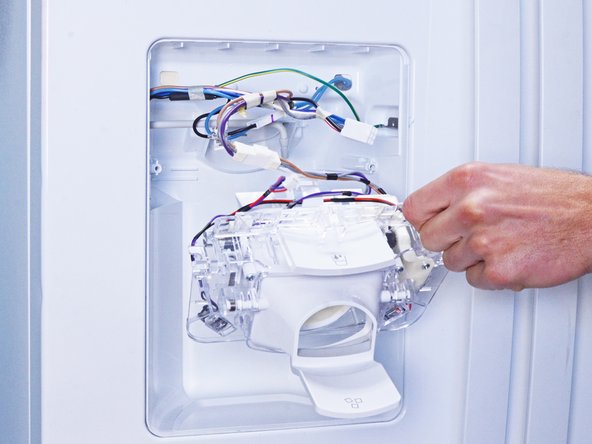
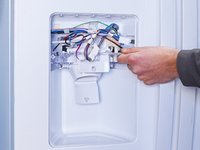
      • Pull the dispenser assembly away from the chassis enough to access its connectors.

      댓글 쓰기

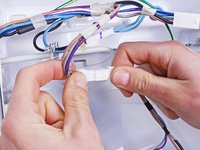
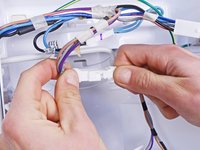
    6. WRS315SDHW Dispenser Assembly Replacement, Disconnect the dispenser assembly: 14 단계, 이미지 3개 중 1개 WRS315SDHW Dispenser Assembly Replacement, Disconnect the dispenser assembly: 14 단계, 이미지 3개 중 2개 WRS315SDHW Dispenser Assembly Replacement, Disconnect the dispenser assembly: 14 단계, 이미지 3개 중 3개
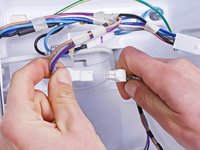
      • While performing this step, support the dispenser assembly so it doesn't fall.

      • Disconnect the connector attached to the dispenser assembly.

      댓글 쓰기

    7. WRS315SDHW Dispenser Assembly Replacement, Remove the dispenser assembly: 15 단계, 이미지 1개 중 1개
      • Remove the dispenser assembly.

      댓글 쓰기

결론

To reassemble your device, follow these instructions in reverse order.

Take your e-waste to an R2 or e-Stewards certified recycler.

Repair didn’t go as planned? Ask our Answers community for help.

취소: 해당 안내서를 완성하지 않았습니다.

다른 한 분이 해당 안내서를 완성하였습니다.

작성자

2다른 기여자 명과 함께

nicO

회원 가입일: 04/14/15

15,990 평판

안내서 89개를 작성함

0가이드 댓글

댓글 쓰기

조회 통계:

지난 24시간: 5

지난 7일: 40

지난 30일: 126

전체 시간: 1,514