소개
This is a general instruction for an audience with limited mechanical skills, to replace the line in a generic bump head weed whacker. Before beginning this guide turn off the machine.
-
-
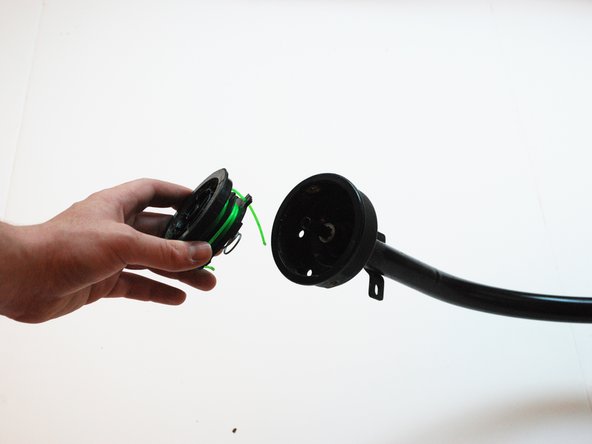
There will be a bottom cap of the rotor setup that needs to be removed. In some models this will be held on with a nut and bolt fixture, but in many models there will be a circular cap that can be rotated counter clockwise for removal. Remove this piece in the manner necessary.
-
-
-
Once the bottom piece is removed, there will be another circular piece that may or may not have cutting line coiled around it. Remove this piece from the weed whacker.
-
-
-
-
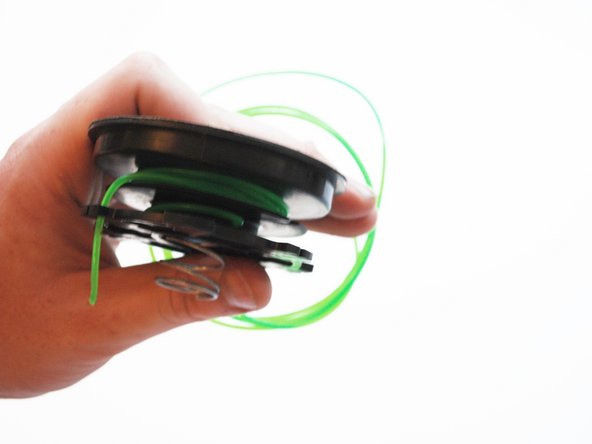
There should be slots to coil cutting line around, with a hole in each for line to be anchored. If no line is coiled around the part, insert the end of about three feet of cutting line into each of the holes, and coil the cutting line snugly around the part, making sure that there are no tangles in the line.
-
-
-
If there are plastic tabs on the plastic part to hold the cutting line, insert each line into one these tabs. Leave approximately a foot of each line hanging out from the coils.
-
-
-
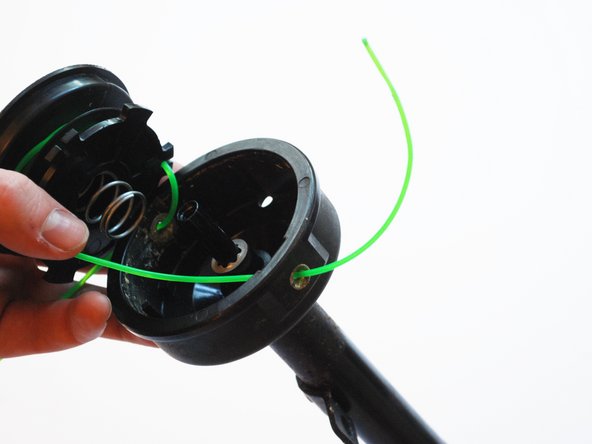
On the weed whacker rotor, there will be eyelets for the cutting line to be fed through. Feed each line through each of these eyelets, being careful not to let the line come uncoiled.
-
-
-
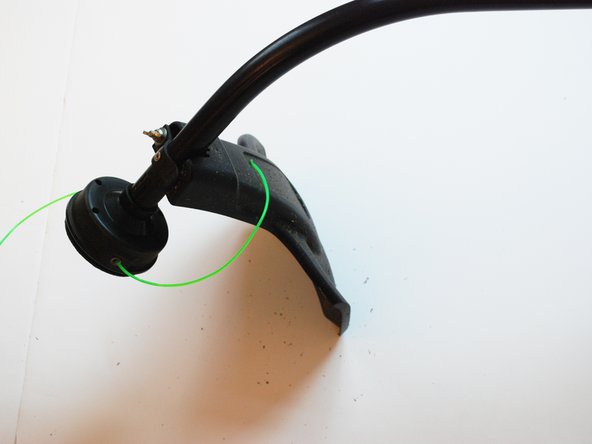
Replace the plastic piece with the cutting lines back onto the rotor, being sure that the coils remain in place, and the lines remain in place through the eyelets.
-


다른 2명이 해당 안내서를 완성하였습니다.
팀

Michigan Tech, Team S5-G10, Galliah Fall 2017 Michigan Tech, Team S5-G10, Galliah Fall 2017 회원
MTU-GALLIAH-F17S5G10
2 회원들
안내서 1개 작성