소개
Use this guide to replace the start relay assembly or compressor start device in your Whirlpool Refrigerator.
The start relay is a combination of the start relay, the overload relay, and the start capacitor, which are responsible for protecting your compressor's circuit. If the fans are running and your compressor won’t start, or if you hear a clicking sound from the unit, your start relay assembly might be broken.
This guide will work for most Whirlpool refrigerators. This guide is written with a model WRS315SDHW refrigerator. If you have a different model, you may encounter some minor disassembly differences, but the overall repair process will be the same.
Note: Some photos show the doors removed for clarity purposes. Removing them is not required and will not change the procedure.
필요한 것
-
-
-
-
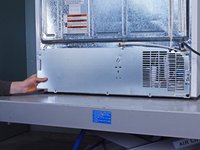
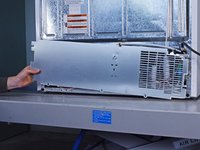
Remove the screw(s) securing the rear panel.
-
Loosen the screw securing the water hose enough for the rear panel to freely move.
-
-
-
-
-
-
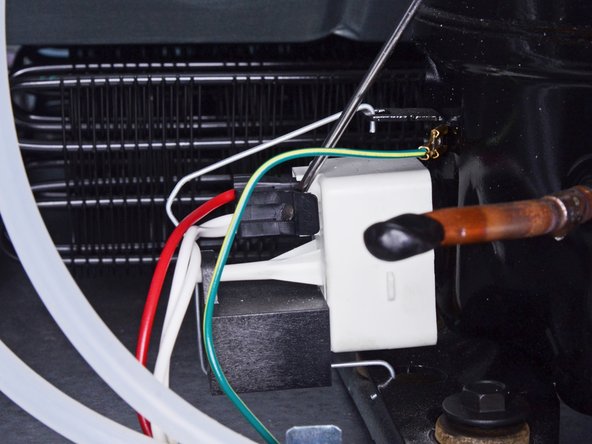
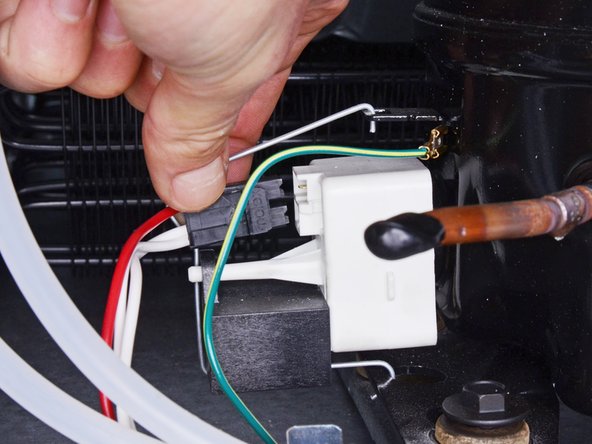
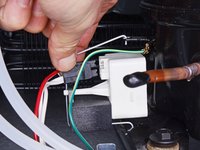
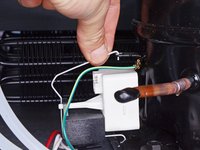
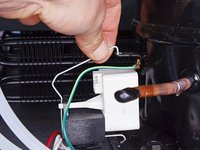
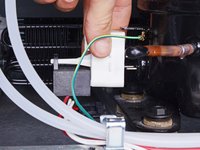
Use a flathead screwdriver, or a similar tool, to disconnect any connectors attached to the start relay assembly.
-
-
-
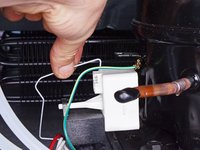
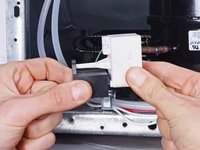
Pull the metal clip out its hole in the top of the start relay assembly.
-
Rest the clip next to the assembly.
-
-
-
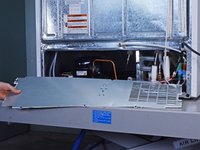
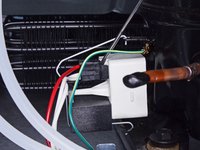
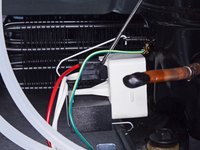
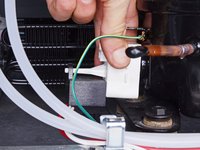
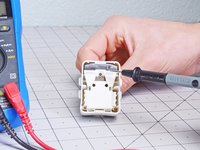
Pull the start relay assembly straight off its prongs in the chassis.
-
Remove the start relay assembly.
-
-


To reassemble your device, follow these instructions in reverse order.
Take your e-waste to an R2 or e-Stewards certified recycler.
Repair didn’t go as planned? Ask our Answers community for help.
다른 5명이 해당 안내서를 완성하였습니다.

3가이드 댓글
Is it universal part
While the parts are similar, there are differences for fridges. If you can find your refrigerator model number, you'll be able to search online for the correct start relay for your specific model. Good luck!
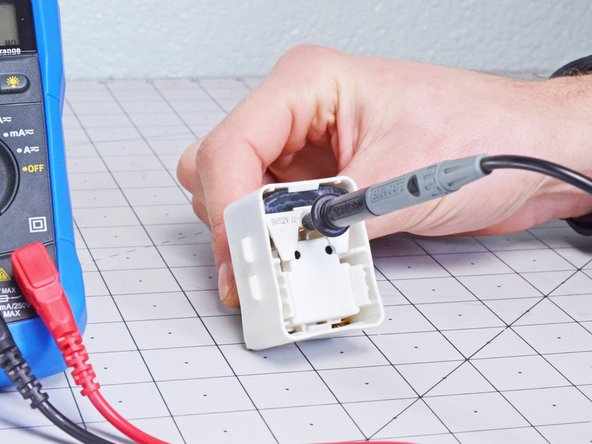
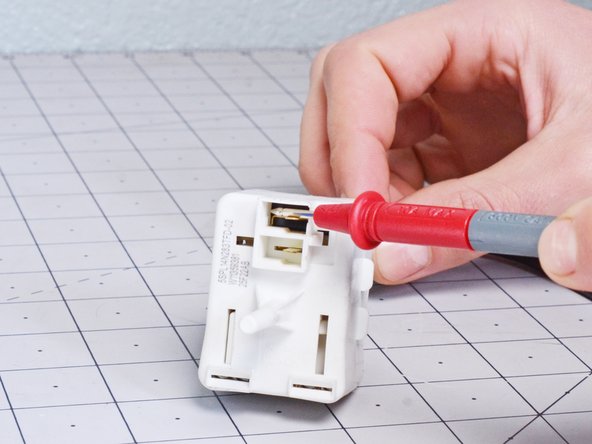
Last part is not clear about where to put multimeter probes for testing each component. It makes the whole exercise useless.