소개
The ZTE Compel features an LCD Touch Screen. You may need to replace the screen if it no longer responds to touch commands, is discolored, or if you cracked your screen. Please take all necessary precautions, such as protective gloves and eye wear, if dealing with battery corrosion.
필요한 것
-
-
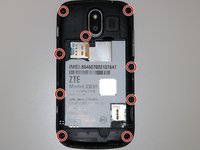
Place the phone on a flat surface with the screen facing down. This will allow easy access to the removable black plastic cover on the back of the phone.
 FixBot에 문의하기
-
-
-
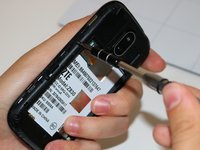
In the bottom right corner of the device, use your fingernail to remove the back cover of the phone by lifting up and holding the device with your other hand.
-
-
-
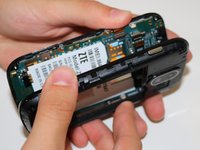
In the top-right area of the battery, use your fingernail to lift the battery out of the phone.
-
-
-
-
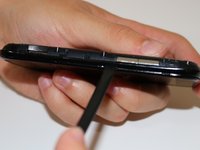
Notice the crease in the shiny black plastic. Insert the flat end of your spudger here, about 3mm above the volume buttons, and work your spudger around the circumference of the phone until the front and back are separated.
-
-
이 단계에 사용된 도구:Tweezers$4.99
-
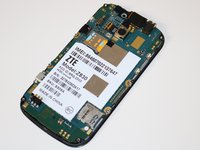
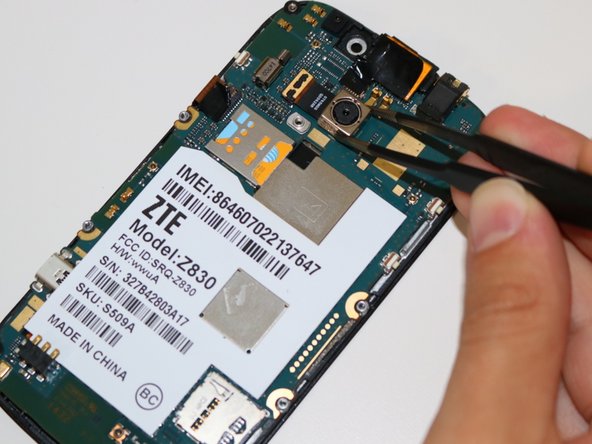
Remove the camera by placing your tweezers on the gold piece attached to camera and lift up, disconnecting from the motherboard.
-
Grip the camera with your tweezers and lift up to remove the camera.
-
-
이 단계에 사용된 도구:Tweezers$4.99
-
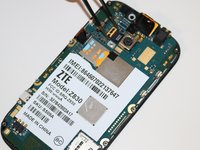
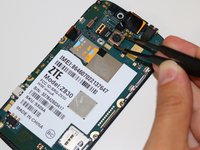
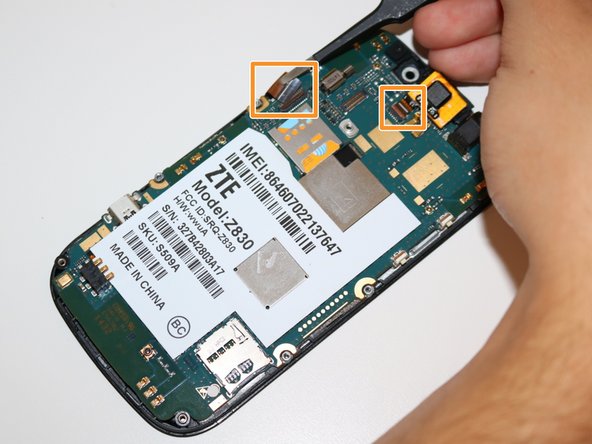
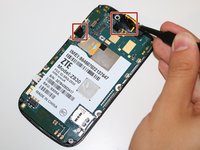
Use your tweezers to remove the black electrical tape covering connectors to the motherboard.
-
Use your tweezers to flip the brown clip up, and pull the ribbon connectors out of the connections.
-
-
-
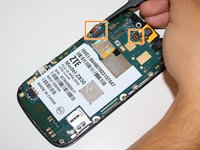
Use your tweezers to disconnect the final ribbon connector underneath the motherboard at the top of the phone. The motherboard can now be separated from the LCD Screen.
-
-
-
The front screen is separated from the motherboard, so you may replace the front LCD touch screen now.
-


To reassemble your device, follow these instructions in reverse order.
다른 한 분이 해당 안내서를 완성하였습니다.
팀

Ohio State, Team S1-G4, Whitney Fall 2018 Ohio State, Team S1-G4, Whitney Fall 2018 회원
OSU-WHITNEY-F18S1G4
2 회원들
안내서 20개를 작성함