소개
In this repair guide, the Zeepad 7DRK will be taken apart to replace the Volume and Power buttons. This task can be accomplished with a simple soft-tipped prying tool in a short amount of time. The tablet will simply be pried apart to access the buttons.
필요한 것
-
-
-
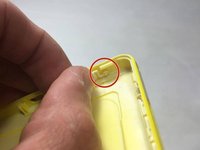
First find the power and volume buttons so that you are familiar with their location.
-
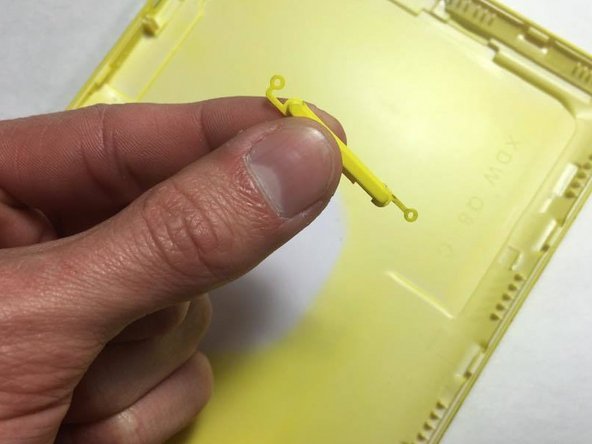
The smaller button is the power button and the larger button is the volume button.
 FixBot에 문의하기
-
-
-
To open the tablet, use one of the soft-tip prying tools.
-
It is easiest to start by using the corner of the tool first and sliding the rest in. Then carefully move the tool around the edges of the tablet until it separates.
-
-
-
-
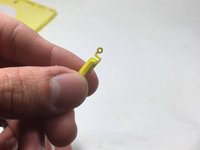
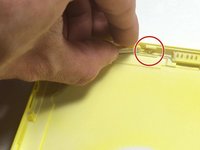
In the first picture you will see the power button. Notice the small plastic ring that sticks out the side, this is so the piece can be positioned easily when you put it back together.
-
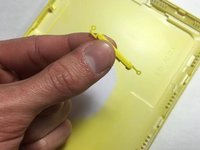
In the second picture, the volume control button is shown. Again notice the small locator rings.
-
-


To reassemble your device, follow these instructions in reverse order.
다른 한 분이 해당 안내서를 완성하였습니다.
팀

UMass Dartmouth, Team 6-8, Martin Fall 2016 UMass Dartmouth, Team 6-8, Martin Fall 2016 회원
UMASSD-MARTIN-F16S6G8
3 회원들
안내서 10개를 작성함