주요 콘텐츠로 건너뛰기
수리 커뮤니티 가입 - 계정 만들기
Zig-zag Patch

필요한 것

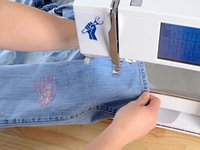
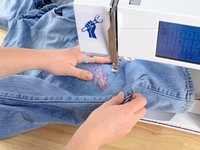
  1. Zig-zag Patch, Zig-zag Patch: 1 단계, 이미지 3개 중 1개 Zig-zag Patch, Zig-zag Patch: 1 단계, 이미지 3개 중 2개 Zig-zag Patch, Zig-zag Patch: 1 단계, 이미지 3개 중 3개
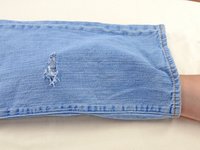
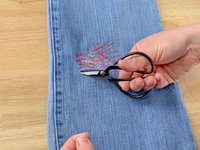
    • Examine the damage. Clip any long, loose threads, and remove any debris from the hole.

    • Measure the length and width of the hole.

    • In our case it looks like 2" by 1".

    댓글 쓰기

  2. Zig-zag Patch: 2 단계, 이미지 3개 중 1개 Zig-zag Patch: 2 단계, 이미지 3개 중 2개 Zig-zag Patch: 2 단계, 이미지 3개 중 3개
    • Grab a scrap of denim or other heavy-weight fabric and mark your measurements plus one inch in each direction.

    • In our case it will be 3" by 2".

    • Cut the scrap into a rectangle the dimensions of your new measurements.

    댓글 쓰기

  3. Zig-zag Patch: 3 단계, 이미지 2개 중 1개 Zig-zag Patch: 3 단계, 이미지 2개 중 2개
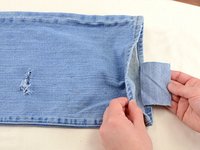
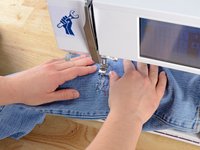
    • Insert the rectangle of fabric into the jean leg and position it under the hole.

    • Be sure that you put the rectangle of fabric in the pant leg and not behind it—you only want to work on one layer of fabric.

    댓글 쓰기

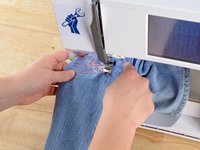
  4. Zig-zag Patch: 4 단계, 이미지 3개 중 1개 Zig-zag Patch: 4 단계, 이미지 3개 중 2개 Zig-zag Patch: 4 단계, 이미지 3개 중 3개
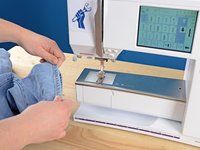
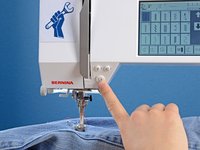
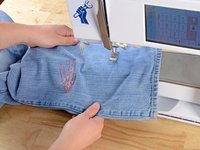
    • Thread your sewing machine with your desired thread color.

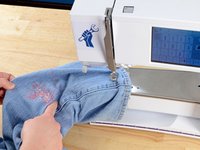
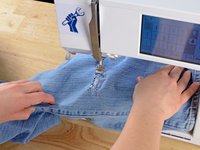
    • Slide the pant leg onto the arm of the sewing machine.

    • You may need to remove the sewing machine table for the pant leg to fit over the arm.

    • Be sure that the pant leg is around the arm of the sewing machine. If both layers are stacked on one another, you will sew the pant leg shut.

    댓글 쓰기

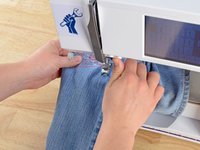
  5. Zig-zag Patch: 5 단계, 이미지 3개 중 1개 Zig-zag Patch: 5 단계, 이미지 3개 중 2개 Zig-zag Patch: 5 단계, 이미지 3개 중 3개
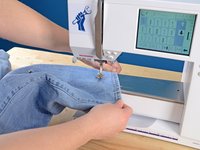
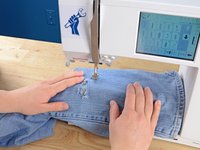
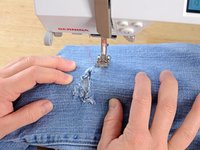
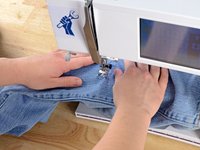
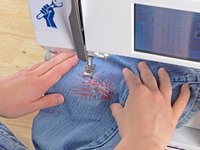
    • Check that the rectangle of fabric is still laying flat, centered beneath the hole.

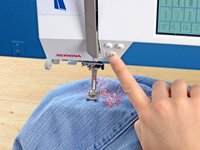
    • Lower the pressor foot.

    • Sew a straight line over the hole going about five stitches past the damage.

    댓글 쓰기

  6. Zig-zag Patch: 6 단계, 이미지 3개 중 1개 Zig-zag Patch: 6 단계, 이미지 3개 중 2개 Zig-zag Patch: 6 단계, 이미지 3개 중 3개
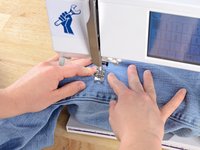
    • Lift the pressor foot.

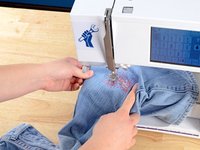
    • Rotate the jean leg a few degrees toward the center of the hole.

    • Lower the pressor foot.

    • Engage the backstitch function on your sewing machine, and sew a straight line back over the hole, going about five stitches beyond the damage.

    댓글 쓰기

  7. Zig-zag Patch: 7 단계, 이미지 3개 중 1개 Zig-zag Patch: 7 단계, 이미지 3개 중 2개 Zig-zag Patch: 7 단계, 이미지 3개 중 3개
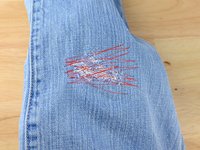
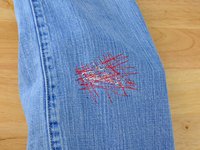
    • Repeat steps five and six, continuing to rotate and sew lines of stitching back and forth until you cover the entire hole.

    댓글 쓰기

  8. Zig-zag Patch: 8 단계, 이미지 2개 중 1개 Zig-zag Patch: 8 단계, 이미지 2개 중 2개
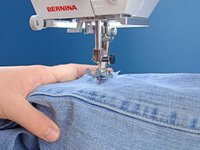
    • When you are satisfied with your stitching, backstitch two or three stitches.

    • Lift the needle and pressor foot.

    • Slide the jean leg off of the sewing machine.

    댓글 쓰기

  9. Zig-zag Patch: 9 단계, 이미지 2개 중 1개 Zig-zag Patch: 9 단계, 이미지 2개 중 2개
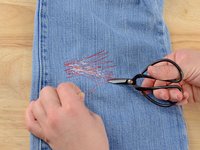
    • Clip any dangling threads and admire your work.

    댓글 쓰기

  10. Zig-zag Patch: 10 단계, 이미지 3개 중 1개 Zig-zag Patch: 10 단계, 이미지 3개 중 2개 Zig-zag Patch: 10 단계, 이미지 3개 중 3개
    • Still not satisfied? Alrighty, let's add some decorative stitching the other way.

    • This is completely optional. If you are happy with your work, you can stop here.

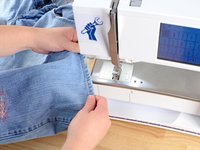
    • Slide the pant leg back onto the arm of the sewing machine, making sure that the leg goes around the arm.

    댓글 쓰기

  11. Zig-zag Patch: 11 단계, 이미지 2개 중 1개 Zig-zag Patch: 11 단계, 이미지 2개 중 2개
    • Carefully rotate the jean leg 90 degrees.

    • Be sure that there is only one layer of fabric (plus the rectangle) between the sewing machine and the needle, or else you will sew the pant leg shut.

    댓글 쓰기

  12. Zig-zag Patch: 12 단계, 이미지 2개 중 1개 Zig-zag Patch: 12 단계, 이미지 2개 중 2개
    • Lower the pressor foot.

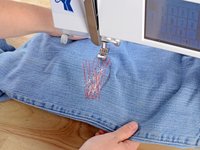
    • Sew a straight line of stitching over the damaged area.

    댓글 쓰기

  13. Zig-zag Patch: 13 단계, 이미지 3개 중 1개 Zig-zag Patch: 13 단계, 이미지 3개 중 2개 Zig-zag Patch: 13 단계, 이미지 3개 중 3개
    • Just like before, at the end of each line of stitching, lift the pressor foot, rotate the jeans a few degrees, and sew another line of stitching.

    • When you are happy with the way that the stitching looks, backstitch two or three stitches.

    댓글 쓰기

  14. Zig-zag Patch: 14 단계, 이미지 2개 중 1개 Zig-zag Patch: 14 단계, 이미지 2개 중 2개
    • Lift the pressor foot and needle.

    • Slide the pant leg off the arm of the sewing machine.

    댓글 쓰기

  15. Zig-zag Patch: 15 단계, 이미지 2개 중 1개 Zig-zag Patch: 15 단계, 이미지 2개 중 2개
    • Clip any dangling threads.

    댓글 쓰기

결론

Ta-da! Nice work.

취소: 해당 안내서를 완성하지 않았습니다.

다른 8명이 해당 안내서를 완성하였습니다.

작성자

8다른 기여자 명과 함께

Brittany McCrigler

회원 가입일: 03/05/12

90,963 평판

안내서 142개를 작성함

iFixit iFixit 회원

Staff

123 회원들

안내서 28,236개를 작성함

0가이드 댓글

댓글 쓰기

조회 통계:

지난 24시간: 11

지난 7일: 73

지난 30일: 367

전체 시간: 39,572