소개
The iPod adapter is an essential component of any iPod dock such as the iHome. It connects to the iPod and allows it to charge and play music through the iHome's speakers. The adapter can easily become bent or broken during use and will need to be removed and replaced.
필요한 것
-
-
Unplug the device from the wall outlet, and turn it over so that the buttons are on a flat surface.
-
Use your fingers to pinch the tab in the direction of the "Open" arrow until tab is loose. Pull the tab vertically to remove it.
-
Remove the battery cover and the batteries.
 FixBot에 문의하기
-
-
-
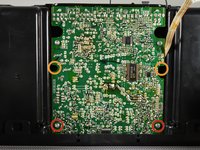
Remove the following eight screws:
-
Four 15.1 mm Phillips #2 screws near the front of the device.
-
Four 12.7 mm Phillips #2 screws near the back of the device.
-
-
이 단계에 사용된 도구:Tweezers$4.99
-
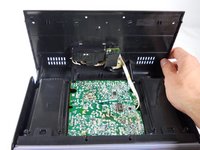
Turn the iHome 180 degrees so the speaker grille is facing you. Carefully lift the bottom case away from the rest of the body and tilt it as shown.
-
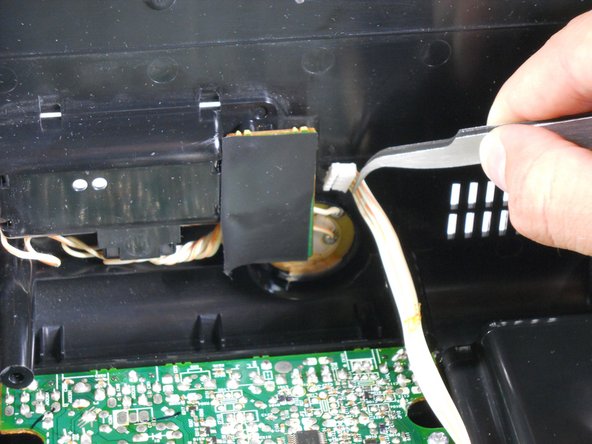
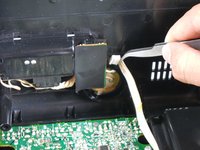
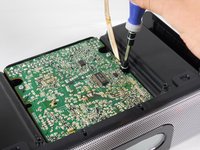
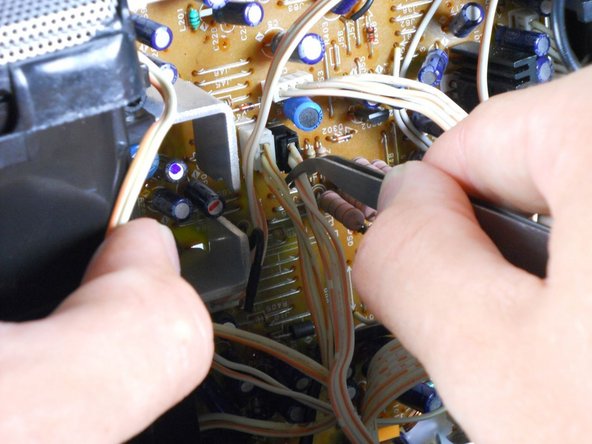
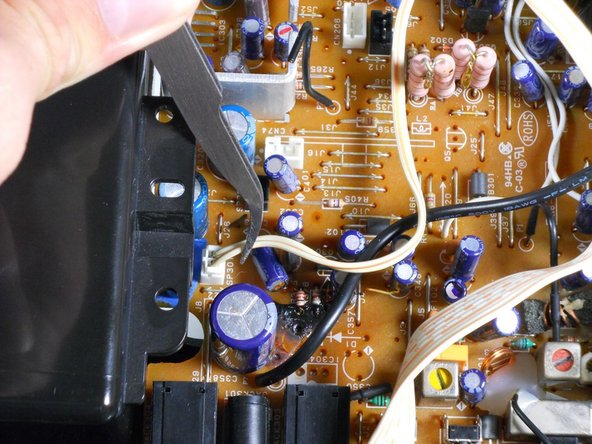
Using a pair of tweezers, detach the white ribbon cable. Make sure to pull on the ribbon, not on the head.
-
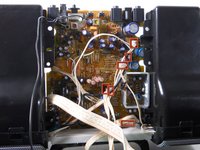
The lower case can now be completely removed from the device!
-
-
-
-
Remove the four screws attaching the top of the case to the motherboard:
-
Two 9.5 mm Phillips #2 screws near the speaker grille.
-
Two 14.3 mm Phillips #2 screws that sit in recesses under the motherboard.
-
-
-
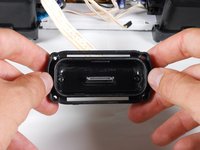
Turn the iHome 180 degrees and carefully pull up on speaker cases to pry them loose from the bottom case.
-
Pulling outwards on the sides of the Upper Casing can help loosen the assembly.
-
If it seems too difficult to remove, chances are that a screw is still attached. Make sure you've removed every screw listed before proceeding to this step.
-
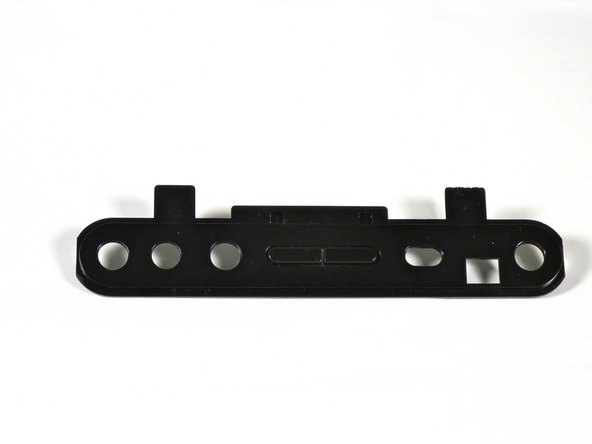
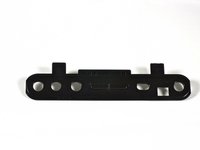
Pull the back adapter cover off.
-
-
-
Remove the four 6.4 mm Phillips #1 screws holding the adapter to the outer case.
-
Two 6.4 mm Phillips #1 screws near the center of the adapter. These screws have built in washers.
-
One 4.0 mm Phillips #1 screw near the center of the adapter.
-
The iPod adapter should now be separate from the upper casing.
-
-
이 단계에 사용된 도구:Tweezers$4.99
-
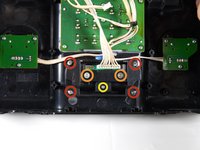
With the back of the iHome is facing you, tilt the Motherboard Assembly upwards as shown.
-
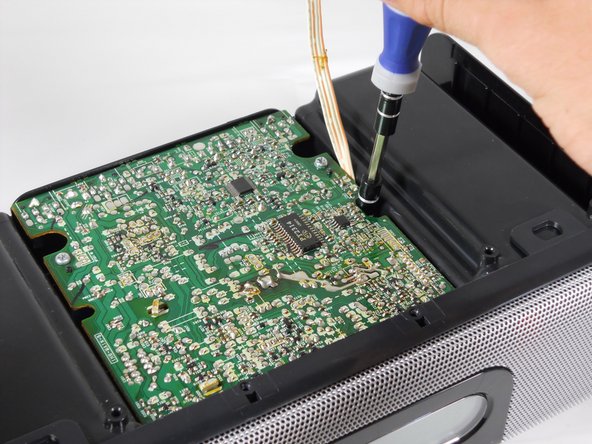
Use tweezers to remove the 6 ribbon cables.
-
-
-
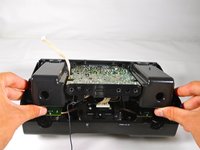
Pull the speakers, motherboard, and iPod adapter up and away from the lower casing.
-
You have now separated your iHome's inner workings from its protective case!
-
-
-
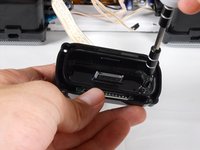
Remove the two 1.8 mm Phillips #2 black screws from iPod stand.
-
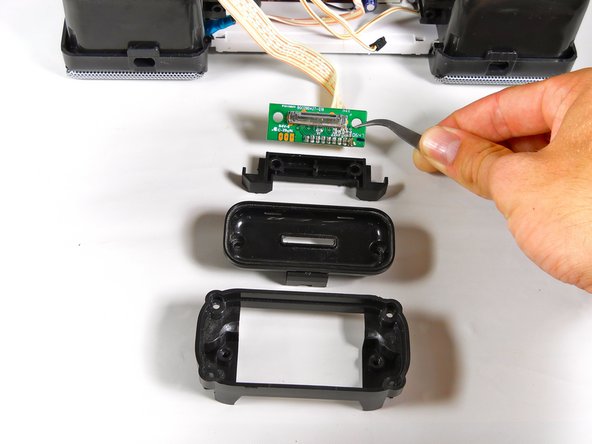
You can now separate the iPod adapter from its casing!
-


To reassemble your device, follow these instructions in reverse order.
다른 한 분이 해당 안내서를 완성하였습니다.
팀

Cal Poly, Team 12-33, Amido Spring 2013 Cal Poly, Team 12-33, Amido Spring 2013 회원
CPSU-AMIDO-S13S12G33
4 회원들
안내서 7개를 작성함