소개
The late 2012 and 2013 27" iMacs had to be ordered with a VESA mount because they did not have the removable stand. However, there is a third party VESA adaptor available, which I successfully installed. I took a few pictures as I did it.
If you have the tools to get to the point where you can see the stand (through the iFixit guide mentioned), then you'll have the tools necessary to remove the stand. There are two possible exceptions. I found a flexible shaft 'screwdriver' (really a torx-driver) very handy (see step 2). Also, I used a metal file to modify the VESA mount adaptor mentioned in the parts list (see step 6).
Yes, I'm guessing this will probably void your warranty. Here's my personal take on Apple products and warranties: if it works when I get it, it's unlikely to have a warranty issue within the warranty time-frame. This comes from experience with between a dozen and 2 dozen Apple products - so, many, but not hundreds.
I'm sorry, I don't have any experience with 21in iMacs, so I don't know if this will work with them or not.
필요한 것
-
-
iversalproducts makes an adaptor for the 27in iMacs that did not have removable stands.
-
In December of 2014, this was available on ebay at this link: http://www.ebay.com/itm/iMac-VESA-Mount-...
-
He also has pictures on ebay, but I included a few here as well.
-
-
-
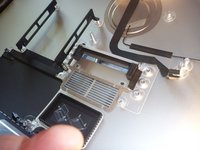
This is obviously the hardest part of this guide. Fortunately for you and me, iFixit has already produced one of their professional guides to get you to this point.
-
Please see: iFixit's guide for removing all the internal components including the logic board
-
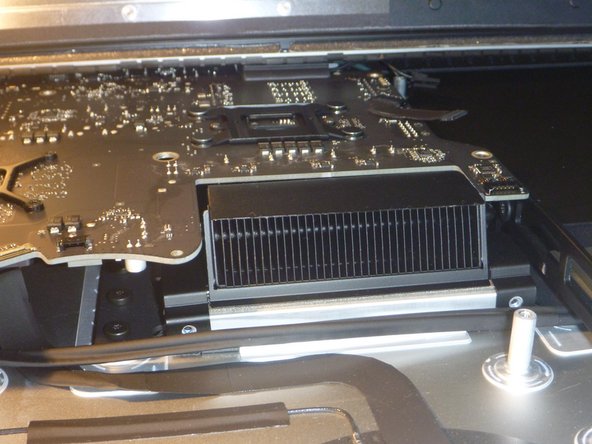
For the final step to remove the logic board, I found a flexible shaft (pic 3 - sorry it's blurry, shooting left handed) almost a necessity, as I couldn't get a straight shaft screwdriver in position and develop enough torque to loosen the screws.
-
-
-
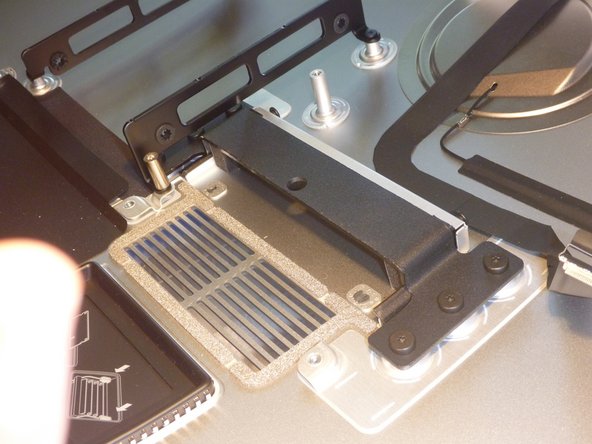
Remove the six screws holding the stand to the iMac back.
-
-
-
-
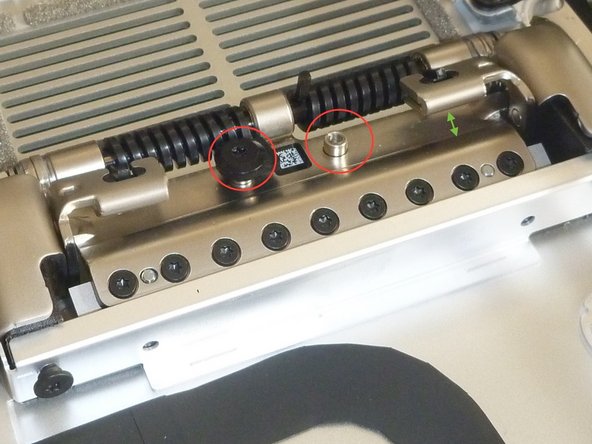
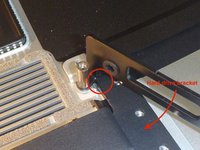
The screws circled in red maintain the pressure on the coil springs in the stand. If you can maneuver the iMac relative to the stand such that the gap highlighted by the green arrow (pic2) closes all the way, then pressure from the coil springs will be removed from the external part of the stand.
-
I couldn't do that, so I removed these screws to release the pressure between the internal and external part of the stand.
-
NOTE: once the screw is released, the coil spring will launch the plastic piece and screw that hold the spring! (It took me quite a while to find the first one.) I highly recommend covering the screw with something (pic3) as you remove the screw.
-
-
-
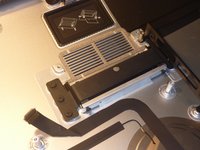
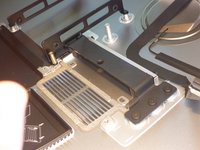
With pressure released, remove the 9 screws holding the external part of the stand to the internal part.
-
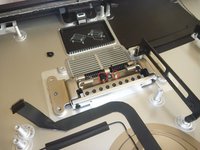
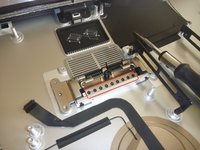
I just took a couple of pictures with no stand attached, in case they help someone.
-
-
-
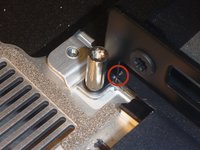
I noticed that the new adaptor doesn't quite fit in my version of the 27in iMac (late 2013 version). With the hard drive bracket in the position where it should be (indicated by arrow), the new adaptor bumps into the bracket (in area circled).
-
So I made a small modification to the new adaptor with a metal file.
-
Picture with modified adaptor (VESA mount) in place (the red circle around the modification).
-
-
-
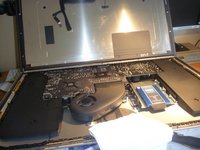
Two pics from various angles of the new mount in place. One pic after the logic board has been reinstalled.
-
-
-
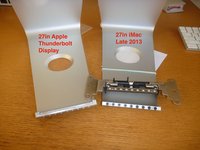
Pic 1 - comparison of Thunderbolt stand (which is meant to be user-replaceable) and the iMac stand (which is not).
-
Pic 2 - picture with all the components back in place, and new SSD drive. ;-)
-


To reassemble your device, follow these instructions in reverse order.
다른 9명이 해당 안내서를 완성하였습니다.
7가이드 댓글
Can anyone find an equivalent procedure for a late-2013 21.5" iMac?
The bracket, according to the mfr's eBay page, does NOT work on 21.5" models. Also they don't seem to be selling it any more, although I have emailed them.
I am principally interested whether it is possible to remove the stand at all. I have read that it is welded. However the final picture in iMac Intel 21.5" EMC 2638 Teardown shows otherwise. And EMC 2638 is indeed the late 2013 21.5" model.
Hi,
that's what I found but not tried yet: http://bookyard.es/product.php?products_...
For makers it would be great to know the hole pattern so one could make a part and not relay an someone to sell it.
There are 9 screws and 2 pins. What size and distance do the holes have relative to each other. Would be great to get this information from someone who took his iMac apart.
Best regards
any idea, where I still can find one of those mount adapters? Iversalproducts seems not to exist anymore... :-/
For those looking to convert their 27" 2012-2015 iMac's to a VESA mount, it can be done using OE parts. I'm only writing this because I never found anything on the internet confirming this worked, I just took the gamble and it worked out great.
You need to order 4 parts (assuming you already have a Torx set):
1.) Mounting Bracket - part# 923-0424
2.) Backing Plate - part# 923-0422
3.) Tongue - (2012) part# 923-0423 - (2013) part# 923-0531 - (2014/2015) part# 923-00084
4.) Adhesive Strip Kit + opening tool
I have a 2012 and ran into no issues - worked perfectly, I make no promises that you'll have a similar experience but, at least to me, it felt very straight forward. I got all the VESA parts from www.thebookyard.com and the adhesive strip kit here on iFixIt.
You will need a 5 point Torx TS15 bit for the pentalobe screws that attach the backing plate to the tongue... technically not the correct bit, but there are only two screws and I felt zero slip from the 5 point TS15.
Good luck!
Craig Hansen - 답글 공유
Very useful info, thank you Craig Hansen
Kier Darby - 답글 공유