소개
Use this guide to correctly apply replacement battery adhesive strips in your iPhone 5s, 5c, or SE. Any time you remove the battery, these strips must be replaced. The strips are easily damaged if not applied correctly, so you may want to have a spare set of strips on hand if following this guide for the first time.
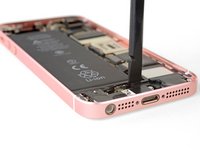
Before you begin, you should have removed the battery by following a guide like the ones linked below. Note: iPhone 5 and earlier models do not use any adhesive strips.
If you need to replace the battery adhesive strips in a different model iPhone, use one of the following guides:
필요한 것
-
-
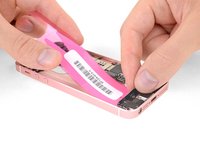
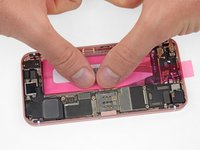
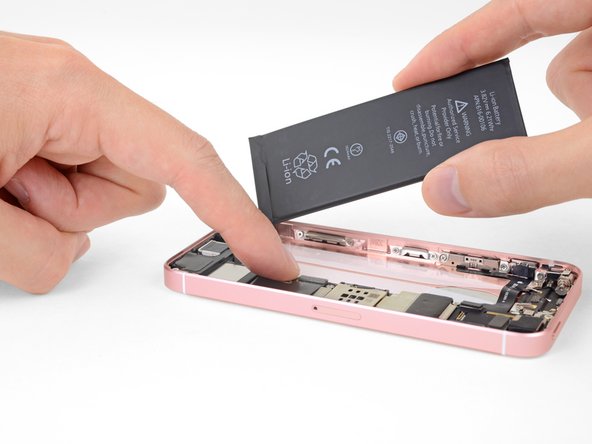
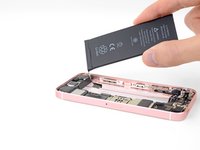
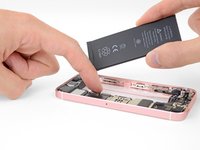
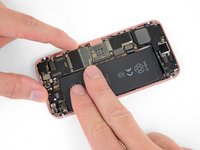
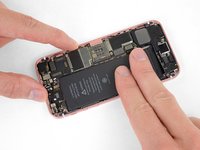
Before installing new adhesive strips, temporarily connect your new battery and check its alignment in the iPhone.
-
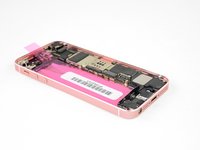
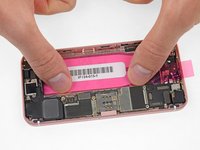
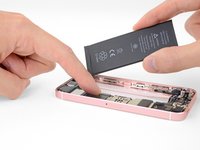
If everything looks good, disconnect the battery and remove it.
-
-
-
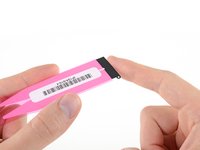
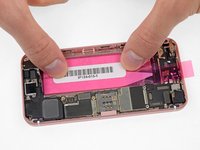
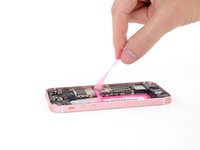
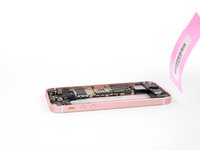
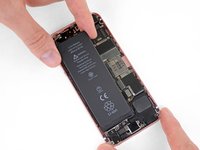
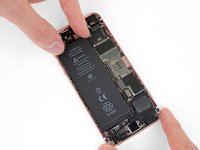
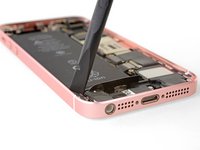
Peel off the large blue film liner and remove it from the adhesive strips completely.
-
If this happens to you and you got your strips from iFixit, contact us here and we'll send you a replacement on the double.
-
In the meantime, you can temporarily reassemble your iPhone with a bit of double-sided tape to hold the battery.
-
-
-
이 단계에 사용된 도구:Tweezers$4.99
-
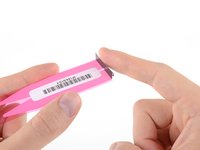
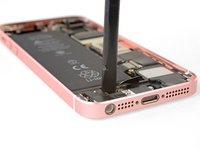
Use the flat end of your spudger or blunt tweezers to fold the black tab downward, tucking it between the lower edge of the battery and the components lining the bottom edge of the iPhone.
-


To reassemble your iPhone, return to the guide you used to remove the battery and follow the steps in reverse order.
Remember to take your old battery to an R2 or e-Stewards certified recycler.
다른 242명이 해당 안내서를 완성하였습니다.


4가이드 댓글
Maybe, but the adhesive strips are designed to be very strong and very thin, and reasonably heat-resistant. This keeps the battery secure even if you shake the phone (or take it jogging), and it won’t come loose if the phone gets hot. The thin profile also means the battery has room to expand slightly without contacting or putting pressure on the display. Considering how cheap the strips are vs. the cost of the expensive phone you are repairing, I tend to err in favor of putting it back together the way it’s designed. But, your phone, your choice!
All worked well except removing one of the adhesive strips. I used a “Bed Buddy” microwavable heat pack to warm the phone as directed and it worked fine. So far I’m pleased. Now comes the re-assembly challenge.
Use this iFixit video guide for applying the adhesive instead IMO—many people will tell you to apply it to the battery itself instead of the bottom of the case:
https://www.youtube.com/watch?v=Xthi6DOx...
At least you have options now. :)