주요 콘텐츠로 건너뛰기
수리 커뮤니티 가입 - 계정 만들기

iVIEW-754TPC LCD Replacement

필요한 것

    1. iVIEW-754TPC LCD Replacement, Rear Panel: 1 단계, 이미지 3개 중 1개 iVIEW-754TPC LCD Replacement, Rear Panel: 1 단계, 이미지 3개 중 2개 iVIEW-754TPC LCD Replacement, Rear Panel: 1 단계, 이미지 3개 중 3개
      • Before disassembling your tablet, make sure it is powered off.

      • Use plastic opening tool to release the clips holding the device together. The clips will take a small amount of pressure to release. Once you have the plastic opening tool inserted, use a twisting action to release the clips. Start from bottom of device and work all the way around.

      댓글 쓰기

    1. iVIEW-754TPC LCD Replacement, Remove Battery: 2 단계, 이미지 3개 중 1개 iVIEW-754TPC LCD Replacement, Remove Battery: 2 단계, 이미지 3개 중 2개 iVIEW-754TPC LCD Replacement, Remove Battery: 2 단계, 이미지 3개 중 3개
      • Use flat side of the spudger to get under battery and use pressure to release from glue. Do this all the way around battery until it comes off.

      • At this point do not attempt to fully remove the battery as it is still attached to the logic board.

      댓글 쓰기

    1. iVIEW-754TPC LCD Replacement, Camera Assembly: 3 단계, 이미지 3개 중 1개 iVIEW-754TPC LCD Replacement, Camera Assembly: 3 단계, 이미지 3개 중 2개 iVIEW-754TPC LCD Replacement, Camera Assembly: 3 단계, 이미지 3개 중 3개
      이 단계에 사용된 도구:
      Tweezers
      $4.99
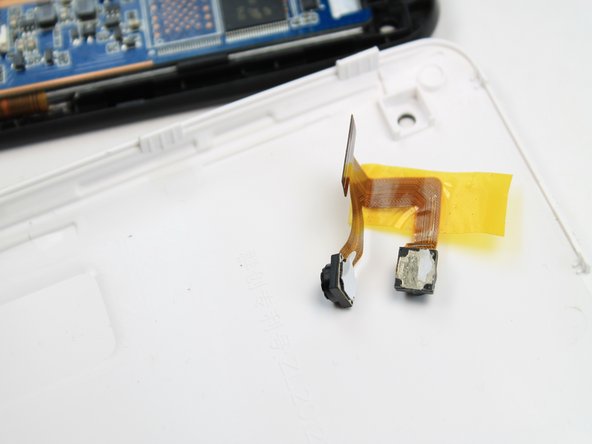
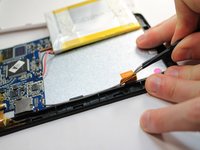
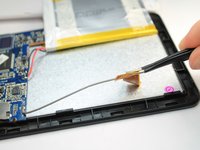
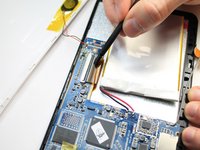
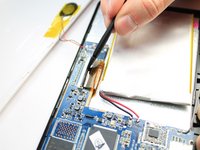
      • The camera module is located directly under the top right corner of the back cover.

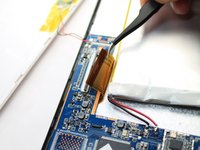
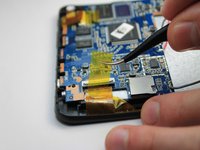
      • Peel back the tape holding down the camera ribbon connector using a pair of tweezers.

      • As you peel the tape backward, the front facing camera may come out, this is not an issue.

      • If the front facing camera does not come out, gently lift it out with a pair of tweezers

      댓글 쓰기

    2. iVIEW-754TPC LCD Replacement, Remove Camera: 4 단계, 이미지 2개 중 1개 iVIEW-754TPC LCD Replacement, Remove Camera: 4 단계, 이미지 2개 중 2개
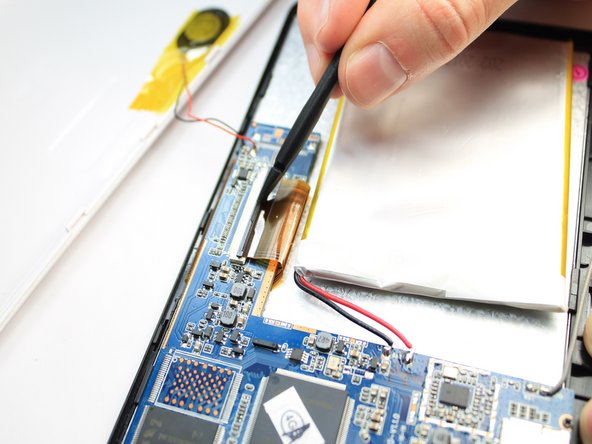
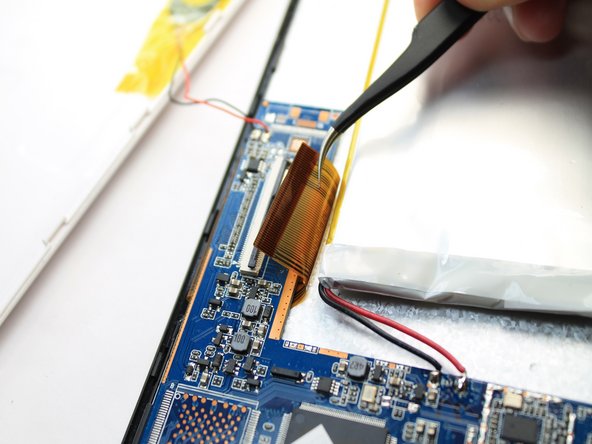
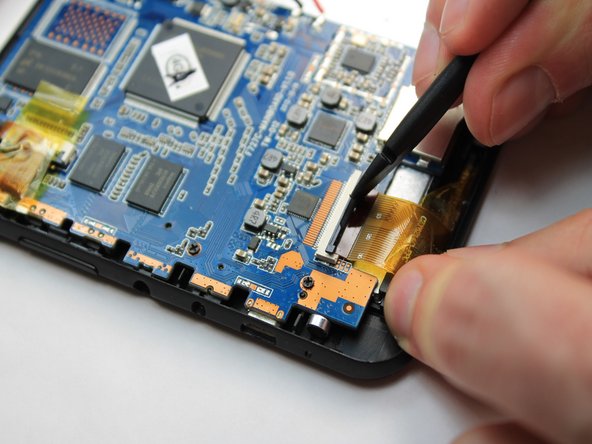
      • Use a spudger to lift flap on top of the camera ZIF adapter.

      • At this point the camera module can be easily removed with a pair of tweezers.

      • During reassembly, make sure you put the ZIF adapter snugly back into its socket and secure the flap.

      댓글 쓰기

    1. iVIEW-754TPC LCD Replacement, Logic Board: 5 단계, 이미지 1개 중 1개
      • Remove the four 2.2mm Phillips screws holding the logic board in place. Place the screws on the iFixit magnetic project mat.

      댓글 쓰기

    2. iVIEW-754TPC LCD Replacement, WIFI Antenna: 6 단계, 이미지 2개 중 1개 iVIEW-754TPC LCD Replacement, WIFI Antenna: 6 단계, 이미지 2개 중 2개
      이 단계에 사용된 도구:
      Tweezers
      $4.99
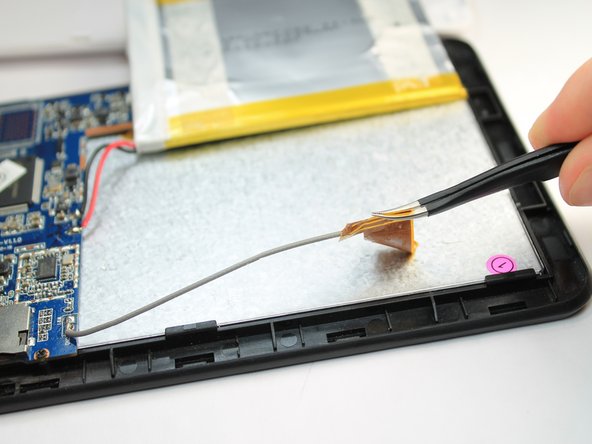
      • Gently peel the WIFI Antenna up using a pair of tweezers.

      댓글 쓰기

    3. iVIEW-754TPC LCD Replacement, Disconnect LCD: 7 단계, 이미지 3개 중 1개 iVIEW-754TPC LCD Replacement, Disconnect LCD: 7 단계, 이미지 3개 중 2개 iVIEW-754TPC LCD Replacement, Disconnect LCD: 7 단계, 이미지 3개 중 3개
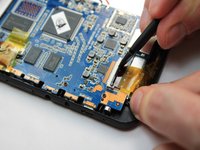
      • Use a spudger to lift the flap on top of the LCD ZIF socket.

      • Gently remove the ribbon cable from the socket using a tweezers.

      댓글 쓰기

    4. iVIEW-754TPC LCD Replacement, Disconnect Digitizer: 8 단계, 이미지 3개 중 1개 iVIEW-754TPC LCD Replacement, Disconnect Digitizer: 8 단계, 이미지 3개 중 2개 iVIEW-754TPC LCD Replacement, Disconnect Digitizer: 8 단계, 이미지 3개 중 3개
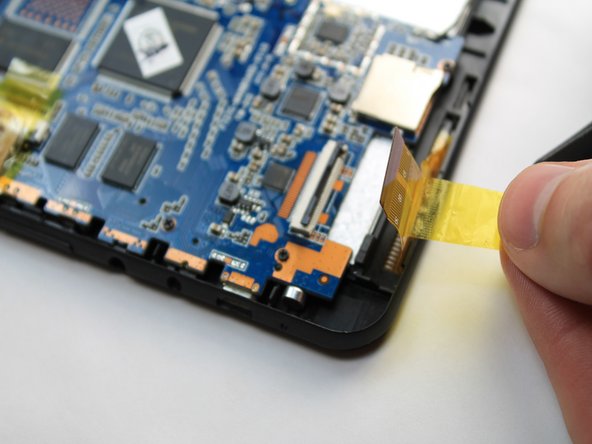
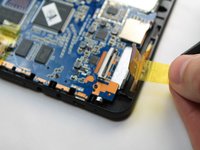
      • Use a spudger to lift the flap on top of the digitizer ZIF socket.

      • Gently pull the tape attached to the ribbon cable to remove the cable from its socket.

      댓글 쓰기

    5. iVIEW-754TPC LCD Replacement, Remove Logic Board: 9 단계, 이미지 3개 중 1개 iVIEW-754TPC LCD Replacement, Remove Logic Board: 9 단계, 이미지 3개 중 2개 iVIEW-754TPC LCD Replacement, Remove Logic Board: 9 단계, 이미지 3개 중 3개
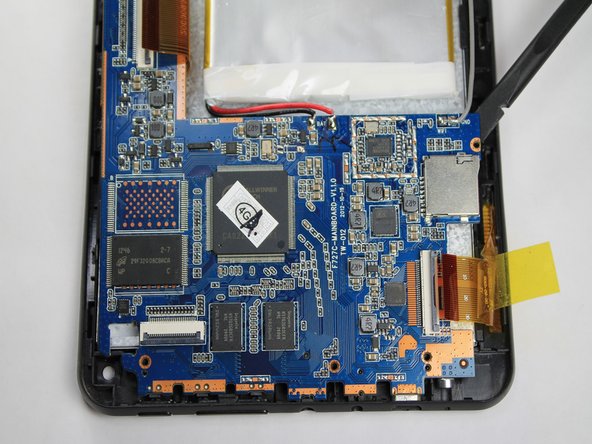
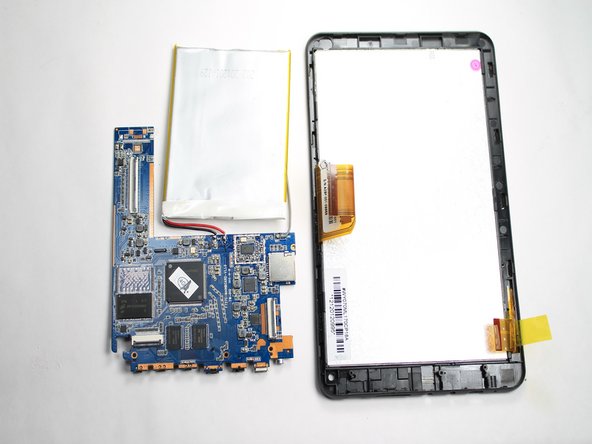
      • Gently slide the spudger below the logic board at the left side nearest the battery. Lift upward and away from the power button and bottom connectors.

      • The battery is still attached to the logic board. Be careful to not tear the two apart during removal.

      댓글 쓰기

    1. iVIEW-754TPC LCD Replacement, LCD: 10 단계, 이미지 3개 중 1개 iVIEW-754TPC LCD Replacement, LCD: 10 단계, 이미지 3개 중 2개 iVIEW-754TPC LCD Replacement, LCD: 10 단계, 이미지 3개 중 3개
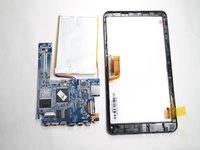
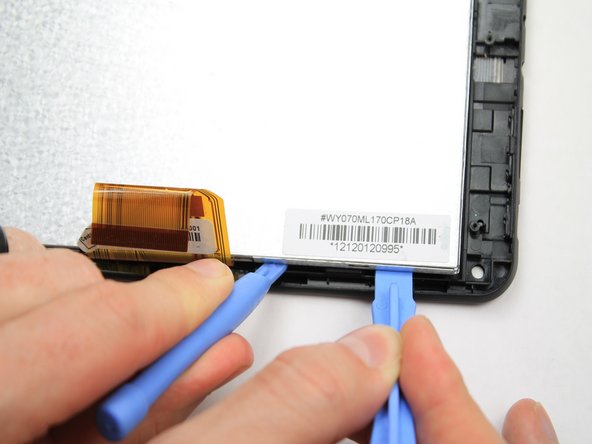
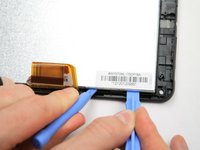
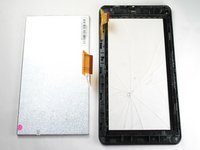
      • Insert a plastic opening tool between the LCD and digitizer on the side of the LCD with the ribbon cable. Use a second plastic opening tool to lift the LCD from the digitizer. Repeat this process on both sides of the LCD ribbon cable.

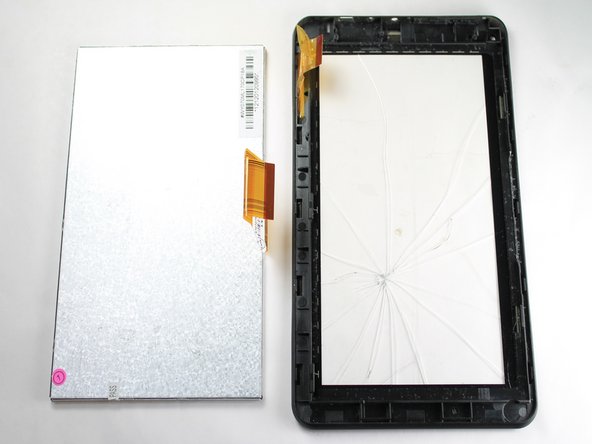
      • Fully remove the LCD from the digitizer.

      댓글 쓰기

결론

To reassemble your device, follow these instructions in reverse order.

취소: 해당 안내서를 완성하지 않았습니다.

다른 2명이 해당 안내서를 완성하였습니다.

작성자

1다른 기여자 명과 함께

Robert Clark

회원 가입일: 01/21/15

1,065 평판

안내서 7개를 작성함

USF Tampa, Team 5-4, Brown Winter 2015 USF Tampa, Team 5-4, Brown Winter 2015 회원

USFT-BROWN-W15S5G4

4 회원들

안내서 48개를 작성함

0가이드 댓글

댓글 쓰기

조회 통계:

지난 24시간: 2

지난 7일: 12

지난 30일: 35

전체 시간: 1,048