

-
-
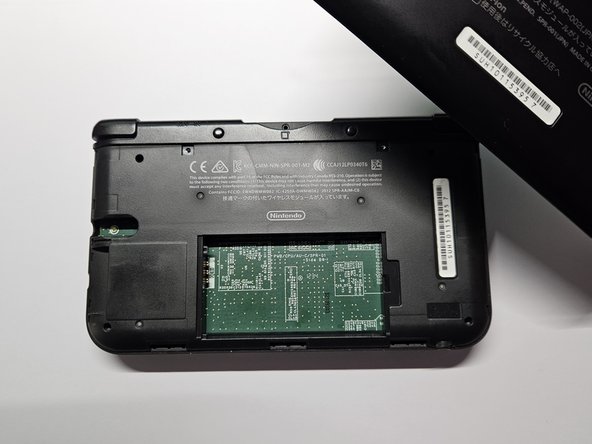
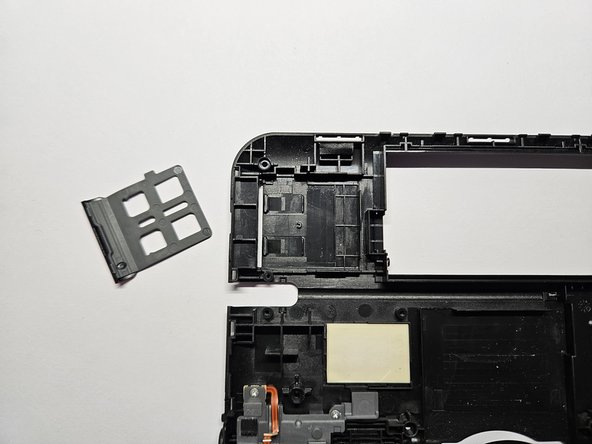
If you have a stylus, SD card or a game cartridge in the console, take them out
-
-
-
이 단계에 사용된 도구:Tweezers$4.99
-
Using tweezers pull out the rubber bumpers that are located at the top of the device on either side of the game cartridge compartment.
-
-
-
Remove the six 6.2 mm screws using a Phillips #00 screwdriver
-
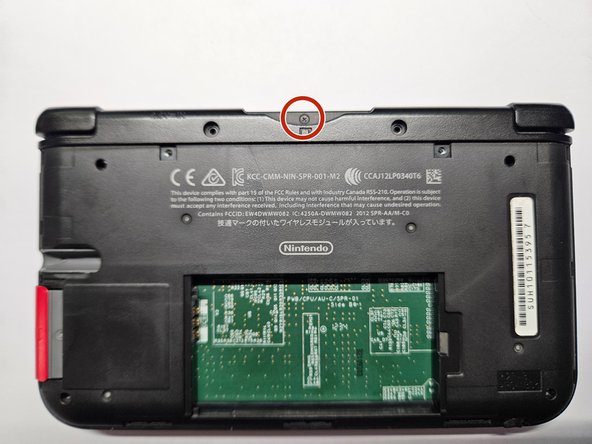
Remove the 2.3 mm screw located above the game cartridge slot with a Phillips #00 screwdriver.
-
With a plastic opening tool pry off the lower case starting at the bottom edge and working around the perimeter.
-
Two ribbon cables connect the case to the circuit board. Be careful to not pull the case too hard and rip the ribbon cables.
-
-
-
Remove the ribbon cables located underneath the left and right bumpers by prying up the base of the cables with a plastic opening tool.
-
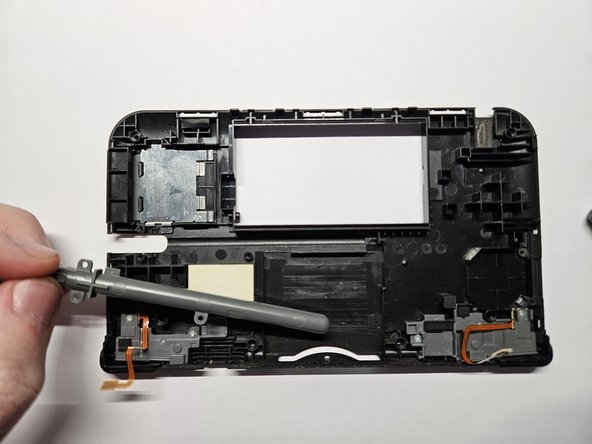
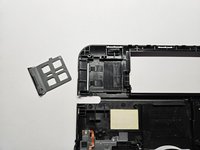
Completely remove the upper case from the rest of the device and set aside.
-
-
-
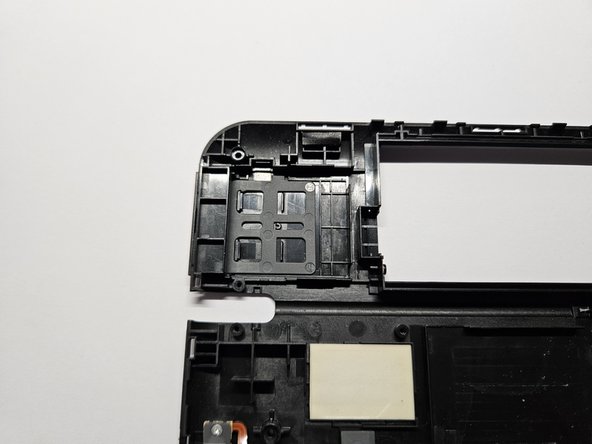
Remove the 3 golden, 2.3 mm screws located around the stylus slot with a Phillips #00 screwdriver.
-


To reassemble your device, follow these instructions in reverse order.
To reassemble your device, follow these instructions in reverse order.
다른 3명이 해당 안내서를 완성하였습니다.
