
3rd Generation Toyota Tacoma Tail Light Replacement

10 - 15 분
쉬움
추천 학생 안내서
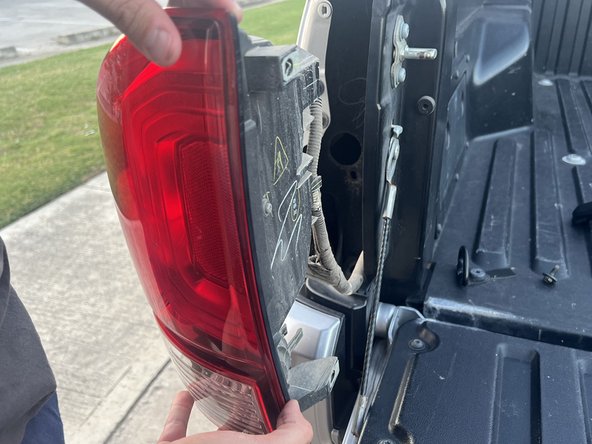
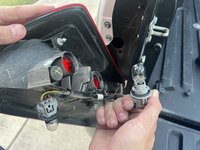
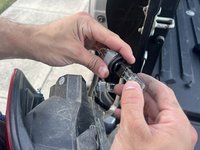
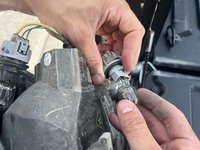
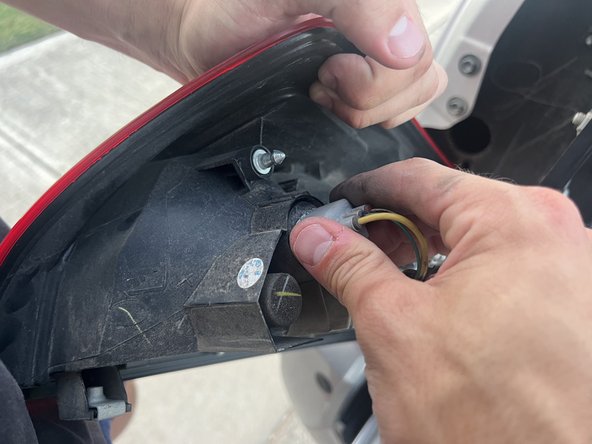
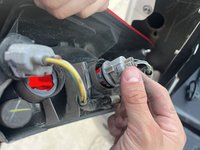
If your Toyota Tacoma 3rd generation's tail light has burned out and is no longer responding to the brake pedal or the hazard lights, use this guide to restore your tail light to working order.
필요한 것
부품
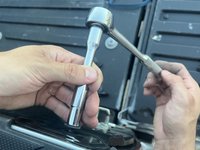
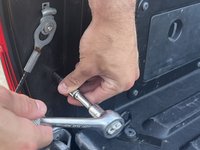
도구

더보기...
iFixit은 귀하가 이 링크를 통해 구매할 때 커미션을 받습니다.


거의 끝나갑니다!
To reassemble your device, follow these instructions in reverse order.
결론
To reassemble your device, follow these instructions in reverse order.
다른 2명이 해당 안내서를 완성하였습니다.

팀

Austin Community College, Team 5-9, Watkins Summer 2023 Austin Community College, Team 5-9, Watkins Summer 2023 회원
AUSTINCC-WATKINS-SU23S5G9
1 회원
안내서 1개 작성