소개
Use this guide to replace the battery on the 4Sight 9
필요한 것
-
-
Place the tablet on its side so that the two screws are facing upward.
-
Remove two 1 mm screws from the left side of the tablet using a Phillips #00 screwdriver.
 FixBot에 문의하기
-
-
-
Pry the case away from the device slowly by sliding a plastic opening tool along the device.
-
Once loosened, use your hands to separate the case from the device.
-
-
-
-
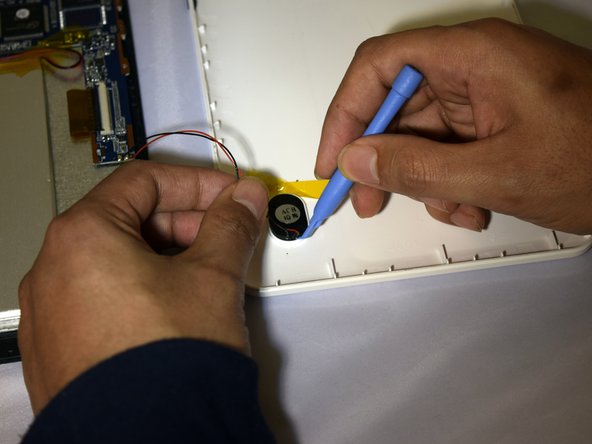
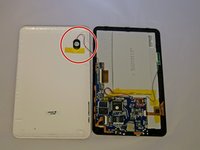
Hold the positive and negative wires as close as possible to the speaker.
-
Use an opening tool and fingers to simultaneously lift the speaker from the cover.
-
-
-
Use soldering gun to remove the positive and negative wires connecting the battery to the circuit board.
-
-
-
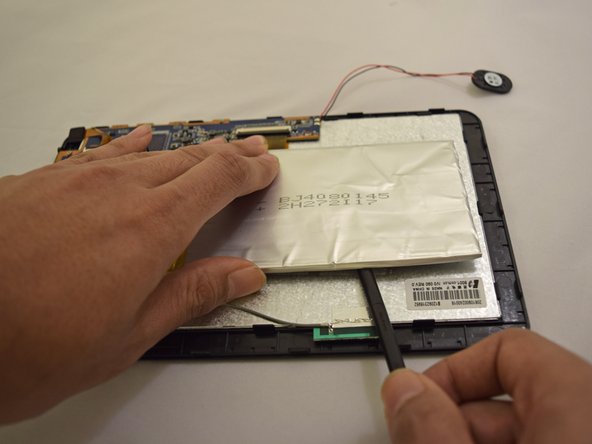
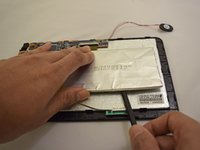
Insert plastic prying tool under upper-hand corner of battery and slide back and forth.
-
Once loosened, insert plastic prying tool under lower-hand corner and repeat sliding action.
-


To reassemble your device, follow these instructions in reverse order.
다른 7명이 해당 안내서를 완성하였습니다.

팀

Eastern Washington University, Team 1-2, Plummer Spring 2015 Eastern Washington University, Team 1-2, Plummer Spring 2015 회원
EWU-PLUMMER-S15S1G2
4 회원들
안내서 10개를 작성함