
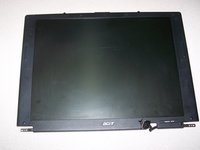
Acer Aspire 1410 Disassembly

To repair most parts on the Acer Aspire 1410 apart from HDD, RAM or battery it is necessary to disassemble the entire laptop computer. The motherboard is tricky to get to, and components are soldered on, but with perseverance, it can be done.
필요한 것


-
-
With laptop closed, turn screenside down and remove the battery.
-
Unscrew covers and remove HDD.
-
Unscrew cover and remove RAM.
-
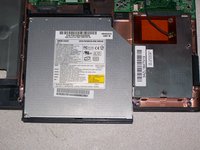
Unscrew and remove cover for fan.
-
-
-
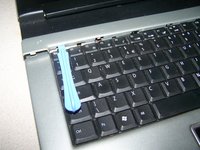
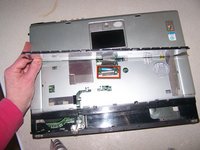
Use a spudger to release the silver and black plastic cover that forms the hinge covers. Start at one side nearest a hinge and work along the rear of the case, there are 5 tabs to release along the keyboard edge.
-
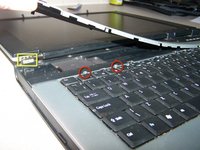
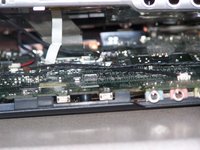
Disconnect LCD cable by lifting straight upwards using the black plastic tabs on the top of the LCD connector. You may need to use a spudger to loosen the connection along the uppermost edge-not along the logicboard.
-
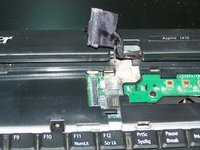
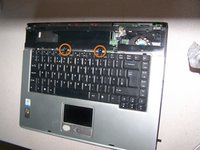
Remove 2 screws from left and right hinges.
-
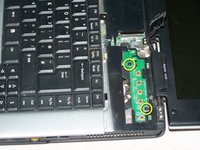
Remove 2 screws securing topcase to rear of battery tray.
-
-
-
-
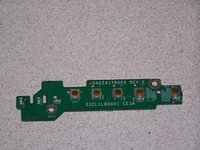
Disconnect trackpad.
-
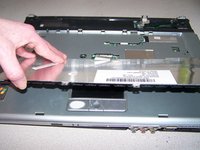
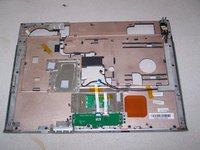
Use a spudger to ease topcase free of bottom case. Slide topcase toward trackpad and then lift up. Resistance can be felt from magnets on topcase.
-
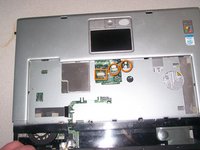
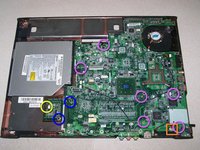
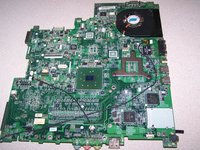
Your laptop should now look like this; middle photo is the remaining logicboard and bottom case, the last photo is the topcase cover.
-


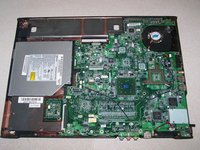


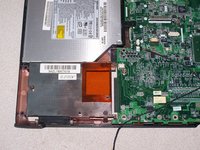


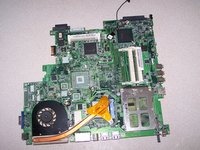
To reassemble your device, follow these instructions in reverse order. Remember to place logicboard in ac power connection end in first
To reassemble your device, follow these instructions in reverse order. Remember to place logicboard in ac power connection end in first
다른 22명이 해당 안내서를 완성하였습니다.

팀

댓글 3개
superb thanx thanx thanx
Great start, but this is not my 1410 and there is no selection for other models. The one I have is much smaller. Mine is model 1410-2817.
Great effort but my model does not mach, much smaller, 1410-2817.