
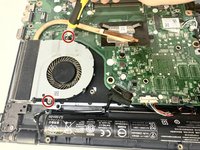
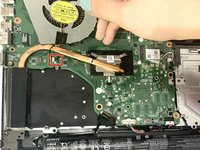
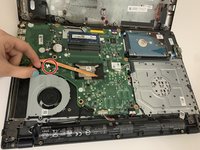
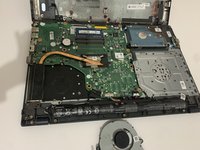
Acer Aspire E5-573G Fan Replacement
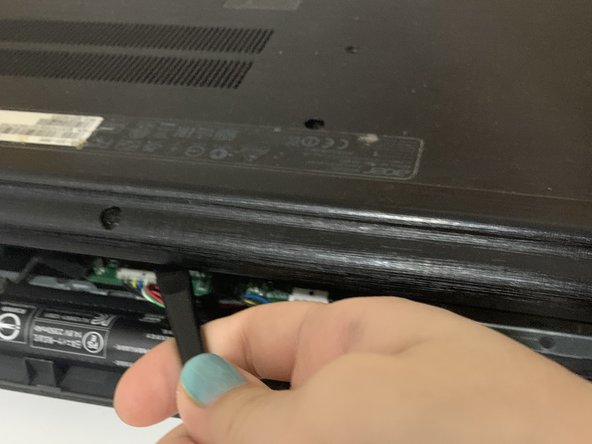
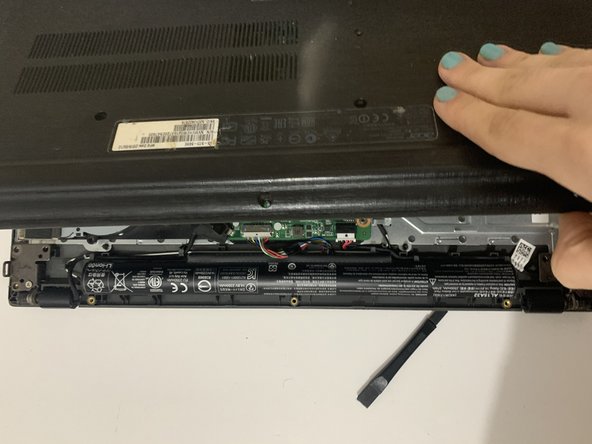
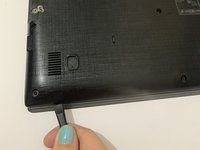
After a while, your laptop fan could get clogged with dust and start overheating or it could get damaged due to excessive usage. Fans remove heat from the interior of the laptop. move heat away from hardware. The main objective of this is to prevent overheating, something electronics is severely sensitive with as well. This guide will help you replace your Acer Aspire E5-573G fan with easy to moderate steps that can be done at home to prevent internal damage to your hardware.


To reassemble your device, follow these instructions in reverse order.
To reassemble your device, follow these instructions in reverse order.
다른 한 분이 해당 안내서를 완성하였습니다.
팀

York University, Team S1-G20, O'Regan Winter 2021 York University, Team S1-G20, O'Regan Winter 2021 회원
YORK-O'REGAN-W21S1G20
2 회원들
안내서 1개 작성