
Acer Aspire Switch 10 SW5-011-18R3 Motherboard Replacement
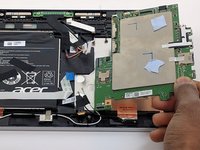
If you've exhausted every option when trying to get your device to retain charge or turn on, the motherboard may be the culprit. Use this guide to remove and replace it.


-
-
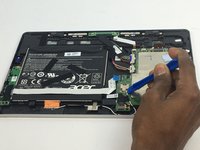
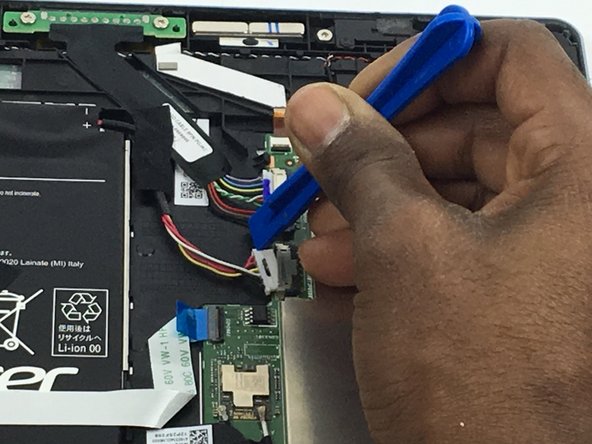
Wedge your plastic opening tool into the crevice between the volume button and casing to create space.
-
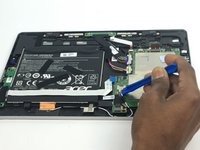
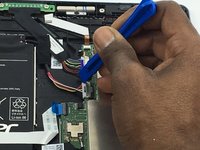
Slide the plastic opening tool along this crevice to pry apart the backing of the tablet.
-
-


To reassemble your device, follow these instructions in reverse order.
To reassemble your device, follow these instructions in reverse order.
다른 9명이 해당 안내서를 완성하였습니다.
팀

USF Tampa, Team 3-4, Passmore Fall 2016 USF Tampa, Team 3-4, Passmore Fall 2016 회원
USFT-PASSMORE-F16S3G4
4 회원들
안내서 4개를 작성함