
Acer Aspire TimelineX 4830T-6682 Keyboard Replacement
This is the keyboard replacement guide for the Acer Aspire TimelineX 4830T-6682. Make sure you have followed all of the prerequisite steps before proceeding!


-
-
Remove the single screw with a Phillips #0 screwdriver.
-
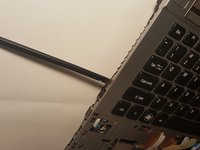
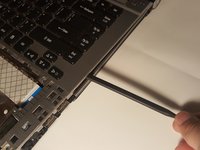
Use a plastic opening tool on the upper part of the panel to remove it and access the RAM.
-
-
-
Remove the eleven screws that hold that back panel to the laptop using a J0 Phillips screwdriver bit.
-
-
-
이 단계에 사용된 도구:Tweezers$3.99
-
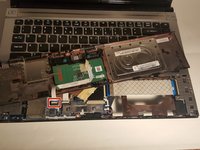
Place the laptop in the upright position, the lower front touchpad panel should be easily detatched at this point.
-
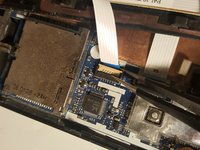
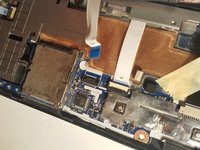
Remove the lower front touchpad panel by using an angled tweezers to disconnect the only wired tape connected to the motherboard.
-


To reassemble your device, follow these instructions in reverse order.
To reassemble your device, follow these instructions in reverse order.
다른 한 분이 해당 안내서를 완성하였습니다.
팀

University of North Texas, Team S3-G6, Thompson Fall 2017 University of North Texas, Team S3-G6, Thompson Fall 2017 회원
UNT-THOMPSON-F17S3G6
4 회원들
안내서 5개를 작성함