
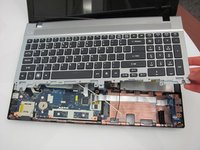
Acer Aspire V3-551-8887 Keyboard Replacement
30 분
조정
잘못된 도구
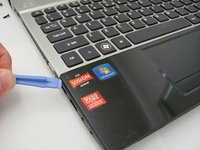
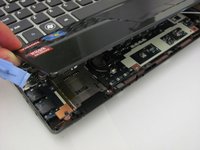
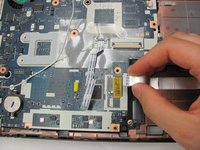
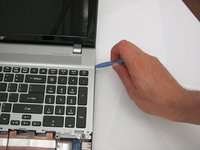
Removing the keyboard may take a some effort and a little bit of patience, but you can do it!


-
-
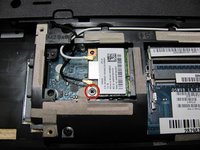
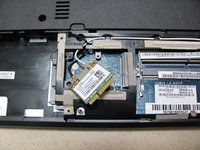
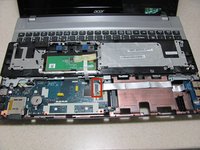
Locate and remove the two 5.3 mm Phillips #1 screws holding the back panel in place.
-
-


거의 끝나갑니다!
To reassemble your device, follow these instructions in reverse order.
결론
To reassemble your device, follow these instructions in reverse order.
다른 3명이 해당 안내서를 완성하였습니다.
팀

Cal Poly, Team 8-8, Regan Spring 2014 Cal Poly, Team 8-8, Regan Spring 2014 회원
CPSU-REGAN-S14S8G8
4 회원들
안내서 7개를 작성함