
Acer Aspire V3-571G Screen Replacement
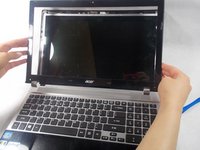
If you’ve cracked or damaged the screen of your Acer Aspire V3-571G laptop, it may be time for a replacement. To complete this replacement, you will need a few tools, so make sure to check the Tools List below before starting this replacement. This guide will help you properly and safely replace the screen on your Acer Aspire laptop.


-
-
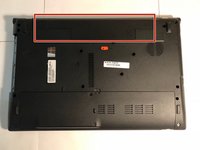
Turn the laptop upside down to locate the battery at the top of the laptop.
-
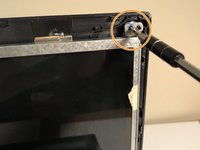
Use a screwdriver to shift the orange lever to the right.
-
-
이 단계에 사용된 도구:Tweezers$4.99
-
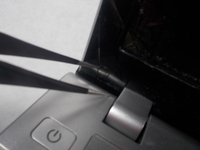
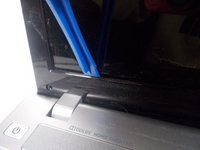
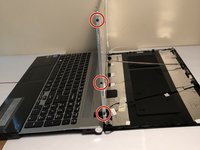
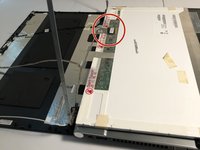
Use a pair of tweezers to carefully remove the two small pieces of plastic at the bottom of the screen.
-
-


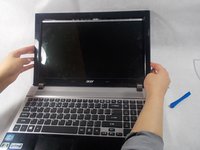


To reassemble your device, follow these instructions in reverse order.
To reassemble your device, follow these instructions in reverse order.
다른 5명이 해당 안내서를 완성하였습니다.
팀

UMass Dartmouth, Team S4-G6, Covino Spring 2018 UMass Dartmouth, Team S4-G6, Covino Spring 2018 회원
UMASSD-COVINO-S18S4G6
3 회원들
안내서 6개를 작성함