
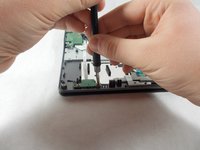
Acer Chromebook C720-2827 SD Card Reader/USB Port Replacement
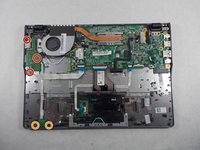
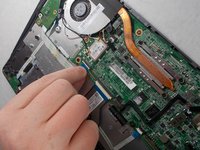
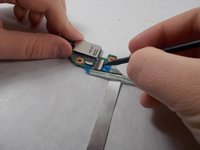
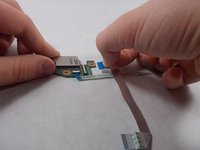
This guide explains how to remove the SD Card Reader and the USB Port next to it. Before removing the two ports, the back panel assembly, battery, and speakers needs to be removed. Once all of these are removed, the two ports can be easily disconnected from the Chromebook.
필요한 것


-
-
Remove the thirteen 6.0mm screws on the back panel using your Phillips #1 screwdriver.
-
-
-
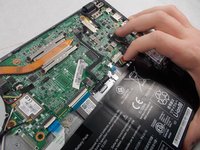
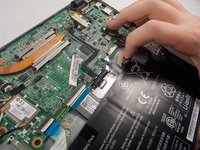
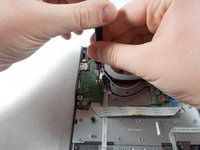
Remove the two 6.0mm screws securing the battery with your Phillips #1 screwdriver.
-
-
-
-
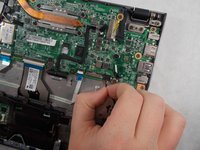
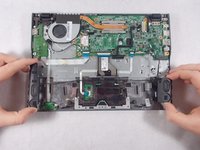
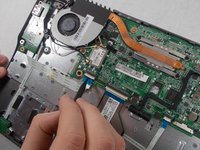
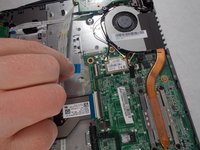
Remove the three 6.0mm screws using the Phillips #1 screwdriver.
-
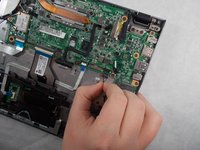
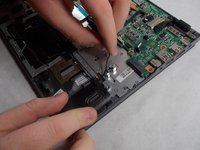
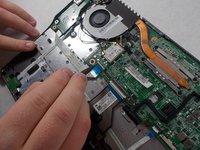
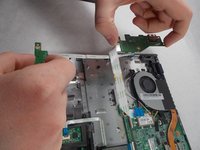
Remove the two 3.0mm screws using the Phillips #1 screwdriver.
-


To reassemble your device, follow these instructions in reverse order.
To reassemble your device, follow these instructions in reverse order.
다른 한 분이 해당 안내서를 완성하였습니다.
팀

UMass Dartmouth, Team S4-G7, Julie Fall 2017 UMass Dartmouth, Team S4-G7, Julie Fall 2017 회원
UMASSD-JULIE-F17S4G7
1 회원
안내서 7개를 작성함