
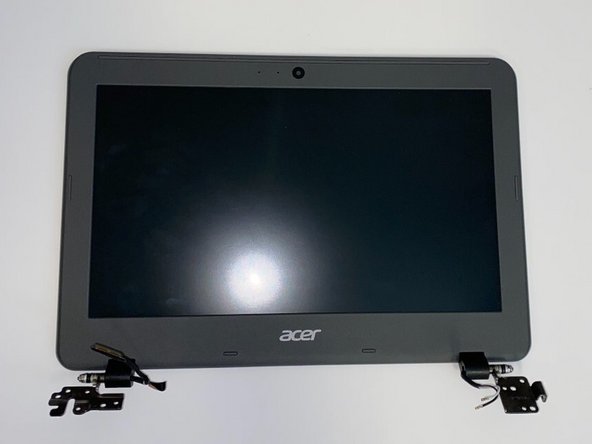
Acer Chromebook C731-C8VE Display Assembly Replacement
This is the display assembly replacement guide for the Acer Chromebook C731-C8VE. By following the guide, you should be able to completely remove the screen from your device.
Make sure to follow all hazard warnings for your safety.


-
-
-
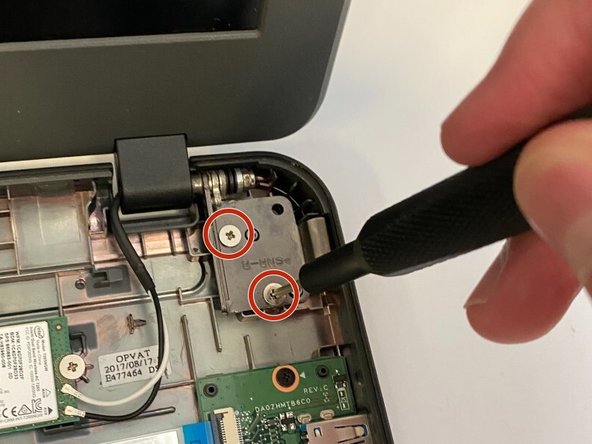
Use the JIS #00 screwdriver to remove the four 1.5mm screws that connect the base of the laptop to the screen. There are two screws on each latch.
-
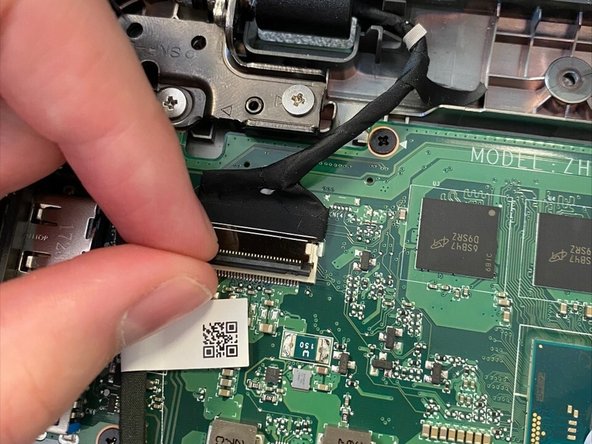
Carefully detach the cables that connect the screen to the motherboard. This includes a black display cable that connects to the mother board and two wires that connect to the Wi-Fi card.
-


To reassemble your device, follow these instructions in reverse order.
To reassemble your device, follow these instructions in reverse order.
다른 한 분이 해당 안내서를 완성하였습니다.
팀

University of Alabama, Team 3-1, Bedsole Spring 2022 University of Alabama, Team 3-1, Bedsole Spring 2022 회원
UA-BEDSOLE-S22S3G1
4 회원들
안내서 4개를 작성함