소개
The side buttons on the Alienware AW610M are responsible for providing short-cuts and in-game actions. After some time, the side buttons may stop working due to wear or build up of debris. Replacing the side buttons allows the mouse to be reliable and work at its best ability.
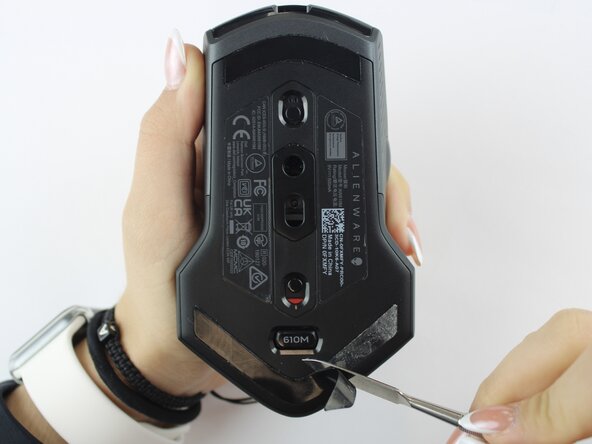
Before you start replacing the side buttons, make sure the mouse is turned off and unplugged. If you are unsure about the side button being the source of the problem, refer back to our troubleshooting page before you continue.
필요한 것
-
-
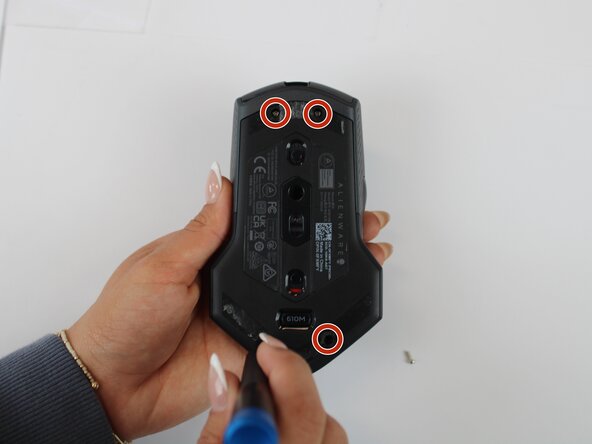
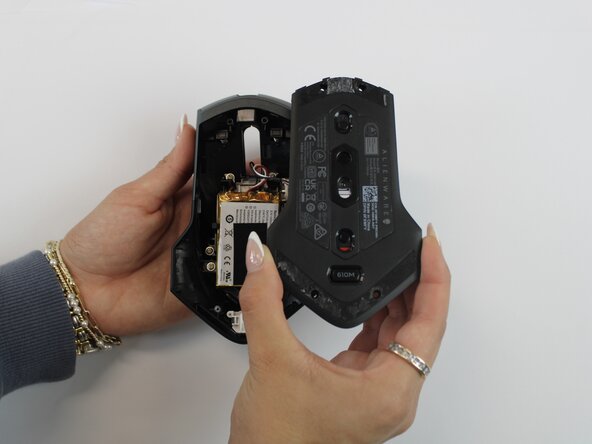
Using an opening tool, gently pry apart the two halves of the mouse case. Start at the seam and work your way around until the housing is separated.
-
-
-
-
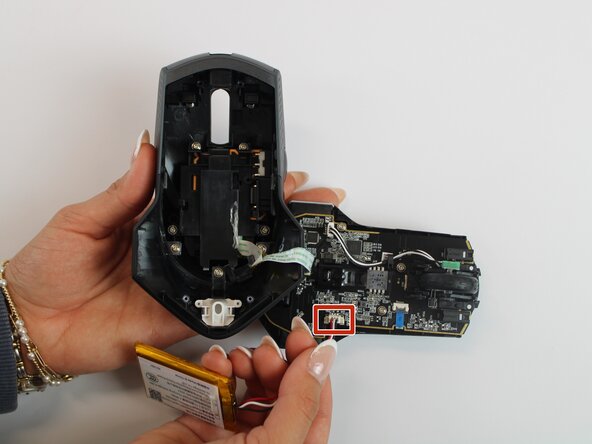
Remove the old battery from its spot. Lift the wire connector away from the mainboard to disconnect it.
-
-
-
Remove the single 5.4 mm screw using a Phillips #1 screwdriver.
-
Detach the cable connector, and remove the scroll wheel.
-
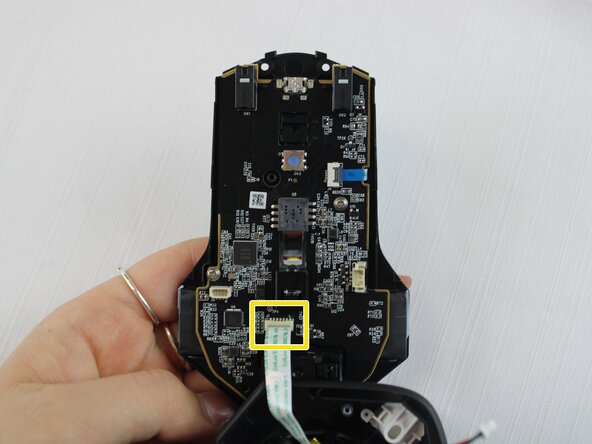
Gently detach the last connector using your fingers.
-
-
-
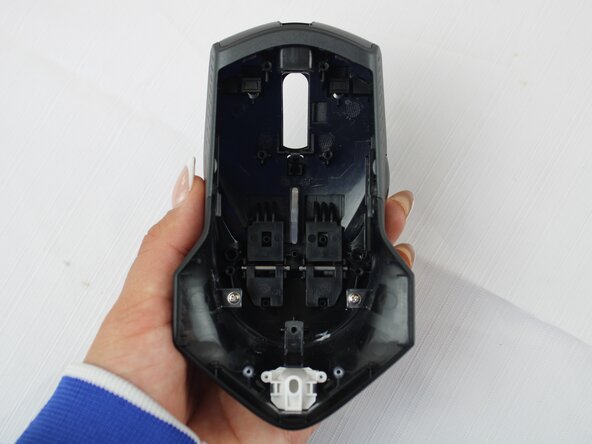
Turn the large shell casing so that the inside faces you.
-
Using a Phillips #1 screwdriver, remove six 5.4 mm screws.
-
-
-
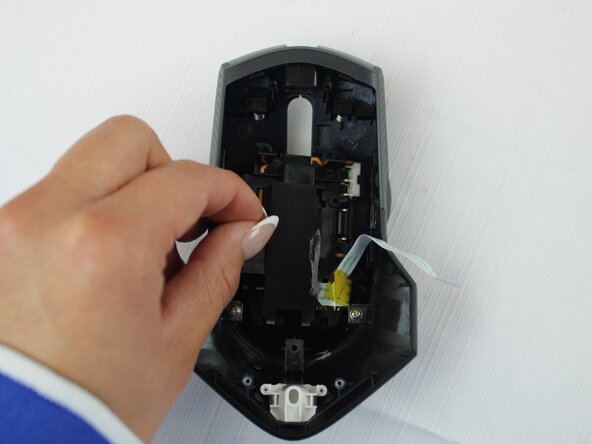
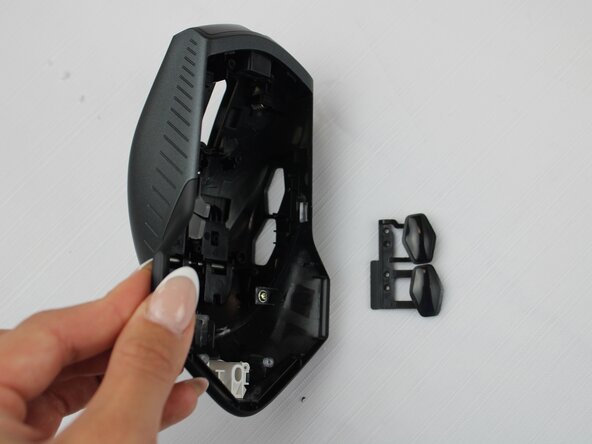
Using your fingers, disconnect the plastic tab in the middle of the large shell casing to access the side buttons.
-
-
-
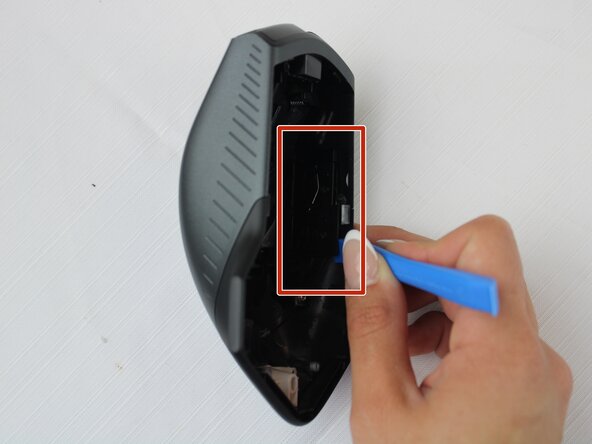
Remove the side button on the inner side of the wall using a plastic opening tool.
-


To reassemble your device, follow these instructions in reverse order.
팀

Texas Tech, Team 46-4, Johansen Fall 2025 Texas Tech, Team 46-4, Johansen Fall 2025 회원
TTU-JOHANSEN-F25S46G4
4 회원들
안내서 5개를 작성함