주요 콘텐츠로 건너뛰기
수리 커뮤니티 가입 - 계정 만들기

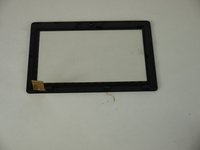
Alldaymall A88X Touch Sensor Replacement

필요한 것

    1. Alldaymall A88X Touch Sensor Replacement, Alldaymall A88X Back Cover: 1 단계, 이미지 3개 중 1개 Alldaymall A88X Touch Sensor Replacement, Alldaymall A88X Back Cover: 1 단계, 이미지 3개 중 2개 Alldaymall A88X Touch Sensor Replacement, Alldaymall A88X Back Cover: 1 단계, 이미지 3개 중 3개
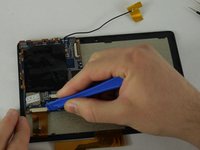
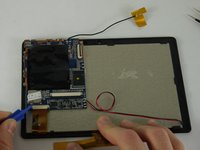
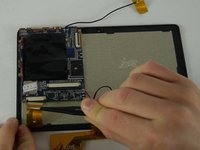
      • Using a plastic opening tool, carefully pry the device apart. Make your way around the entire perimeter of the device and carefully place the two panels next to each other.

      • After the panels are separated, watch out for the speaker on the rear panel as it's wire is rather short.

      • When separating the panels keep an eye out for the power button and volume rocker as they can be dislodged.

      댓글 쓰기

    2. Alldaymall A88X Touch Sensor Replacement: 2 단계, 이미지 1개 중 1개
      이 단계에 사용된 도구:
      Tweezers
      $4.99
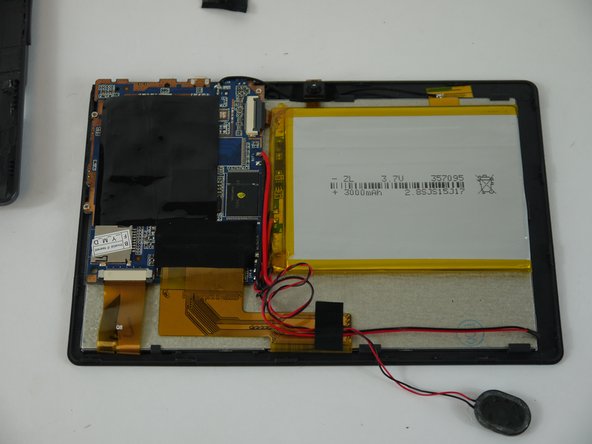
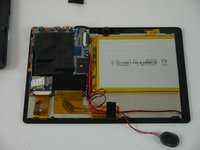
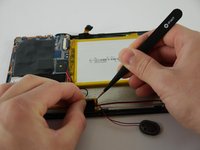
      • Grip the speaker from the sides with your fingers or a pair of tweezers and slowly begin to remove it from the rear panel.

      • When removing the speaker, make sure not to disconnect the wires in any way.

      • After the speaker has been removed, place the rear panel aside.

      댓글 쓰기

    1. Alldaymall A88X Touch Sensor Replacement, Speaker: 3 단계, 이미지 3개 중 1개 Alldaymall A88X Touch Sensor Replacement, Speaker: 3 단계, 이미지 3개 중 2개 Alldaymall A88X Touch Sensor Replacement, Speaker: 3 단계, 이미지 3개 중 3개
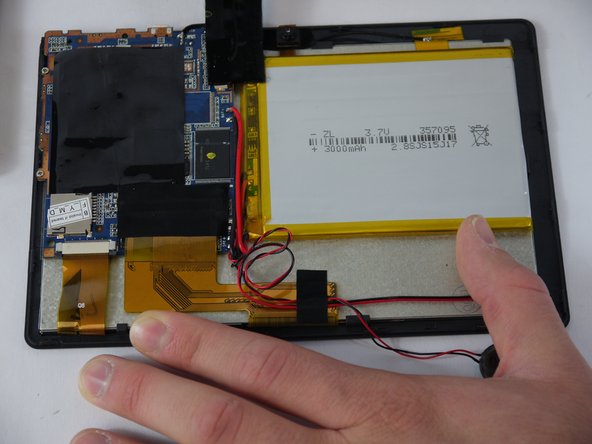
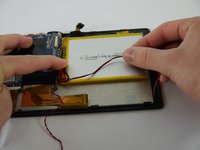
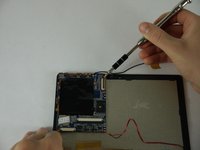
      • Carefully separate the speaker wire from the tape and proceed to peel the tape off in an upwards direction.

      • The tape we are removing covers a number of connections on the motherboard. Be extra careful not to sever any of these.

      댓글 쓰기

    2. Alldaymall A88X Touch Sensor Replacement: 4 단계, 이미지 3개 중 1개 Alldaymall A88X Touch Sensor Replacement: 4 단계, 이미지 3개 중 2개 Alldaymall A88X Touch Sensor Replacement: 4 단계, 이미지 3개 중 3개
      이 단계에 사용된 도구:
      Tweezers
      $4.99
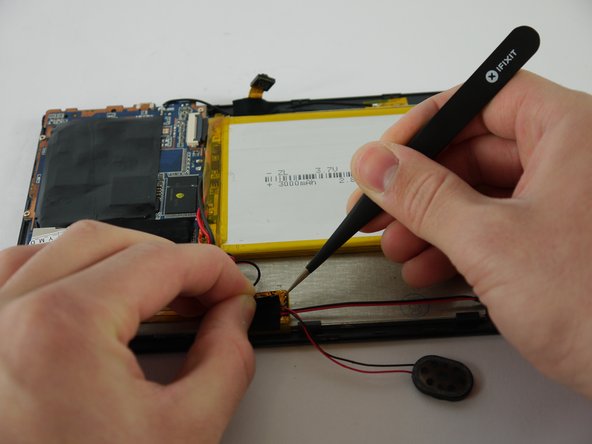
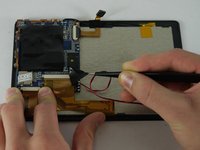
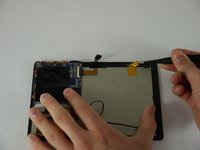
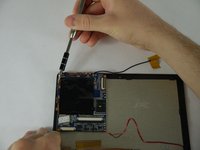
      • Using a pair of tweezers, begin separating the tape downwards from the back panel.

      • Pull the tape away from the wire bundle beneath.

      • Isolate the wire running from the speaker to the motherboard.

      댓글 쓰기

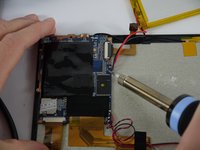
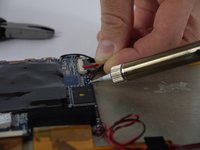
    3. Alldaymall A88X Touch Sensor Replacement: 5 단계, 이미지 3개 중 1개 Alldaymall A88X Touch Sensor Replacement: 5 단계, 이미지 3개 중 2개 Alldaymall A88X Touch Sensor Replacement: 5 단계, 이미지 3개 중 3개
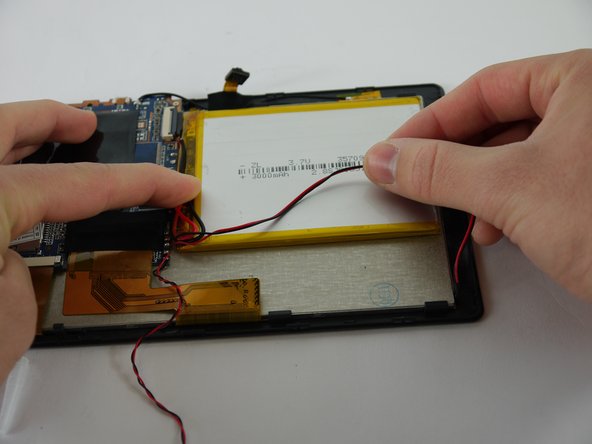
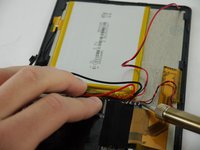
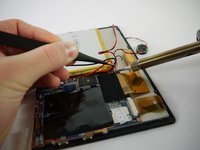
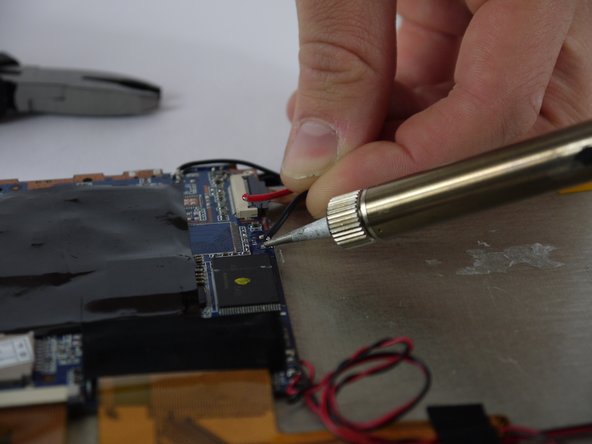
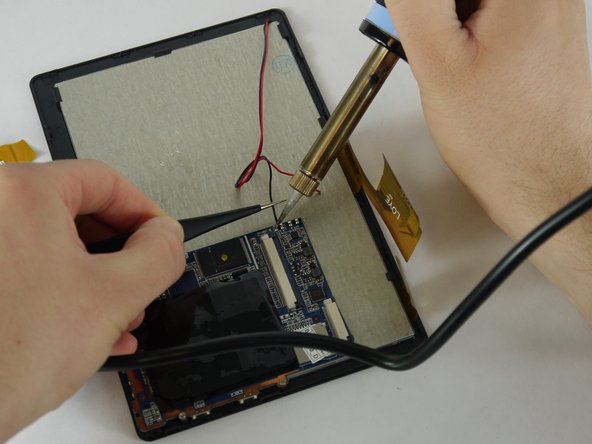
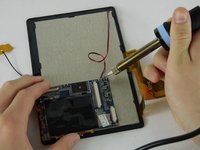
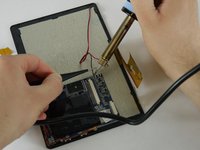
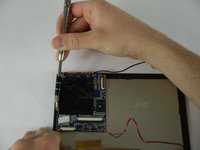
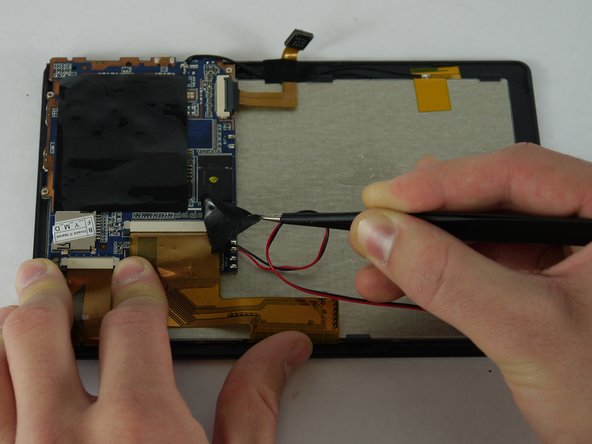
      • Desolder the speaker wires from the motherboard.

      댓글 쓰기

    1. Alldaymall A88X Touch Sensor Replacement, Camera: 6 단계, 이미지 3개 중 1개 Alldaymall A88X Touch Sensor Replacement, Camera: 6 단계, 이미지 3개 중 2개 Alldaymall A88X Touch Sensor Replacement, Camera: 6 단계, 이미지 3개 중 3개
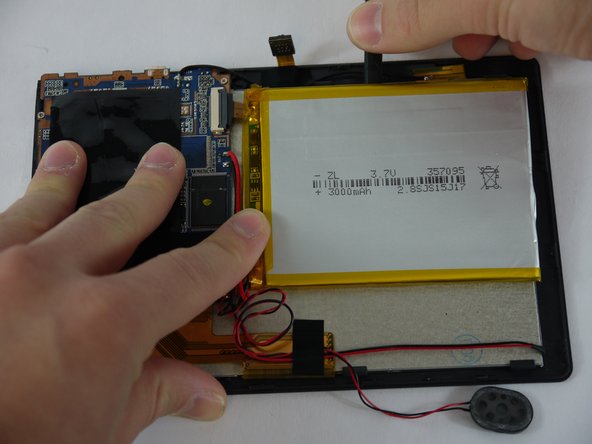
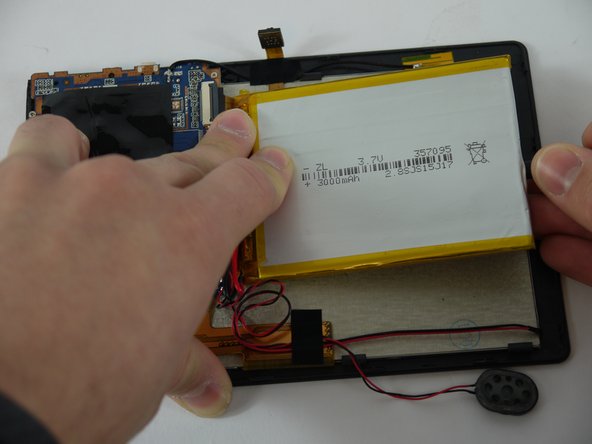
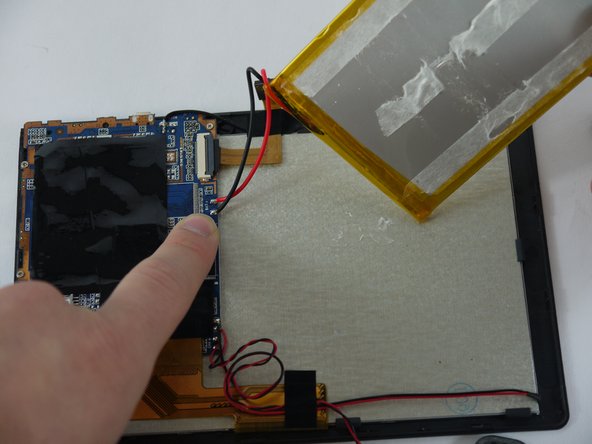
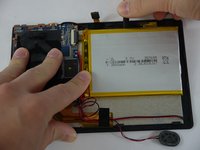
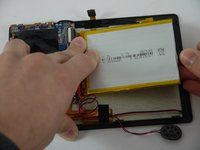
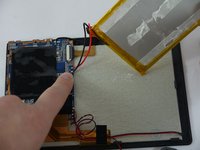
      • Using a nylon spudger, slowly work your way underneath the battery separating it from the panel beneath.

      • After the battery is separated from the panel make sure to place it face down above the tablet itself.

      • Throughout the removal process keep an eye on the battery's wires and make sure they do not break.

      댓글 쓰기

    2. Alldaymall A88X Touch Sensor Replacement: 7 단계, 이미지 2개 중 1개 Alldaymall A88X Touch Sensor Replacement: 7 단계, 이미지 2개 중 2개
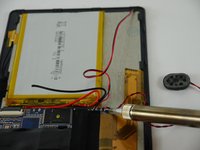
      • Desolder the wires that connect the battery to the motherboard.

      댓글 쓰기

    3. Alldaymall A88X Touch Sensor Replacement: 8 단계, 이미지 2개 중 1개 Alldaymall A88X Touch Sensor Replacement: 8 단계, 이미지 2개 중 2개
      이 단계에 사용된 도구:
      Tweezers
      $4.99
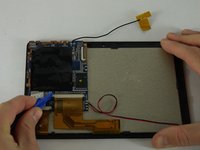
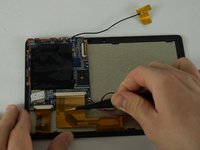
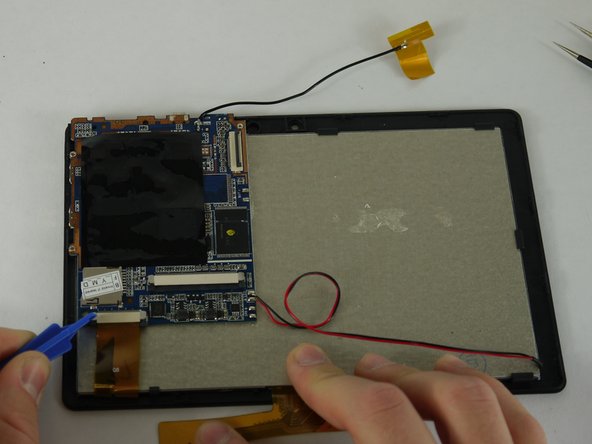
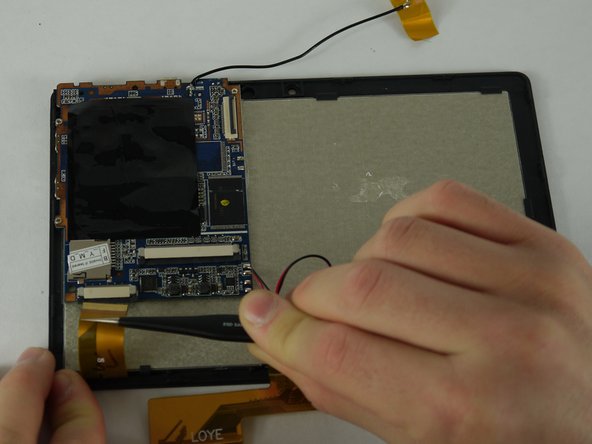
      • Using a pair of tweezers begin to peel the tape covering the ribbon cable on the motherboard.

      댓글 쓰기

    4. Alldaymall A88X Touch Sensor Replacement: 9 단계, 이미지 3개 중 1개 Alldaymall A88X Touch Sensor Replacement: 9 단계, 이미지 3개 중 2개 Alldaymall A88X Touch Sensor Replacement: 9 단계, 이미지 3개 중 3개
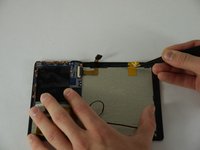
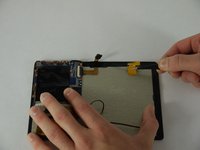
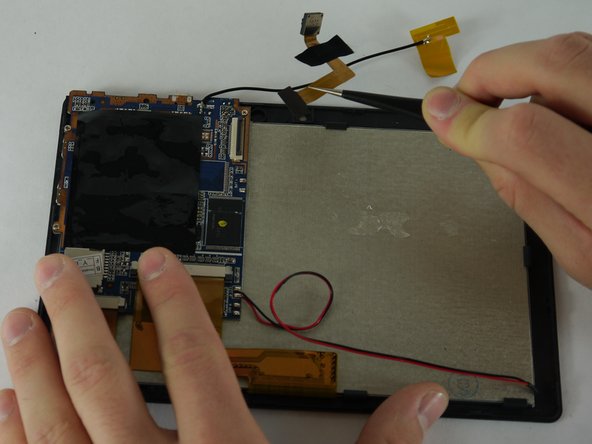
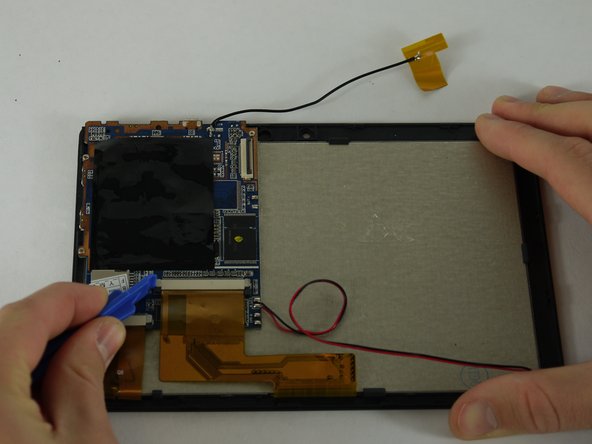
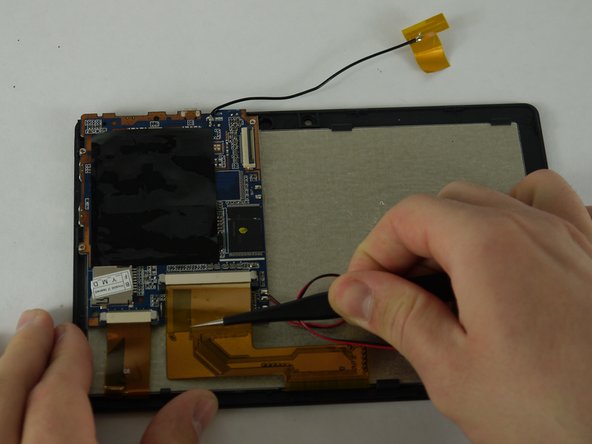
      • Using a pair of tweezers begin to peel the antenna from the metal panel.

      • Work your way down until the antenna is completely removed.

      • Be careful not deform the antenna or sever its connection.

      댓글 쓰기

    5. Alldaymall A88X Touch Sensor Replacement: 10 단계, 이미지 1개 중 1개
      • Using a pair of tweezers remove the tape securing the cameras to the back panel.

      댓글 쓰기

    6. Alldaymall A88X Touch Sensor Replacement: 11 단계, 이미지 1개 중 1개
      • Using a plastic opening tool lift up the flap on the ribbon cable receptacle.

      댓글 쓰기

    7. Alldaymall A88X Touch Sensor Replacement: 12 단계, 이미지 2개 중 1개 Alldaymall A88X Touch Sensor Replacement: 12 단계, 이미지 2개 중 2개
      • Using a pair of tweezers remove the camera assembly from its housing and its receptacles.

      댓글 쓰기

    1. Alldaymall A88X Touch Sensor Replacement, Motherboard: 13 단계, 이미지 3개 중 1개 Alldaymall A88X Touch Sensor Replacement, Motherboard: 13 단계, 이미지 3개 중 2개 Alldaymall A88X Touch Sensor Replacement, Motherboard: 13 단계, 이미지 3개 중 3개
      이 단계에 사용된 도구:
      Tweezers
      $4.99
      • Use a plastic opening tool to pull out the black knobs on both sides of the ribbon cable receptacle.

      • Using a pair of tweezers remove the ribbon cable from its receptacle.

      댓글 쓰기

    2. Alldaymall A88X Touch Sensor Replacement: 14 단계, 이미지 3개 중 1개 Alldaymall A88X Touch Sensor Replacement: 14 단계, 이미지 3개 중 2개 Alldaymall A88X Touch Sensor Replacement: 14 단계, 이미지 3개 중 3개
      • Now on the left ribbon cable use a plastic opening tool to pull out the black knobs on both sides of the ribbon cable receptacle.

      • Using a pair of tweezers remove the ribbon cable from its receptacle.

      댓글 쓰기

    3. Alldaymall A88X Touch Sensor Replacement: 15 단계, 이미지 2개 중 1개 Alldaymall A88X Touch Sensor Replacement: 15 단계, 이미지 2개 중 2개
      • Desolder the wires that connect the backlight to the motherboard.

      댓글 쓰기

    4. Alldaymall A88X Touch Sensor Replacement: 16 단계, 이미지 3개 중 1개 Alldaymall A88X Touch Sensor Replacement: 16 단계, 이미지 3개 중 2개 Alldaymall A88X Touch Sensor Replacement: 16 단계, 이미지 3개 중 3개
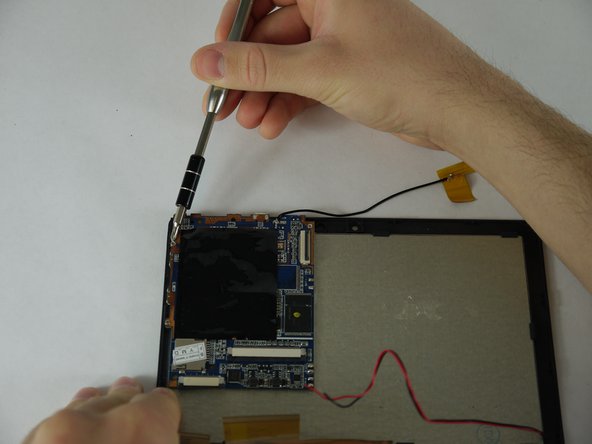
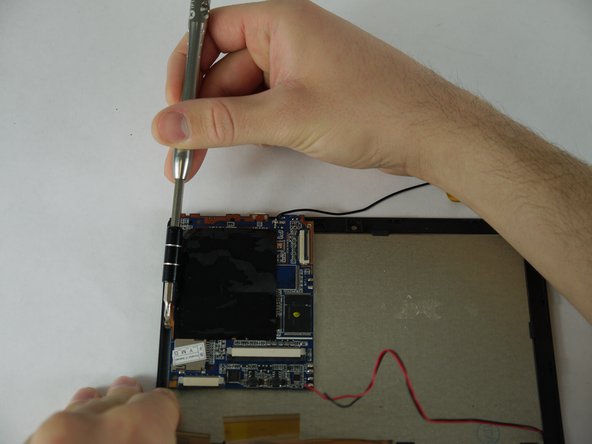
      • Using a PH0 screw bit unscrew the three 3mm screws securing the motherboard to the back panel.

      댓글 쓰기

    5. Alldaymall A88X Touch Sensor Replacement: 17 단계, 이미지 1개 중 1개
      • Carefully lift up on the motherboard from its housing.

      댓글 쓰기

    1. Alldaymall A88X Touch Sensor Replacement, LCD Screen and Touch Sensor Assembly: 18 단계, 이미지 3개 중 1개 Alldaymall A88X Touch Sensor Replacement, LCD Screen and Touch Sensor Assembly: 18 단계, 이미지 3개 중 2개 Alldaymall A88X Touch Sensor Replacement, LCD Screen and Touch Sensor Assembly: 18 단계, 이미지 3개 중 3개
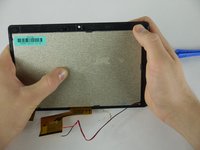
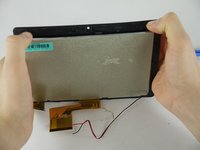
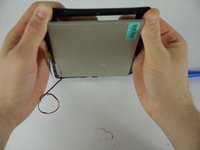
      • Gently pry the brackets holding the touch sensor to the LCD Screen

      • Do not bend the touch sensor to much as it may shatter.

      댓글 쓰기

    1. Alldaymall A88X Touch Sensor Replacement, Touch Sensor: 19 단계, 이미지 2개 중 1개 Alldaymall A88X Touch Sensor Replacement, Touch Sensor: 19 단계, 이미지 2개 중 2개
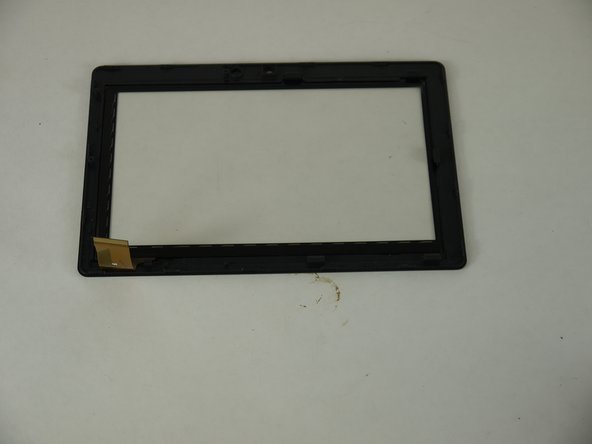
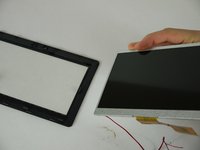
      • Set the LCD Screen aside.

      댓글 쓰기

결론

To reassemble your device, follow these instructions in reverse order.

취소: 해당 안내서를 완성하지 않았습니다.

다른 2명이 해당 안내서를 완성하였습니다.

작성자

1다른 기여자 명과 함께

Drhaber

회원 가입일: 02/10/16

985 평판

안내서 7개를 작성함

USF Tampa, Team 4-1, Lacy Spring 2016 USF Tampa, Team 4-1, Lacy Spring 2016 회원

USFT-LACY-S16S4G1

4 회원들

안내서 16개를 작성함

2가이드 댓글

Fantastic guide!

Corey - 답글 공유
Great work on me snaping the clips

Ecocat - 답글 공유
댓글 쓰기

조회 통계:

지난 24시간: 1

지난 7일: 8

지난 30일: 33

전체 시간: 978