소개
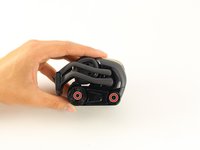
This guide details how to fully remove the Capacitive Touch Sensor of the Anki Vector.
Remember to only embark on this guide if you have followed the Anki Vector Troubleshooting and the device is still broken.
While disassembling Vector, make sure to look out for disconnected cables and other broken parts, as often times these can be fixed without entirely replacing the sensor.
필요한 것
-
-
-
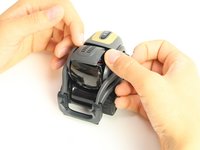
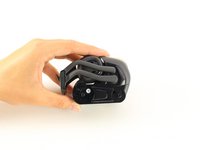
Using your thumb and index finger, grab the lower portion of the belt near the large wheel and pull the belt off.
-
Repeat on the other side.
-
-
-
-
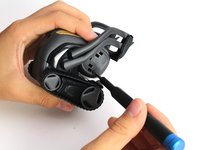
Using the iFixit opening tool, insert the corner under Vector's golden side panel and lightly twist.
-
Repeat this step on the other side.
-
-
-
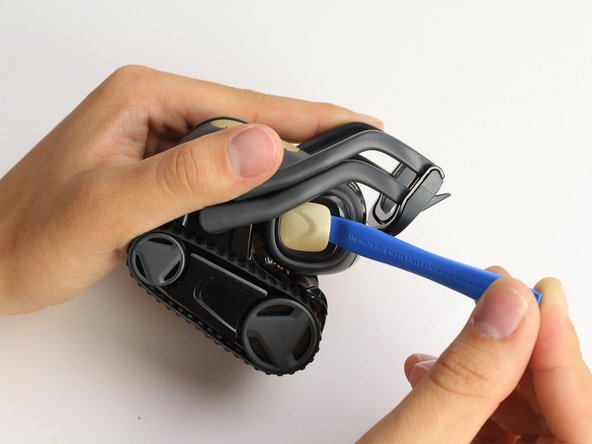
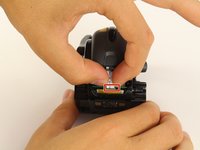
Insert the corner of the square end of the spudger under the side plate above the partially visible screw.
-
Lightly turn the spudger to separate the plate from Vector's head.
-
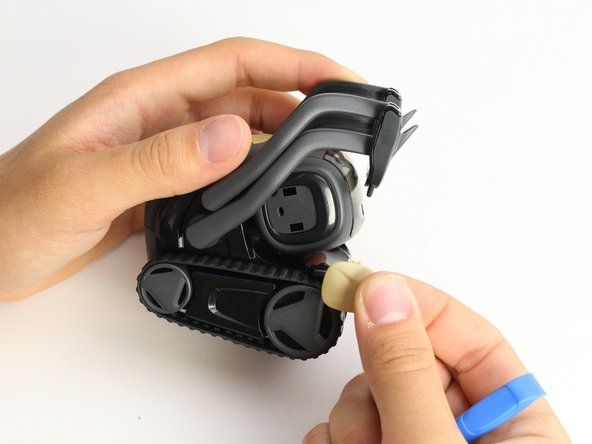
Work the spudger around the plate until it comes off.
-
Repeat this step on the the other side.
-
-
-
-
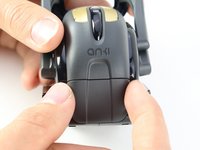
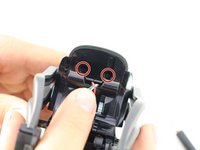
Using a Phillips #0 screwdriver, unscrew the two 2 mm screws on the side of Vector's head.
-
Repeat this step on the opposite side.
-
-
-
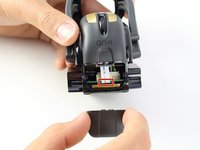
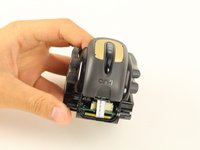
Pull apart Vector's head. It should separate down the middle.
-
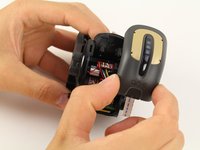
Remove the screen protector by gently pulling it free from the two face halves.
-
-
-
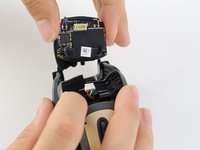
Using your thumb and index finger, unplug the display from the plug in Vector's neck.
-
Pull the LCD and speaker assembly from Vector's head.
-
-
-
-
-
Using the Jimmy, insert the straight edge of the blade in recess groove in Vector's front wheel.
-
Slowly apply torque to the jimmy until the wheel cover pops off.
-
Repeat for the rear wheel.
-
-
-
Using a Phillips #0 screwdriver, unscrew the two screws on the exposed wheels.
-
Once the screws are gone, remove the wheels from Vector's body.
-
Repeat this on the other side.
-
-
-
Gently remove the rear panel by griping it towards the top and pulling out and up.
-
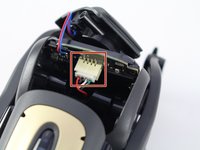
Gently pull out the ribbon cable from the plug between the motherboard and the weight.
-
-
-
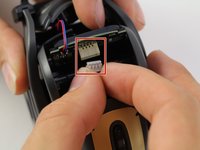
Using a Phillips #0 screwdriver, unscrew the two screws located behind Vector's neck.
-
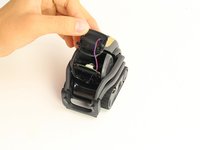
Lift the capacitive touch sensor assembly off of the body
-
-


To reassemble your device, follow these instructions in reverse order.
다른 4명이 해당 안내서를 완성하였습니다.
팀

Cal Poly, Team S2-G6, Maness Spring 2019 Cal Poly, Team S2-G6, Maness Spring 2019 회원
CPSU-MANESS-S19S2G6
4 회원들
안내서 10개를 작성함