
Asus Laptop Charger Cable Repair

Cables in chargers always break in the same place. They bend, they hang, they fold... so after a few years, they break.
In the case of this Asus charger, the port connecting to the laptop is specific, so when it breaks you have to buy a new one. They are not interchangeable with other laptops-at least not in my house-, and it feels like a waste to throw them away.
This repair requires soldering. All the work except opening the charger's case is easy when you do it mindfully. Make some time, gather your tools, and get ready to fix!
read all the steps before starting and feel free to ask any questions you may have!
필요한 것
도구


더보기...
-
-
multimeter
-
wire cutter, cutting pliers, pliers, cutting knife
-
gorilla tape
-
soldering
-
soldering iron, soldering thread, heat shrink tubing, and helping hands
-
a cork mat
-
a hair dryer
-
-
-
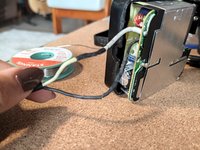
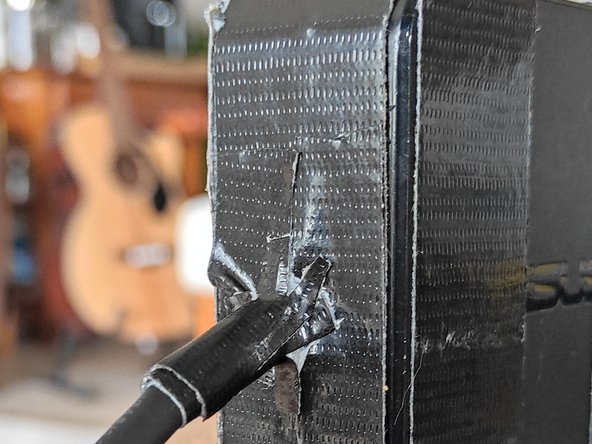
(1) use the cutting pliers to cut the cable where it was broken, so you can easily manipulate the case
-
(2) use a knife and some alcohol and cut through the seam of the case until you can fully release it. ( I haven't tried with heat, but it might be helpful too)
-
this step requires force and patience. the case is glued very tightly.
-
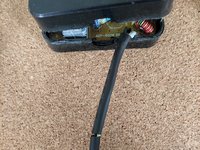
be mindful of what's inside (see pic) so that you don't damage anything. while this is highly unlikely due to the thin metallic shield, be careful. Despite this unrepairable design, you want to be able to put it back together in a working condition
-
-
-
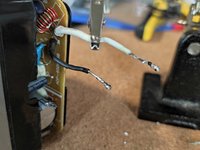
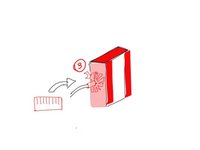
(3) use the wire cutters to peel the ends of the cables and leave around 1-2cm length of copper without cable tube.
-
you want to create an asymmetric shape so that there is no lump from stacking the cables when you solder them
-
you also need to cut and prepare the other end of the cable, the one with the connector. Do the opposite of what we did in the charger end, in the connector end, the black cable should be longer and the white cable shorter
-
-
-
-
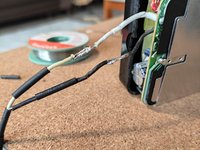
insert black heat shrink tubing to later protect the solderings from making contact
-
you need two sizes, i.e., two different diameters.
-
the length of the heat shrink tubing should be a bit bigger than the naked part of the cable.
-
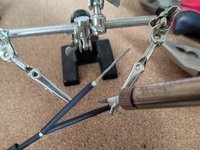
go ahead and grip them with helping hands once you have inserted the tubing
-
-
-
to leave an excellent solder, it's better if you solder the tips first.
-
clean the tip of the soldering iron
-
get the solder ready and test the tip of the soldering iron
-
heat the cable and slide the solder from the end of the cable to the tip
-
don't heat it too much or the heat shrink tubing will melt
-
-
-
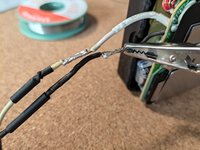
place one cable on top of the other, grip it with the helping hands, and put the soldering iron over it. Your already tined cable will fuse easily.
-
test each cable for continuity with the multimeter
-
one pin of the multimeter at the connector and one at the soldering joint of the cable at the motherboard
-
do this for each cable.
-
-
-
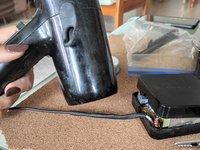
place the heat shrink tubing over the joint and heat it up with a hair dryer
-
place the wider heat shrink tubing over the covered joint, heat it up with the hair dryer, make sure you heat the entire surface of the tubing
-
-
-
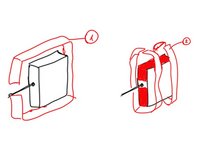
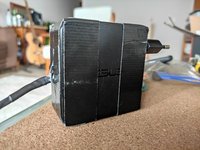
put the case back together and grab the gorilla tape. Since this case is not meant to be repairable, you need gorilla tape to hold it in place.
-
i recommend doing it as shown in the graphic.
-
first wrap the perimeter closing the gap
-
next fix them together
-
-
-
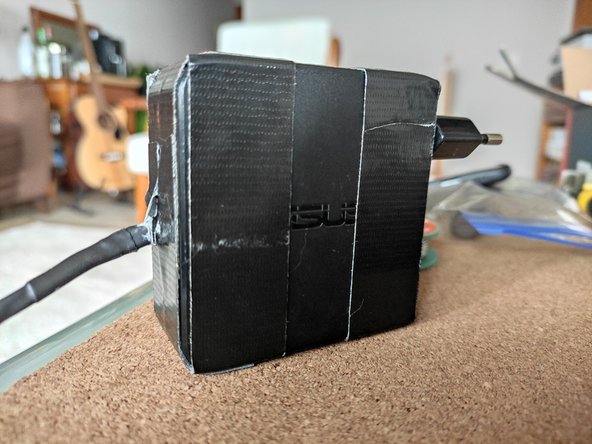
use gorilla tape again to tape the cable to the case as shown in the figure
-
cut a piece of gorilla tape with a length similar to the perimeter of the cable
-
trim the edges so that you can tape it to the flat surface of the charger
-
you are done! great job!
-


다른 한 분이 해당 안내서를 완성하였습니다.
