주요 콘텐츠로 건너뛰기
수리 커뮤니티 가입 - 계정 만들기

Beats Studio3 Wireless Hinge Replacement

필요한 것

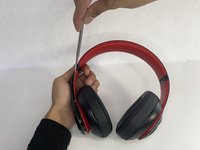
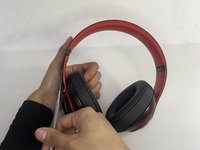
    1. Beats Studio3 Wireless Hinge Replacement, Ear Pad: 1 단계, 이미지 2개 중 1개 Beats Studio3 Wireless Hinge Replacement, Ear Pad: 1 단계, 이미지 2개 중 2개
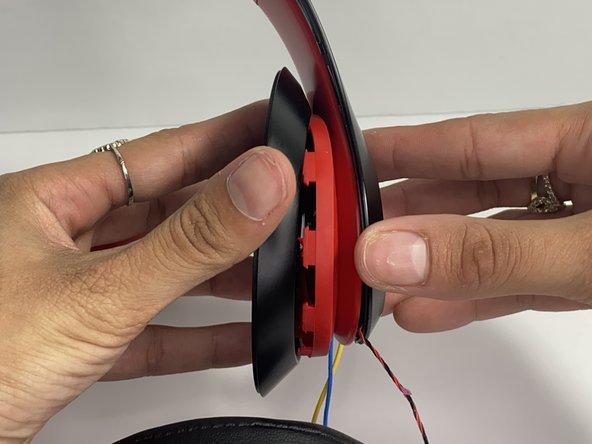
      • Find the separation between the headset and ear cushion.

      • Use an opening tool to go underneath the separation site and split the pieces apart.

      댓글 쓰기

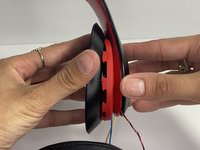
    2. Beats Studio3 Wireless Hinge Replacement: 2 단계, 이미지 3개 중 1개 Beats Studio3 Wireless Hinge Replacement: 2 단계, 이미지 3개 중 2개 Beats Studio3 Wireless Hinge Replacement: 2 단계, 이미지 3개 중 3개
      • You can also use your hands to remove it completely.

      • Pulling it off can be challenging; make sure to apply enough pressure.

      댓글 쓰기

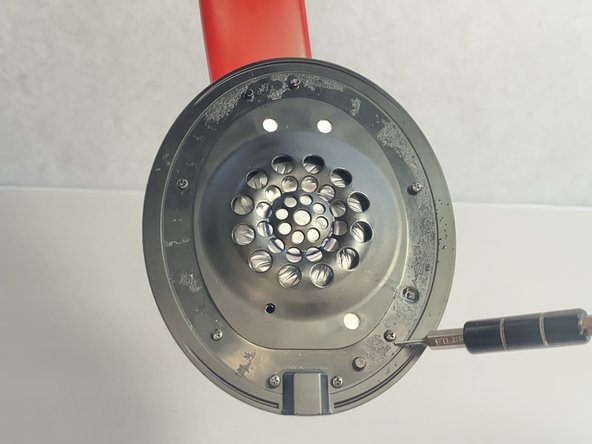
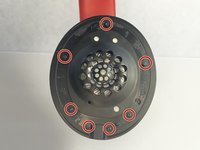
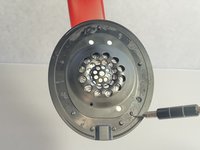
    1. Beats Studio3 Wireless Hinge Replacement, Left Driver Assembly: 3 단계, 이미지 2개 중 1개 Beats Studio3 Wireless Hinge Replacement, Left Driver Assembly: 3 단계, 이미지 2개 중 2개
      • Remove seven 3.6 mm screws holding the speaker assembly in place using a Phillips #0 screwdriver.

      • Make sure the screws aren't close to the speaker; due to it being a magnet, the screws could get stuck and damage the speaker.

      • Open the speaker by pulling the top layer of the speaker.

      댓글 쓰기

    2. Beats Studio3 Wireless Hinge Replacement: 4 단계, 이미지 3개 중 1개 Beats Studio3 Wireless Hinge Replacement: 4 단계, 이미지 3개 중 2개 Beats Studio3 Wireless Hinge Replacement: 4 단계, 이미지 3개 중 3개
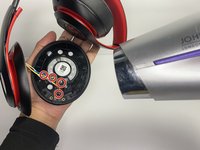
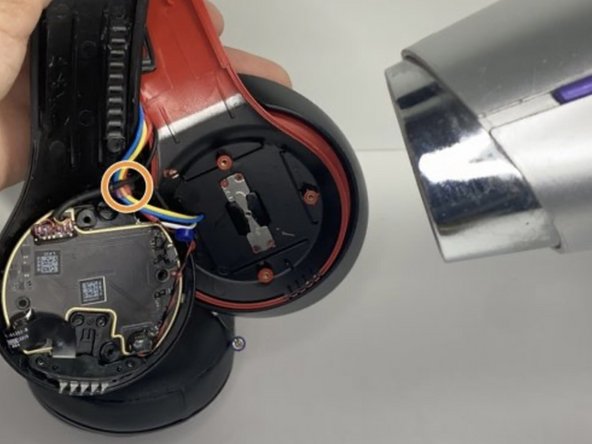
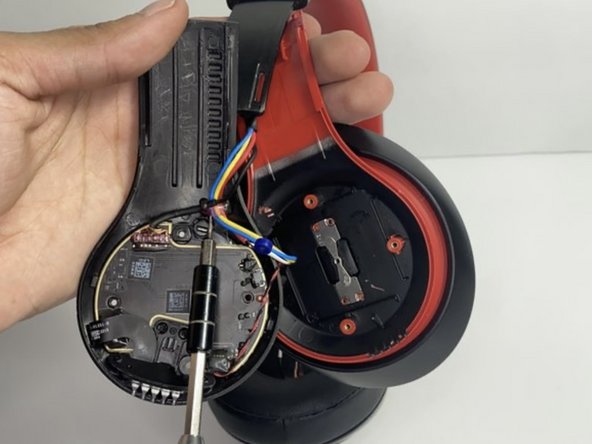
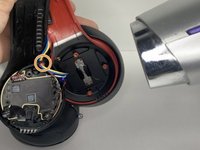
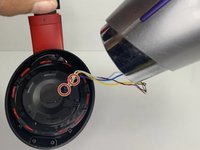
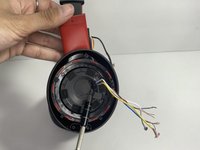
      • With a heat gun or hair dryer, heat the glue that is sticking the wires down until the glue softens.

      • Use a nylon spudger to remove the glue.

      • Pull on the wire to remove it while also removing the blue rubber band.

      댓글 쓰기

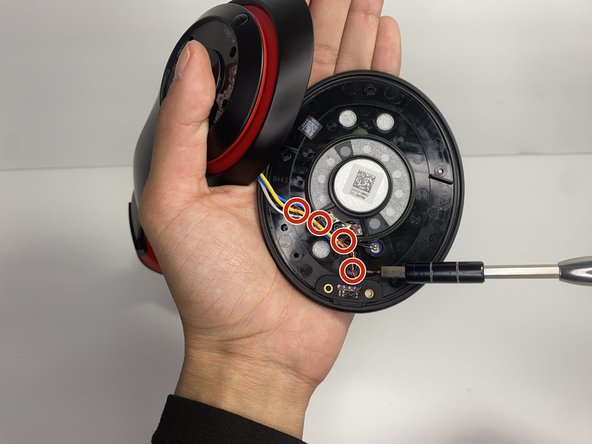
    3. Beats Studio3 Wireless Hinge Replacement: 5 단계, 이미지 3개 중 1개 Beats Studio3 Wireless Hinge Replacement: 5 단계, 이미지 3개 중 2개 Beats Studio3 Wireless Hinge Replacement: 5 단계, 이미지 3개 중 3개
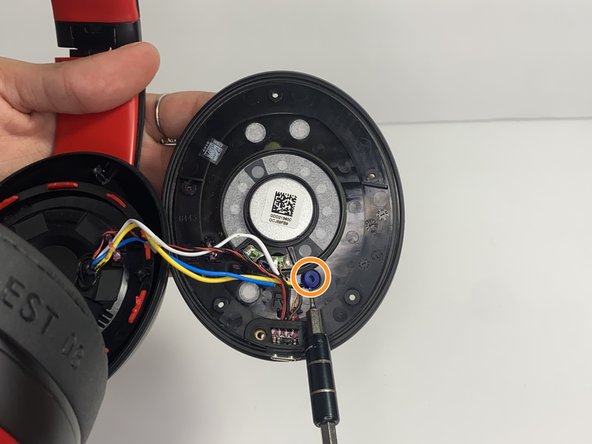
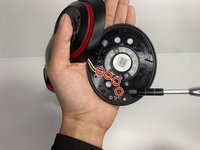
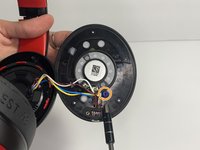
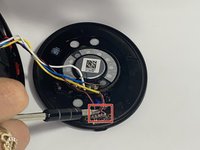
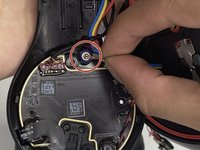
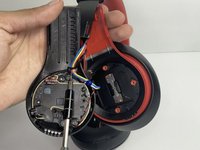
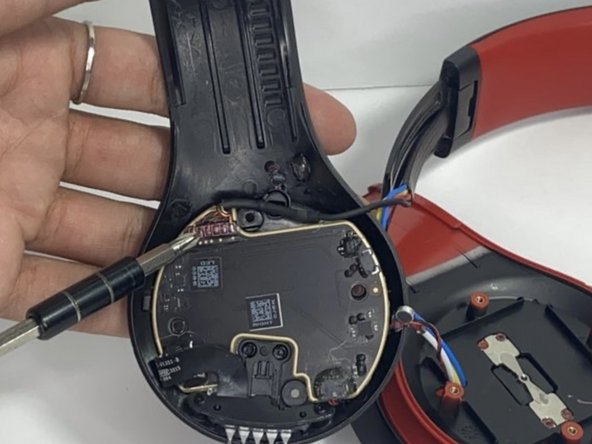
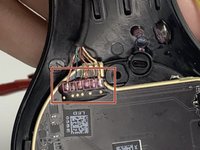
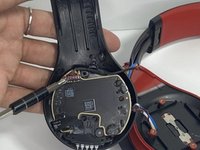
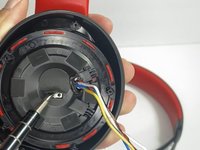
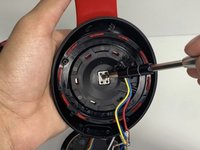
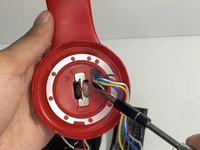
      • Using a soldering iron to remove the cables on the charger port.

      • For help with soldering, check out the How to Solder and Desolder Connections guide.

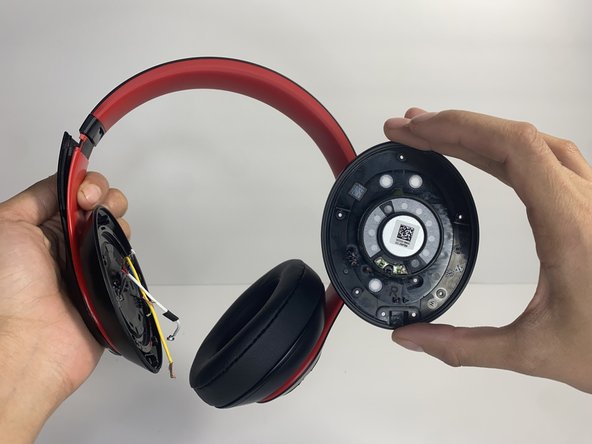
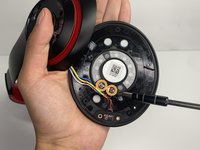
      • Remove the two wires connected in the middle of the speaker using a soldering iron.

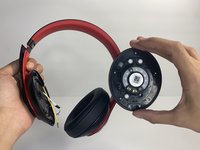
      • Remove the speaker from the headset.

      댓글 쓰기

    1. Beats Studio3 Wireless Hinge Replacement, Battery: 6 단계, 이미지 2개 중 1개 Beats Studio3 Wireless Hinge Replacement, Battery: 6 단계, 이미지 2개 중 2개
      • Use a pointed nylon spudger to remove the center circular panel on the right side of your device.

      • Be gentle while removing this piece as it is glued on with adhesive.

      댓글 쓰기

    2. Beats Studio3 Wireless Hinge Replacement: 7 단계, 이미지 2개 중 1개 Beats Studio3 Wireless Hinge Replacement: 7 단계, 이미지 2개 중 2개
      • Remove the four 3.5 mm screws using a Phillips #0 screwdriver.

      댓글 쓰기

    3. Beats Studio3 Wireless Hinge Replacement: 8 단계, 이미지 3개 중 1개 Beats Studio3 Wireless Hinge Replacement: 8 단계, 이미지 3개 중 2개 Beats Studio3 Wireless Hinge Replacement: 8 단계, 이미지 3개 중 3개
      • Using a pointed nylon spudger, remove the tab located on the inner part of the headband labeled "R."

      • Place the nylon spudger in between the side panels and push inward going from bottom to top to separate both sides of the panel.

      • The panel will pop open after separating.

      댓글 쓰기

    4. Beats Studio3 Wireless Hinge Replacement: 9 단계, 이미지 1개 중 1개
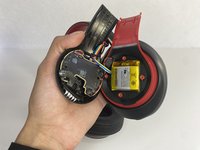
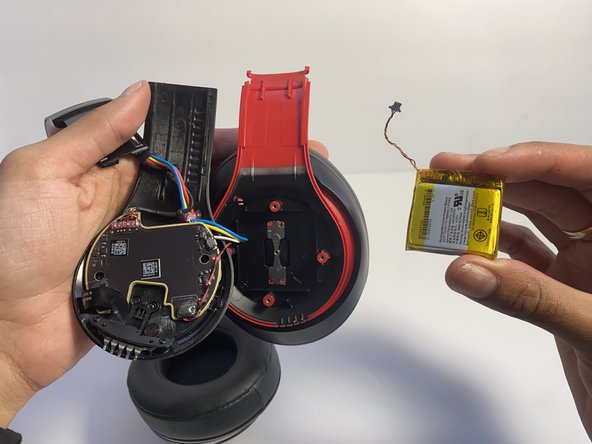
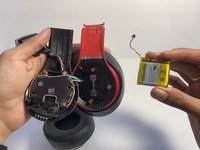
      • Place the nylon spudger underneath the battery, push inward and separate the battery from the inside.

      • Never use sharp tools to pry batteries. Metal spudgers can puncture an unprotected battery, potentially causing a fire.

      댓글 쓰기

    5. Beats Studio3 Wireless Hinge Replacement: 10 단계, 이미지 2개 중 1개 Beats Studio3 Wireless Hinge Replacement: 10 단계, 이미지 2개 중 2개
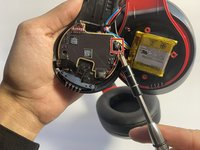
      • Use a nylon spudger to lift up the glue sticking the wires down.

      • Use a nylon spudger to lift the connector to disconnect the battery.

      댓글 쓰기

    1. Beats Studio3 Wireless Hinge Replacement, Hinge: 11 단계, 이미지 3개 중 1개 Beats Studio3 Wireless Hinge Replacement, Hinge: 11 단계, 이미지 3개 중 2개 Beats Studio3 Wireless Hinge Replacement, Hinge: 11 단계, 이미지 3개 중 3개
      • Pull the wire making sure that the blue rubber band is off.

      • Heat the glue holding the wires down with a hair dryer or heat gun until the glue softens.

      • Make sure not to overheat any device part, which could cause damage to the sound.

      • With a pointed nylon spudger, remove the glue.

      댓글 쓰기

    2. Beats Studio3 Wireless Hinge Replacement: 12 단계, 이미지 2개 중 1개 Beats Studio3 Wireless Hinge Replacement: 12 단계, 이미지 2개 중 2개

      댓글 쓰기

    3. Beats Studio3 Wireless Hinge Replacement: 13 단계, 이미지 3개 중 1개 Beats Studio3 Wireless Hinge Replacement: 13 단계, 이미지 3개 중 2개 Beats Studio3 Wireless Hinge Replacement: 13 단계, 이미지 3개 중 3개
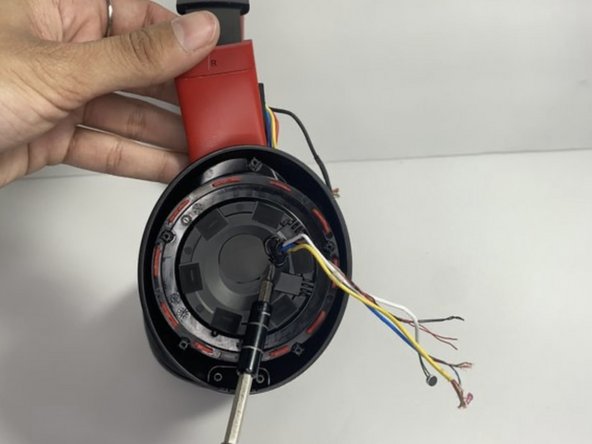
      • With a hair dryer or heating gun, heat the glue that is sticking the wires down.

      • Use a nylon spudger to remove the softened glue.

      • Remove the circular tape inside of the ear pad.

      댓글 쓰기

    4. Beats Studio3 Wireless Hinge Replacement: 14 단계, 이미지 2개 중 1개 Beats Studio3 Wireless Hinge Replacement: 14 단계, 이미지 2개 중 2개
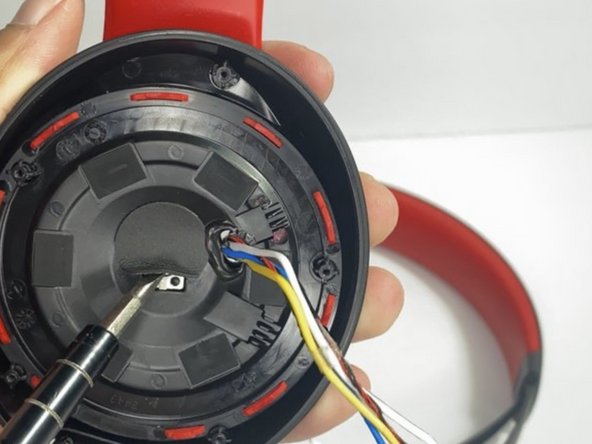
      • Remove the single 3.5 mm screw with a Phillips #0 screwdriver.

      • Pull apart the top layer of the earpiece.

      댓글 쓰기

    5. Beats Studio3 Wireless Hinge Replacement: 15 단계, 이미지 2개 중 1개 Beats Studio3 Wireless Hinge Replacement: 15 단계, 이미지 2개 중 2개
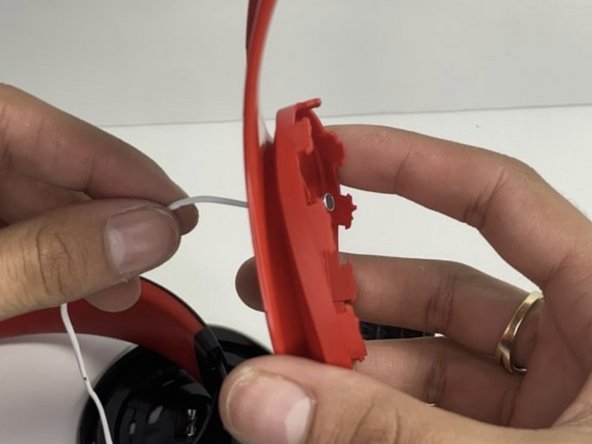
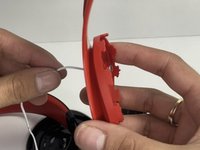
      • Remove the tape holding the wires in place.

      • Pull the wires through the hole with your hand.

      댓글 쓰기

    6. Beats Studio3 Wireless Hinge Replacement: 16 단계, 이미지 1개 중 1개
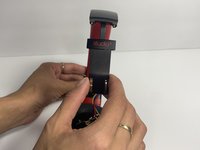
      • Bend the hinge and remove the two 3.5 mm screws with a Phillips #0 screwdriver.

      댓글 쓰기

    7. Beats Studio3 Wireless Hinge Replacement: 17 단계, 이미지 3개 중 1개 Beats Studio3 Wireless Hinge Replacement: 17 단계, 이미지 3개 중 2개 Beats Studio3 Wireless Hinge Replacement: 17 단계, 이미지 3개 중 3개
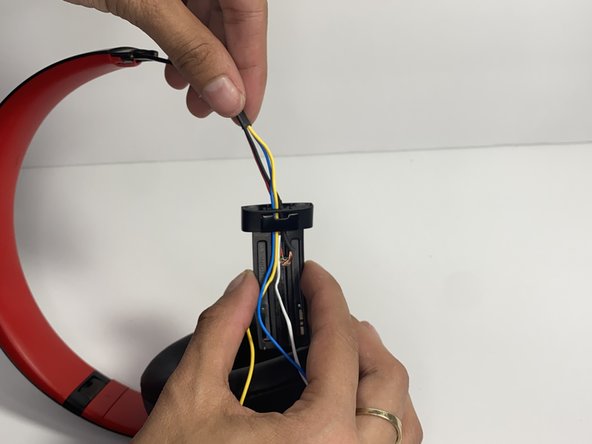
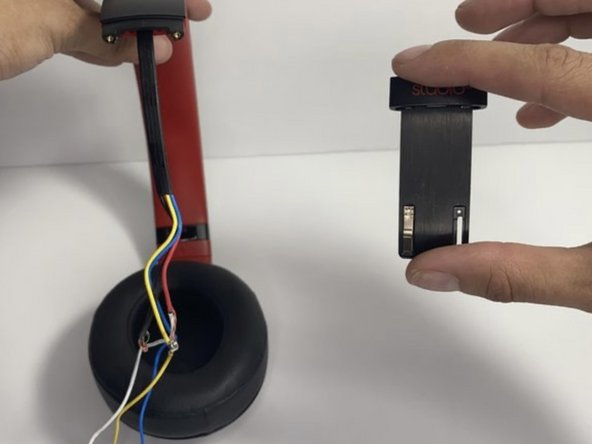
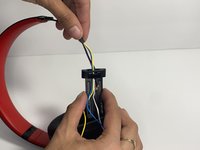
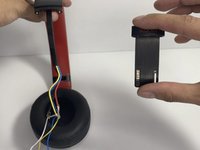
      • Pull the hinge down.

      • Pull on the wires one at a time making sure you don't damage them.

      댓글 쓰기

    8. Beats Studio3 Wireless Hinge Replacement: 18 단계, 이미지 2개 중 1개 Beats Studio3 Wireless Hinge Replacement: 18 단계, 이미지 2개 중 2개
      이 단계에 사용된 도구:
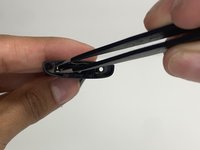
      Tweezers
      $4.99
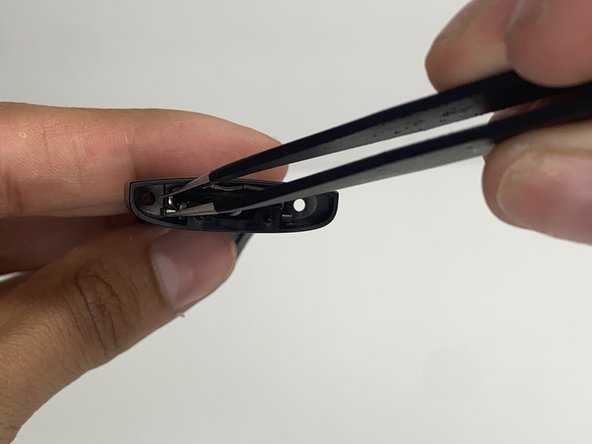
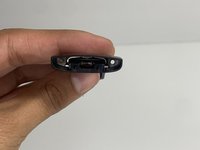
      • With tweezers, remove the pin located inside of the hinge.

      댓글 쓰기

결론

To reassemble your device, follow these instructions in reverse order.

취소: 해당 안내서를 완성하지 않았습니다.

다른 한 분이 해당 안내서를 완성하였습니다.

작성자

3다른 기여자 명과 함께

Nayeli watts

회원 가입일: 03/16/23

543 평판

안내서 3개를 작성함

UMass Dartmouth, Team 7-4, Ryckebusch Spring 2023 UMass Dartmouth, Team 7-4, Ryckebusch Spring 2023 회원

UMASSD-RYCKEBUSCH-S23S7G4

3 회원들

안내서 13개를 작성함

0가이드 댓글

댓글 쓰기

조회 통계:

지난 24시간: 4

지난 7일: 47

지난 30일: 231

전체 시간: 10,969