
Braun 5514 Motor Replacement
30 - 45 분
조정
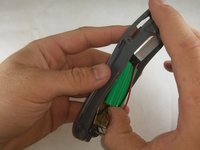
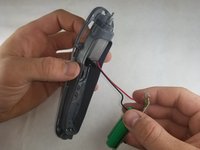
It is possible, though honestly rare, for the motor of a trimmer to fail for one reason or another. If changing the batteries does not restore functionality for this model, trying to replace the motor would be the next step.


거의 끝나갑니다!
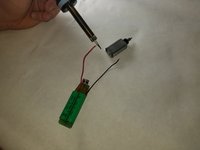
To reassemble your device, follow these instructions in reverse order.
결론
To reassemble your device, follow these instructions in reverse order.
다른 3명이 해당 안내서를 완성하였습니다.
팀

IUPUI, Team S2-G2, Harley Summer 2018 IUPUI, Team S2-G2, Harley Summer 2018 회원
IUPUI-HARLEY-SU18S2G2
4 회원들
안내서 8개를 작성함