주요 콘텐츠로 건너뛰기

Canon Powershot SX500 IS Back Cover Replacement

필요한 것

  1. Canon Powershot SX500 IS Back Cover Replacement, Battery: 1 단계, 이미지 1/1
    • Rotate the camera to expose the underside of the camera.

  2. Canon Powershot SX500 IS Back Cover Replacement: 2 단계, 이미지 1/1
    • Slide the rounded rectangle tab to the left to release the battery cover.

  3. Canon Powershot SX500 IS Back Cover Replacement: 3 단계, 이미지 1/1
    • Push the small orange tab forward to release the battery (Battery is ready for removal).

  4. Canon Powershot SX500 IS Back Cover Replacement, Back Cover: 4 단계, 이미지 1/3 Canon Powershot SX500 IS Back Cover Replacement, Back Cover: 4 단계, 이미지 2/3 Canon Powershot SX500 IS Back Cover Replacement, Back Cover: 4 단계, 이미지 3/3
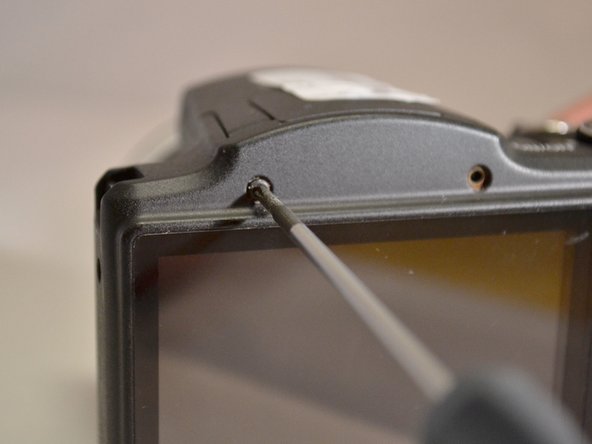
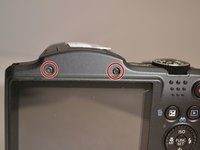
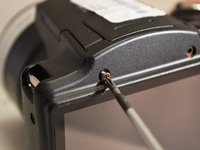
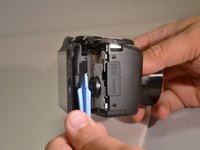
    • Using the Phillips 00 screwdriver, remove the two 4mm top screws above the LCD screen.

  5. Canon Powershot SX500 IS Back Cover Replacement: 5 단계, 이미지 1/1
    • Using the Phillips 00 screwdriver, remove the two 4mm side screws to the left of the LCD screen.

  6. Canon Powershot SX500 IS Back Cover Replacement: 6 단계, 이미지 1/1
    • Using the Phillips 00 screwdriver, remove the two 4mm side screws to the left of the LCD screen.

  7. Canon Powershot SX500 IS Back Cover Replacement: 7 단계, 이미지 1/1
    • Using the Phillips 00 screwdriver, remove the three 4mm screws from the underside of the camera.

  8. Canon Powershot SX500 IS Back Cover Replacement: 8 단계, 이미지 1/2 Canon Powershot SX500 IS Back Cover Replacement: 8 단계, 이미지 2/2
    • Using the plastic pry tool, remove the back cover from camera.

결론

To reassemble your device, follow these instructions in reverse order.

다른 3명이 해당 안내서를 완성하였습니다.

Jody Wilkerson

회원 가입일: 04/07/15

565 평판

안내서 4개 작성하였습니다

댓글 0개

댓글 쓰기

조회 통계:

24 시간 전: 1

7일 전: 4

30일 전: 5

전체 시간: 485