
Conair Infiniti PRO Curling Iron Motherboard Replacement
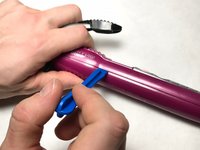
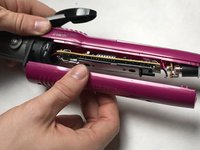
This guide will build off of the Housing and Power Cord Removal guides to remove and replace the motherboard.


-
-
-
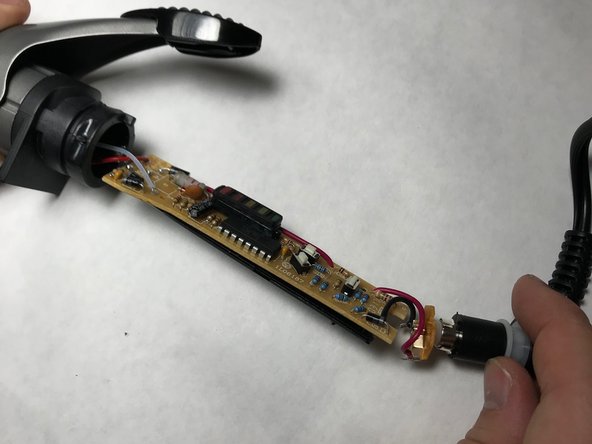
Heat up your soldering gun and desolder the red wire from the motherboard as shown.
-
-
이 단계에 사용된 도구:Desoldering Pump$3.99
-
With your soldering gun, desolder the white wire from the motherboard as shown.
-


To reassemble your device, follow these instructions in reverse order, making sure to resolder the wires correctly into the replacement motherboard.
To reassemble your device, follow these instructions in reverse order, making sure to resolder the wires correctly into the replacement motherboard.
다른 2명이 해당 안내서를 완성하였습니다.
팀

IUPUI, Team S7-G5, Baechle Fall 2017 IUPUI, Team S7-G5, Baechle Fall 2017 회원
IUPUI-BAECHLE-F17S7G5
3 회원들
안내서 5개를 작성함