주요 콘텐츠로 건너뛰기
수리 커뮤니티 가입 - 계정 만들기

DR.J Professional HI-04 Lamp Replacement

필요한 것

    1. DR.J Professional HI-04 Lamp Replacement, Motherboard: 1 단계, 이미지 3개 중 1개 DR.J Professional HI-04 Lamp Replacement, Motherboard: 1 단계, 이미지 3개 중 2개 DR.J Professional HI-04 Lamp Replacement, Motherboard: 1 단계, 이미지 3개 중 3개
      • Flip the projector so that the bottom is facing up.

      • Remove the eight 10.0 mm screws with a Phillips #0 screwdriver.

      • The screws are set deep in the holes. Be careful not to drop the screws.

      • Remove the two 20.0 mm screws with a Phillips #0 screwdriver.

      댓글 쓰기

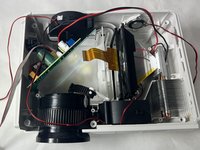
    2. DR.J Professional HI-04 Lamp Replacement: 2 단계, 이미지 3개 중 1개 DR.J Professional HI-04 Lamp Replacement: 2 단계, 이미지 3개 중 2개 DR.J Professional HI-04 Lamp Replacement: 2 단계, 이미지 3개 중 3개
      • Flip the projector so it is upright.

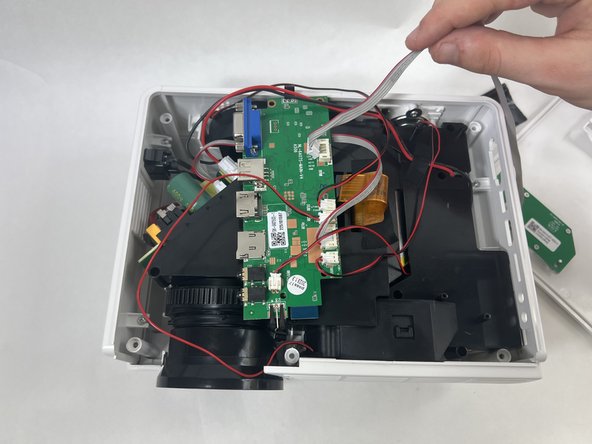
      • Remove the top case of the projector.

      • The top case should come off fairly easily but be gentle while removing it.

      • Don't yank the top case off as there are cables attached to the motherboard and the top case.

      댓글 쓰기

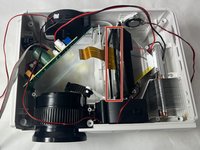
    3. DR.J Professional HI-04 Lamp Replacement: 3 단계, 이미지 2개 중 1개 DR.J Professional HI-04 Lamp Replacement: 3 단계, 이미지 2개 중 2개
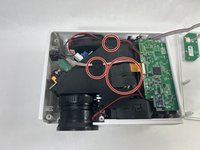
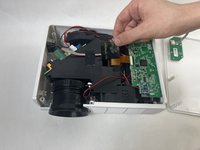
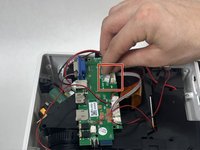
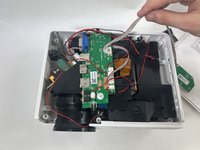
      • Remove the three pieces of tape securing cables.

      • Keep the tape for reassembly.

      댓글 쓰기

    4. DR.J Professional HI-04 Lamp Replacement: 4 단계, 이미지 2개 중 1개 DR.J Professional HI-04 Lamp Replacement: 4 단계, 이미지 2개 중 2개
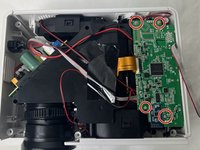
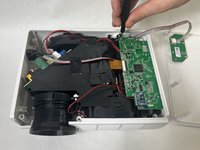
      • Use a Phillips #0 screwdriver to remove the four 15.0 mm screws from the motherboard.

      • Be sure to not drop the screws in the device as they can be difficult to recover.

      댓글 쓰기

    5. DR.J Professional HI-04 Lamp Replacement: 5 단계, 이미지 2개 중 1개 DR.J Professional HI-04 Lamp Replacement: 5 단계, 이미지 2개 중 2개
      • Squeeze the tab against the connector, and pull the connector straight out from the socket.

      • The cable will come out easily so do not pull too hard.

      댓글 쓰기

    6. DR.J Professional HI-04 Lamp Replacement: 6 단계, 이미지 2개 중 1개 DR.J Professional HI-04 Lamp Replacement: 6 단계, 이미지 2개 중 2개
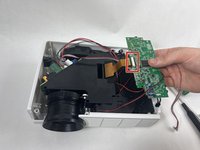
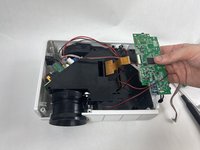
      • Lift the motherboard from the device.

      • Use the tip of a spudger or your fingernail to flip up the small locking flap of the ZIF connector.

      • Pull the cable from the connector.

      댓글 쓰기

    7. DR.J Professional HI-04 Lamp Replacement: 7 단계, 이미지 2개 중 1개 DR.J Professional HI-04 Lamp Replacement: 7 단계, 이미지 2개 중 2개
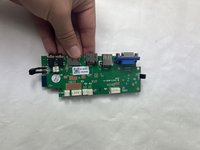
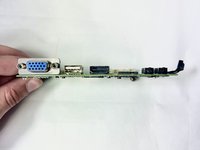
      • Set down the motherboard safely.

      댓글 쓰기

    1. DR.J Professional HI-04 Lamp Replacement, Lamp: 8 단계, 이미지 2개 중 1개 DR.J Professional HI-04 Lamp Replacement, Lamp: 8 단계, 이미지 2개 중 2개
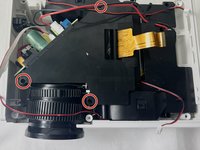
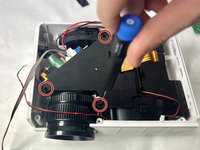
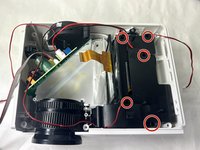
      • Use a Phillips #0 screwdriver to remove the three 15.0 mm screws from the black cover.

      • The screws are set deep in the holes, so be careful to not drop the screws, as they can be difficult to recover.

      댓글 쓰기

    2. DR.J Professional HI-04 Lamp Replacement: 9 단계, 이미지 2개 중 1개 DR.J Professional HI-04 Lamp Replacement: 9 단계, 이미지 2개 중 2개
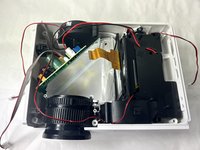
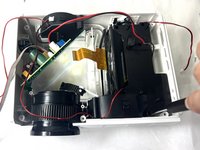
      • Gently remove the black cover.

      댓글 쓰기

    3. DR.J Professional HI-04 Lamp Replacement: 10 단계, 이미지 2개 중 1개 DR.J Professional HI-04 Lamp Replacement: 10 단계, 이미지 2개 중 2개
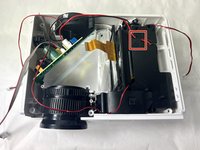
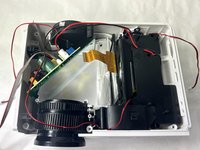
      • Remove the single piece of black tape.

      • Save the tape for reassembly.

      댓글 쓰기

    4. DR.J Professional HI-04 Lamp Replacement: 11 단계, 이미지 2개 중 1개 DR.J Professional HI-04 Lamp Replacement: 11 단계, 이미지 2개 중 2개
      • Use a Phillips #0 screwdriver to remove five 10.0 mm screws.

      댓글 쓰기

    5. DR.J Professional HI-04 Lamp Replacement: 12 단계, 이미지 3개 중 1개 DR.J Professional HI-04 Lamp Replacement: 12 단계, 이미지 3개 중 2개 DR.J Professional HI-04 Lamp Replacement: 12 단계, 이미지 3개 중 3개
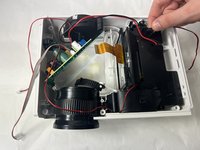
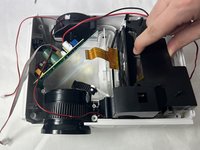
      • Gently remove the black cover.

      댓글 쓰기

    6. DR.J Professional HI-04 Lamp Replacement: 13 단계, 이미지 2개 중 1개 DR.J Professional HI-04 Lamp Replacement: 13 단계, 이미지 2개 중 2개
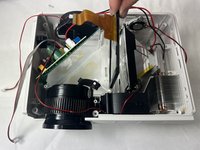
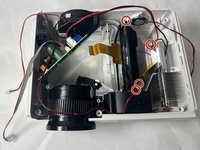
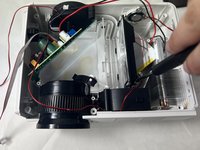
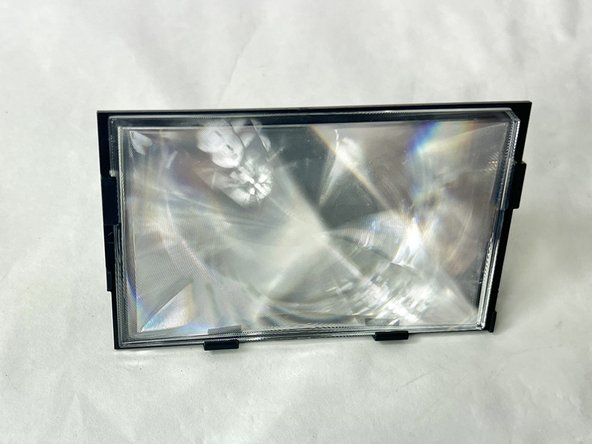
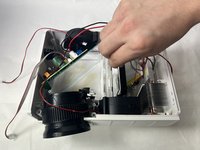
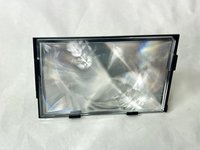
      • Remove the glass object with the orange ribbon cable connector.

      • Be careful removing object as it is fragile and can easily break.

      댓글 쓰기

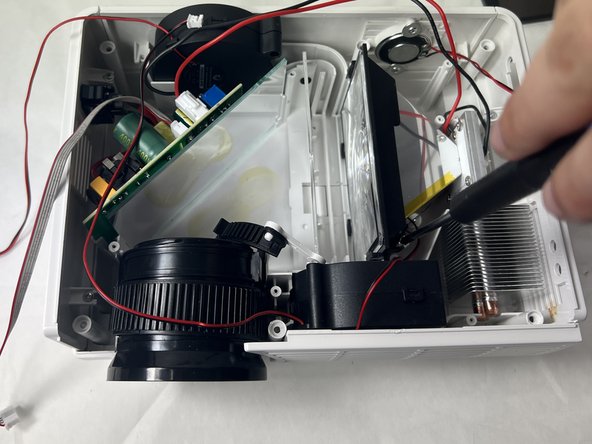
    7. DR.J Professional HI-04 Lamp Replacement: 14 단계, 이미지 2개 중 1개 DR.J Professional HI-04 Lamp Replacement: 14 단계, 이미지 2개 중 2개
      • Use a Phillips #0 to remove four 10.0 mm screws from the lamp.

      댓글 쓰기

    8. DR.J Professional HI-04 Lamp Replacement: 15 단계, 이미지 2개 중 1개 DR.J Professional HI-04 Lamp Replacement: 15 단계, 이미지 2개 중 2개
      • Gently slide the lamp out from the projector case.

      댓글 쓰기

결론

To reassemble your device, follow these instructions in reverse order.

취소: 해당 안내서를 완성하지 않았습니다.

다른 2명이 해당 안내서를 완성하였습니다.

작성자

2다른 기여자 명과 함께

Baron Dutra

회원 가입일: 11/01/23

825 평판

안내서 4개를 작성함

UMass Dartmouth, Team 1-5, Petersen Fall 2023 UMass Dartmouth, Team 1-5, Petersen Fall 2023 회원

UMASSD-PETERSEN-F23S1G5

4 회원들

안내서 15개를 작성함

3가이드 댓글

Hi Do you know what type of lamp can ne used for replacement please

Chilijon - 답글 공유

Where can I purchase this lamp to replace in the unit or what is the model number of the lamp so I can search it out?

Dave Haddad - 답글 공유
MTDM3025-03 is lamp part number

KCrane - 답글 공유

댓글 쓰기

조회 통계:

지난 24시간: 0

지난 7일: 4

지난 30일: 46

전체 시간: 2,000