
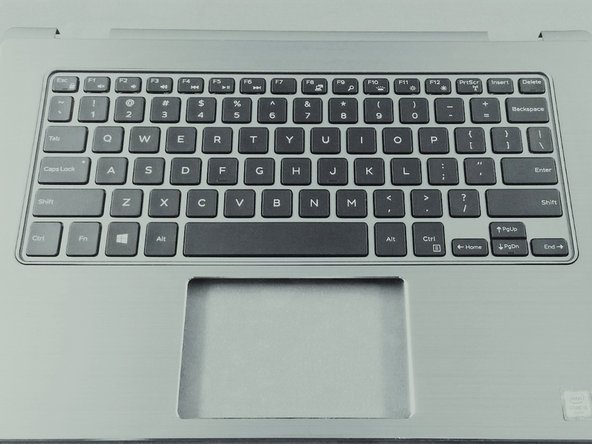
Dell Inspiron 13-7353 Palmrest Keyboard Replacement
A misfunctioning or broken Keyboard and/or Touchpad is actually an inexpensive fix that may save you from having to throw away an otherwise working device.
Please review attached safety information before beginning repair.
Safety
Please review safety information found here before working on your device.


-
-
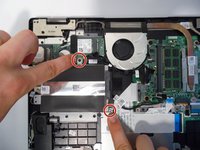
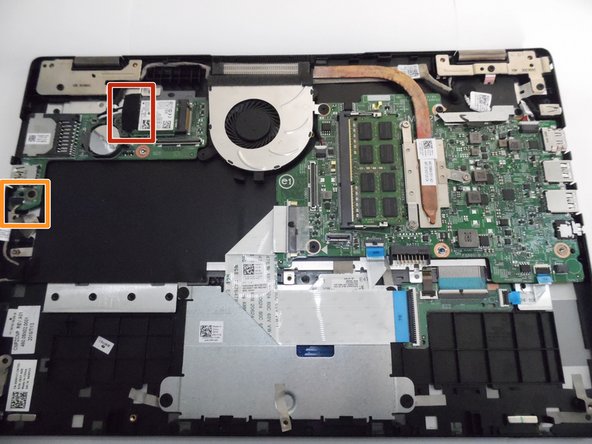
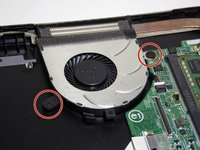
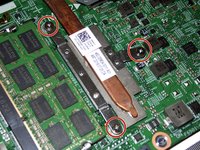
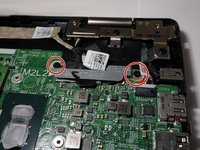
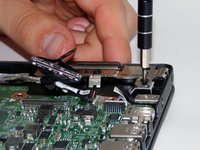
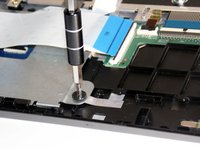
Remove the 10 - M2.5 x 8mm screws located on the bottom of the device.
-
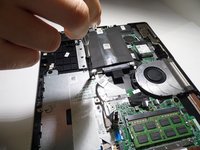
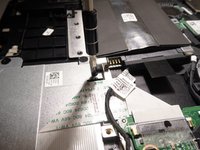
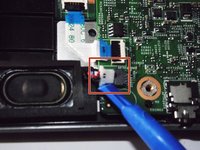
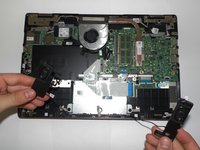
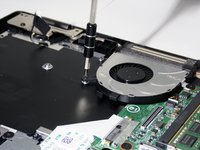
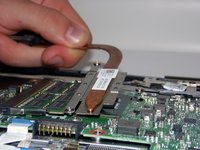
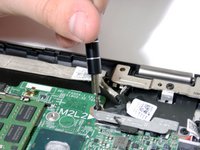
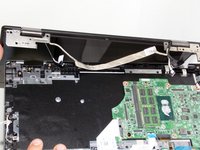
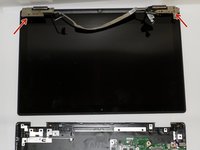
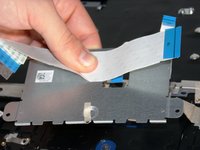
Detach and remove the Bottom Base Cover using an opening tool to pry it off.
-
-


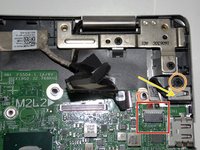


To reassemble your device, follow these instructions in reverse order.
To reassemble your device, follow these instructions in reverse order.
다른 5명이 해당 안내서를 완성하였습니다.
첨부 문서
팀

University of Memphis, Team S2-G2, Kim Spring 2017 University of Memphis, Team S2-G2, Kim Spring 2017 회원
UM-KIM-S17S2G2
4 회원들
안내서 1개 작성