
Dell Inspiron 3542 Heat Sink Replacement
30 분
어려움
잘못된 도구
더 많은 이미지가 필요함
잘게 썰기
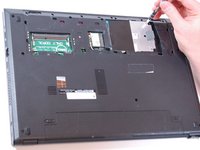
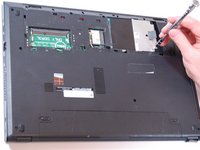
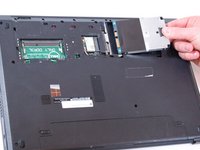
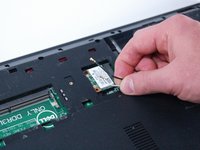
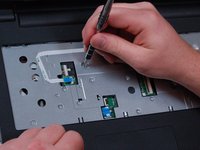
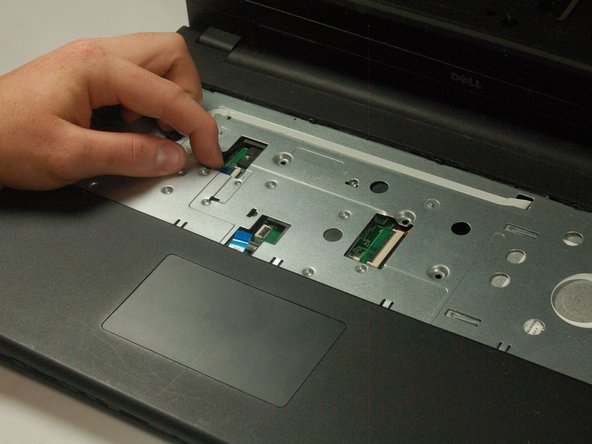
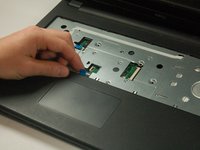
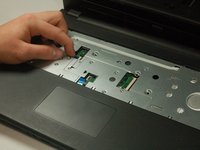
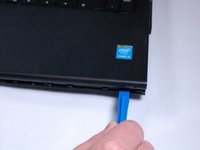
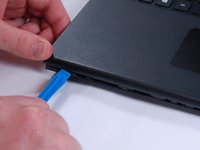
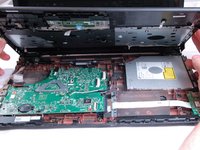
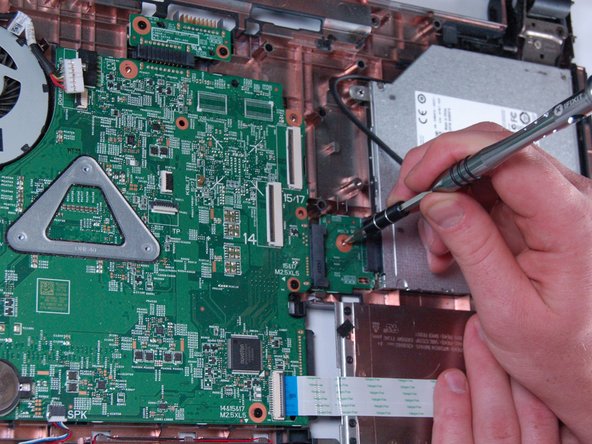
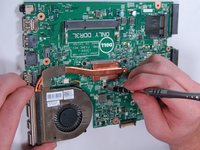
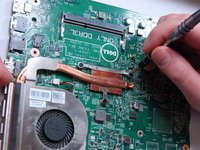
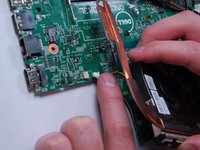
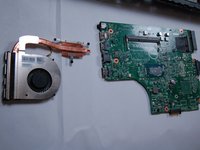
Follow these steps to disassemble the computer, access the heat sink, and replace the part.


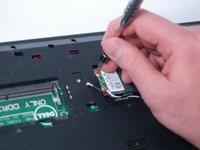
-
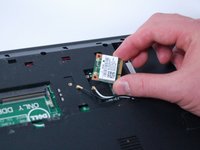
-
Slide the latches on both sides of the computer outward to unlock the battery.
-
Remove the battery from the computer.
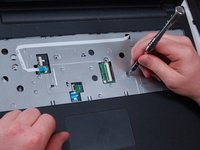
-
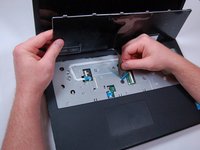
-


거의 끝나갑니다!
To reassemble your device, follow these instructions in reverse order.
결론
To reassemble your device, follow these instructions in reverse order.
다른 4명이 해당 안내서를 완성하였습니다.
팀

Texas Tech, Team S46-G1, Bennett Spring 2017 Texas Tech, Team S46-G1, Bennett Spring 2017 회원
TTU-BENNETT-S17S46G1
3 회원들
안내서 7개를 작성함