
Dell Inspiron 8600 Lower Case Replacement
This guide will show you how to remove the lower case of a Dell Inspiron 8600 for replacement or repair. In this guide we’ll show you how to remove critical components, how to correctly reassemble the device.


-
-
Insert a spudger into the notch at the far left side of the top blue panel and pry the hinge cover off.
-
You may need to pry the other side off as well. You can do this by inserting the spudger between the hinge and the top cover.
-
-
-
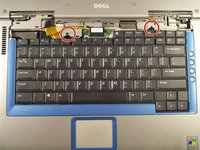
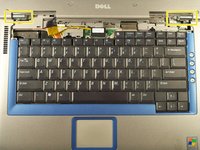
Using the Phillips #1 remove the screws at the top of the keyboard as indicated.
-
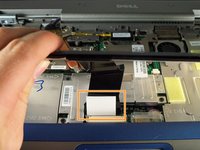
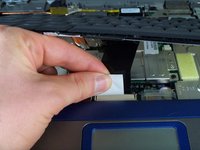
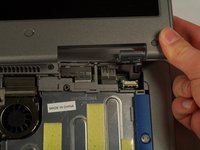
You will need to pull out the white tab underneath the keyboard upwards until it pops out of its socket.
-
-
-
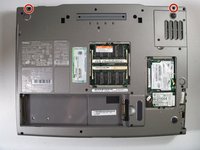
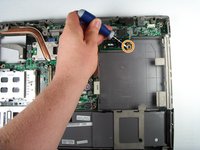
Flip the laptop over and remove the indicated screws.
-
Flip the laptop back over.
-
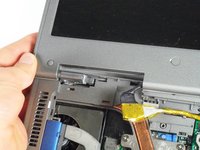
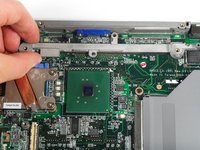
Find the two places where the display module is attached to the base of the computer.
-
-
-
-
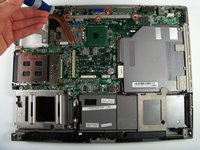
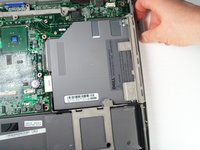
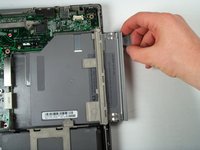
Remove the two screws holding down the upper case with a Phillips #1 screwdriver.
-


To reassemble your device, follow these instructions in reverse order.
To reassemble your device, follow these instructions in reverse order.
팀

Cal Poly, Team 18-22, Garner Spring 2011 Cal Poly, Team 18-22, Garner Spring 2011 회원
CPSU-GARNER-S11S18G22
4 회원들
안내서 16개를 작성함