주요 콘텐츠로 건너뛰기
수리 커뮤니티 가입 - 계정 만들기

Dell Streak 7 Battery Replacement

필요한 것

  1. Dell Streak 7 Battery Replacement, Front Panel Assembly: 1 단계, 이미지 1개 중 1개
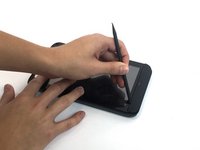
    • Insert the spudger under the capacitive button panel, and slide the spudger all the way around.

    • You will want to heat up the screen edges with the iOpener to help facilitate removal.

    댓글 쓰기

  2. Dell Streak 7 Battery Replacement: 2 단계, 이미지 1개 중 1개
    • Remove the button cover by lifting the cover away from the tablet.

    댓글 쓰기

  3. Dell Streak 7 Battery Replacement: 3 단계, 이미지 1개 중 1개
    • Using the Torx screwdriver, remove the 4mm screws.

    댓글 쓰기

  4. Dell Streak 7 Battery Replacement: 4 단계, 이미지 1개 중 1개
    • With the Torx screwdriver, remove the two 5mm screws.

    댓글 쓰기

  5. Dell Streak 7 Battery Replacement: 5 단계, 이미지 2개 중 1개 Dell Streak 7 Battery Replacement: 5 단계, 이미지 2개 중 2개
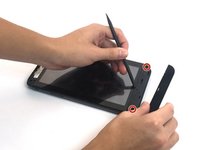
    • Using the spudger, insert it under the black side panel. Slide the spudger all the way around until the cover piece comes off.

    • With the Torx screwdriver, remove the two 4mm screws.

    댓글 쓰기

  6. Dell Streak 7 Battery Replacement: 6 단계, 이미지 1개 중 1개
    • Use the spudger to go along the edges of the device and pop out the latches securing the display to the case.

    댓글 쓰기

  7. Dell Streak 7 Battery Replacement: 7 단계, 이미지 2개 중 1개 Dell Streak 7 Battery Replacement: 7 단계, 이미지 2개 중 2개
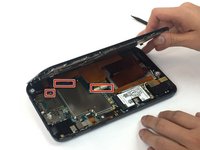
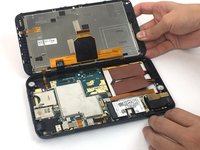
    • Ribbon cables are very sensitive and prone to breaking

    • Disconnect the ribbon cables by unlocking the connector and pulling the cable out slowly.

    • Make sure all the cables are unplugged before opening the device completely. Failure to do so might lead to broken or torn cables.

    댓글 쓰기

  8. Dell Streak 7 Battery Replacement, Headphone Jack: 8 단계, 이미지 1개 중 1개
    • Using the spudger, disconnect the ribbon cable by lifting up on the connector.

    • Ribbon cables are fragile and easily broken.

    댓글 쓰기

  9. Dell Streak 7 Battery Replacement: 9 단계, 이미지 2개 중 1개 Dell Streak 7 Battery Replacement: 9 단계, 이미지 2개 중 2개
    • Pull the headphone jack up, away from the case.

    댓글 쓰기

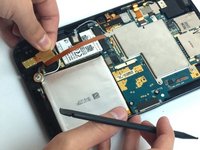
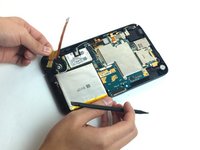
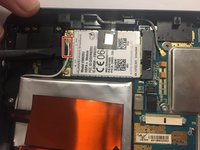
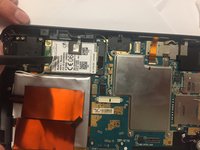
  10. Dell Streak 7 Battery Replacement, GSM Module: 10 단계, 이미지 2개 중 1개 Dell Streak 7 Battery Replacement, GSM Module: 10 단계, 이미지 2개 중 2개
    • With the spudger, disconnect the antenna cable located on the module.

    댓글 쓰기

  11. Dell Streak 7 Battery Replacement: 11 단계, 이미지 2개 중 1개 Dell Streak 7 Battery Replacement: 11 단계, 이미지 2개 중 2개
    이 단계에 사용된 도구:
    Tweezers
    $4.99
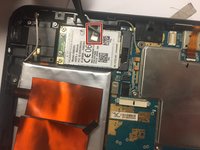
    • Using tweezers, remove the tape connected to the GSM module.

    댓글 쓰기

  12. Dell Streak 7 Battery Replacement: 12 단계, 이미지 2개 중 1개 Dell Streak 7 Battery Replacement: 12 단계, 이미지 2개 중 2개
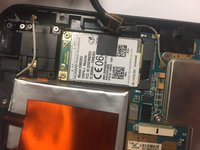
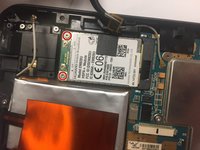
    • Remove the two 3mm screws securing the GSM module. Use the Torx screwdriver.

    댓글 쓰기

  13. Dell Streak 7 Battery Replacement: 13 단계, 이미지 1개 중 1개
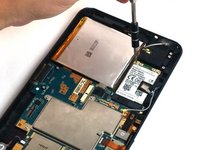
    • Disconnect the GSM module by lifting the module up, out of the case.

    댓글 쓰기

  14. Dell Streak 7 Battery Replacement, Motherboard: 14 단계, 이미지 3개 중 1개 Dell Streak 7 Battery Replacement, Motherboard: 14 단계, 이미지 3개 중 2개 Dell Streak 7 Battery Replacement, Motherboard: 14 단계, 이미지 3개 중 3개
    • Using the spudger, disconnect the front camera by lifting up on the connector.

    댓글 쓰기

  15. Dell Streak 7 Battery Replacement: 15 단계, 이미지 1개 중 1개
    • Using the Torx screwdriver, remove the six 3mm screws .

    댓글 쓰기

  16. Dell Streak 7 Battery Replacement: 16 단계, 이미지 2개 중 1개 Dell Streak 7 Battery Replacement: 16 단계, 이미지 2개 중 2개
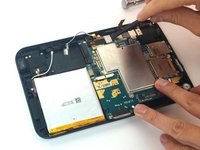
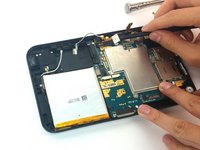
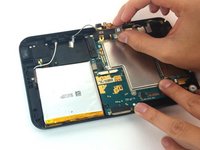
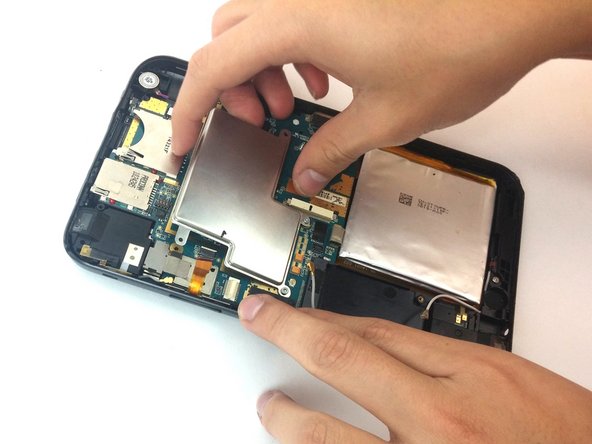
    • Lift up the metal cover.

    댓글 쓰기

  17. Dell Streak 7 Battery Replacement: 17 단계, 이미지 1개 중 1개
    • Use the spudger to lift the vibration motor out of the case.

    댓글 쓰기

  18. Dell Streak 7 Battery Replacement: 18 단계, 이미지 1개 중 1개
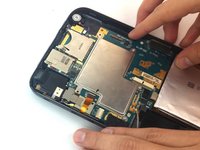
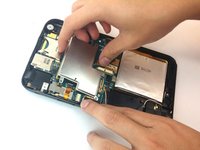
    • Pull out the motherboard and the battery.

    댓글 쓰기

  19. Dell Streak 7 Battery Replacement, Battery: 19 단계, 이미지 2개 중 1개 Dell Streak 7 Battery Replacement, Battery: 19 단계, 이미지 2개 중 2개
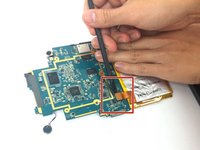
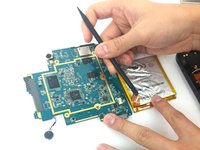
    • Use the spudger to lift up and detach the cable connecting the battery to the motherboard.

    댓글 쓰기

결론

To reassemble your device, follow these instructions in reverse order.

취소: 해당 안내서를 완성하지 않았습니다.

다른 4명이 해당 안내서를 완성하였습니다.

작성자

2다른 기여자 명과 함께

Jair Garcia Varela

회원 가입일: 09/29/16

337 평판

안내서 2개를 작성함

USF Tampa, Team 4-6, Passmore Fall 2016 USF Tampa, Team 4-6, Passmore Fall 2016 회원

USFT-PASSMORE-F16S4G6

3 회원들

안내서 12개를 작성함

0가이드 댓글

댓글 쓰기

조회 통계:

지난 24시간: 0

지난 7일: 3

지난 30일: 23

전체 시간: 1,512