주요 콘텐츠로 건너뛰기

Disassembling Samsung Captivate Glide Phone

필요한 것

  1. Disassembling Samsung Captivate Glide Phone, Phone: 1 단계, 이미지 1/3 Disassembling Samsung Captivate Glide Phone, Phone: 1 단계, 이미지 2/3 Disassembling Samsung Captivate Glide Phone, Phone: 1 단계, 이미지 3/3
    • The Samsung Captivate Glide is fairly easy to take apart and replace any of the modular internal components

  2. Disassembling Samsung Captivate Glide Phone, Battery Removal: 2 단계, 이미지 1/3 Disassembling Samsung Captivate Glide Phone, Battery Removal: 2 단계, 이미지 2/3 Disassembling Samsung Captivate Glide Phone, Battery Removal: 2 단계, 이미지 3/3
    • First remove the battery

  3. Disassembling Samsung Captivate Glide Phone, Unscrewing the Back: 3 단계, 이미지 1/1
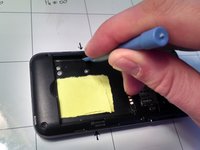
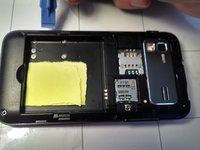
    • Using the Phillips #00 screwdriver remove the seven screws indicated here.

  4. Disassembling Samsung Captivate Glide Phone, Prying Up The Back: 4 단계, 이미지 1/3 Disassembling Samsung Captivate Glide Phone, Prying Up The Back: 4 단계, 이미지 2/3 Disassembling Samsung Captivate Glide Phone, Prying Up The Back: 4 단계, 이미지 3/3
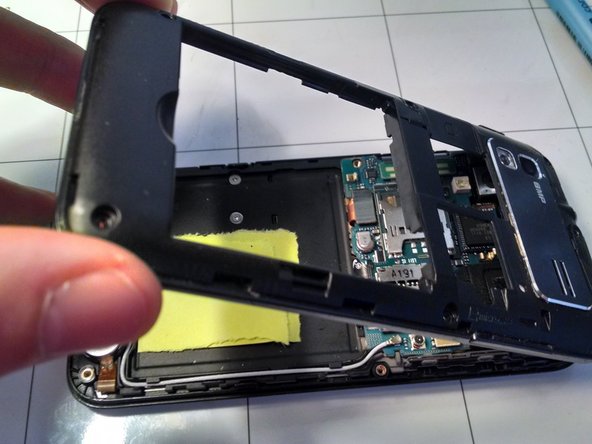
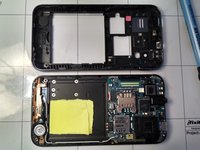
    • Plastic molded clips hold the back panel in place and can be removed by first inserting the plastic opening tool into the indicated locations and prying up to pop the back up.

    • Then using a wider lipped plastic opening tool pry the outside of the housing up and the back will remove cleanly.

  5. Disassembling Samsung Captivate Glide Phone, The Phone's Innards: 5 단계, 이미지 1/3 Disassembling Samsung Captivate Glide Phone, The Phone's Innards: 5 단계, 이미지 2/3 Disassembling Samsung Captivate Glide Phone, The Phone's Innards: 5 단계, 이미지 3/3
    • Shown here are internals of the phone.

  6. Disassembling Samsung Captivate Glide Phone, Motherboard Removal: 6 단계, 이미지 1/3 Disassembling Samsung Captivate Glide Phone, Motherboard Removal: 6 단계, 이미지 2/3 Disassembling Samsung Captivate Glide Phone, Motherboard Removal: 6 단계, 이미지 3/3
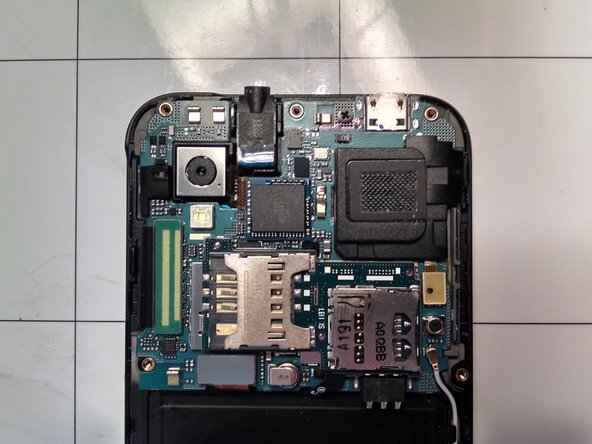
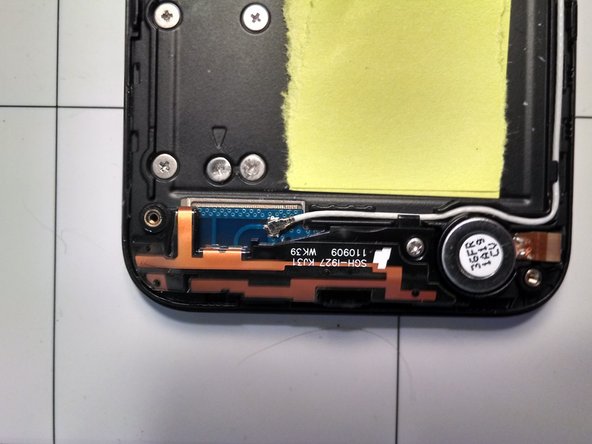
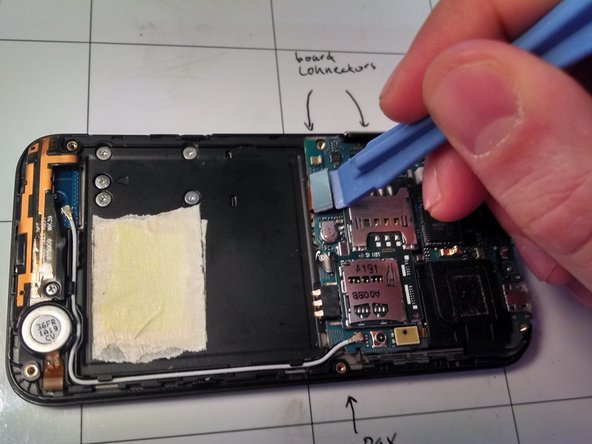
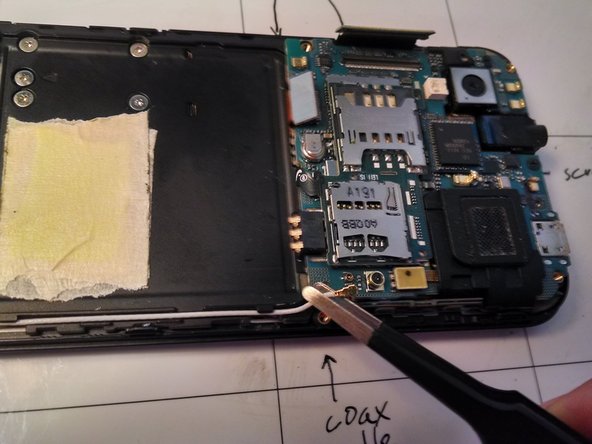
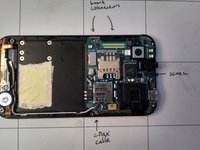
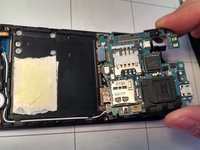
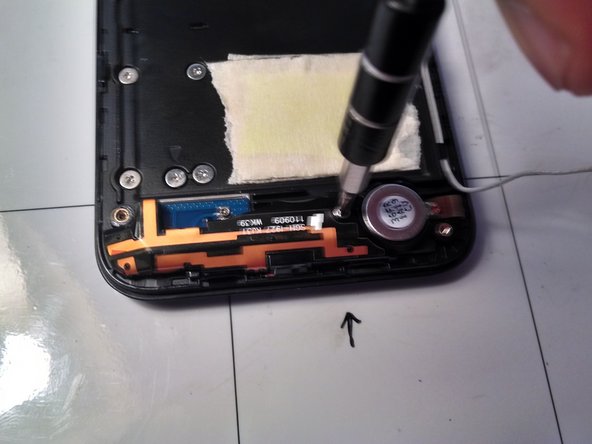
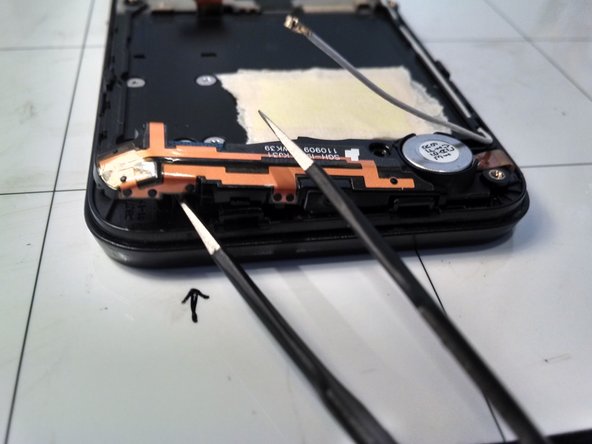
    • In order to remove the motherboard remove a single screw with the phillips #00 screwdriver, gently pry up the two pop connectors on the board, and finally pull off the coaxial cable.

  7. Disassembling Samsung Captivate Glide Phone, Motherboard Removal: 7 단계, 이미지 1/2 Disassembling Samsung Captivate Glide Phone, Motherboard Removal: 7 단계, 이미지 2/2
    • The motherboard comes out of the phone body easily.

  8. Disassembling Samsung Captivate Glide Phone, Daughterboard Removal: 8 단계, 이미지 1/2 Disassembling Samsung Captivate Glide Phone, Daughterboard Removal: 8 단계, 이미지 2/2
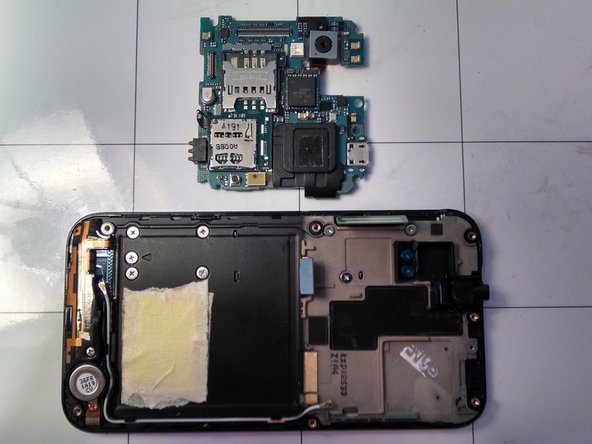
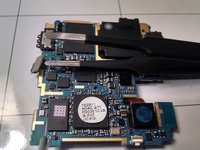
    • The modular pieces of the motherboard are easily removed and replaced as needed.

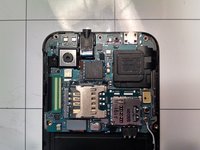
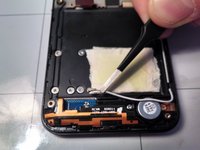
    • First the daughter board containing the SIM card and microSD card can be removed by disconnecting a single pop connector from the board and then gently pry the daughter board up and it will come loose. It is held down to the motherboard by the stamped metal board level shielding cages.

  9. Disassembling Samsung Captivate Glide Phone, Camera Removal: 9 단계, 이미지 1/1
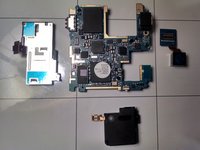
    • The camera can be easily removed from the motherboard by pulling up on the board pop connector.

  10. Disassembling Samsung Captivate Glide Phone, Speaker Removal: 10 단계, 이미지 1/1
    • The speaker is also easily removed by pulling up on the pop connector.

  11. Disassembling Samsung Captivate Glide Phone, The Disassembled Motherboard: 11 단계, 이미지 1/2 Disassembling Samsung Captivate Glide Phone, The Disassembled Motherboard: 11 단계, 이미지 2/2
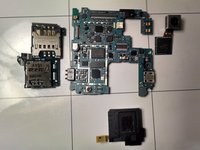
    • Shown here are all the pieces of the motherboard.

  12. Disassembling Samsung Captivate Glide Phone, Antenna Module Removal: 12 단계, 이미지 1/3 Disassembling Samsung Captivate Glide Phone, Antenna Module Removal: 12 단계, 이미지 2/3 Disassembling Samsung Captivate Glide Phone, Antenna Module Removal: 12 단계, 이미지 3/3
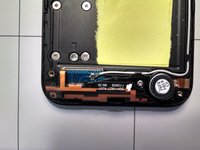
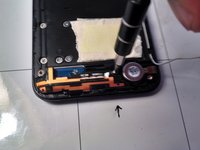
    • The antenna module can be removed by disconnecting the coaxial cable and a single phillips #00 screw.

    • The antenna module can be prying upward at the location indicated.

  13. Disassembling Samsung Captivate Glide Phone, Antenna Module: 13 단계, 이미지 1/1
    • Shown here is the antenna module.

  14. Disassembling Samsung Captivate Glide Phone, Base and Screen: 14 단계, 이미지 1/1
    • The screen and base are shown here.

결론

To reassemble your device, follow these instructions in reverse order.

다른 3명이 해당 안내서를 완성하였습니다.

alcs99

회원 가입일: 09/10/13

5,075 평판

안내서 6개 작성하였습니다

댓글 0개

댓글 쓰기

조회 통계:

24 시간 전: 0

7일 전: 2

30일 전: 8

전체 시간: 3,268