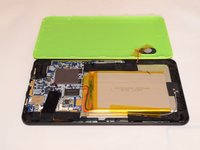
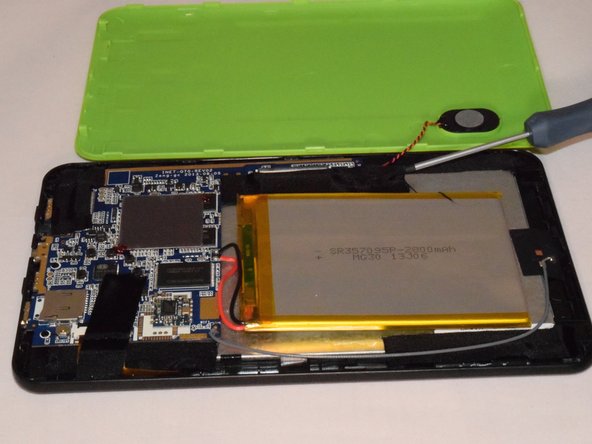
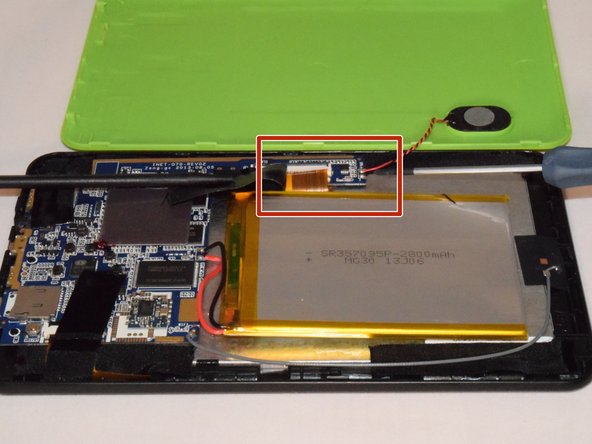
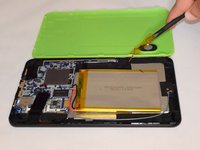
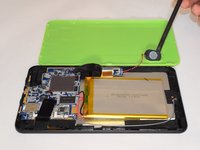
주요 콘텐츠로 건너뛰기
수리 커뮤니티 가입 - 계정 만들기

Ematic EGQ307 Speaker Replacement

필요한 것

  1. Ematic EGQ307 Speaker Replacement, Speaker: 1 단계, 이미지 2개 중 1개 Ematic EGQ307 Speaker Replacement, Speaker: 1 단계, 이미지 2개 중 2개
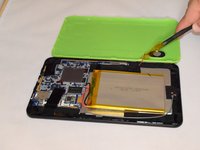
    • There are two screws on the side with the micro USB power port. Remove the two 2mm x 0.5mm screws with a Phillips #0 Screwdriver head.

  2. Ematic EGQ307 Speaker Replacement: 2 단계, 이미지 2개 중 1개 Ematic EGQ307 Speaker Replacement: 2 단계, 이미지 2개 중 2개
    • Pry off the plastic backing with the spudger and the plastic opening tools. Anything that can provide enough leverage and not conduct electricity will also work for this purpose.

    • Carefully separate the front and back plates because the wire that connects the speaker is connected to both the front and back plates.

  3. Ematic EGQ307 Speaker Replacement: 3 단계, 이미지 2개 중 1개 Ematic EGQ307 Speaker Replacement: 3 단계, 이미지 2개 중 2개
    • Once you pry off the plastic backing, you will expose the battery and the motherboard. Then remove the tape on the speaker wire.

    • Carefully separate the front and back plates because the wire that connects the speaker is connected to both the front and back plates.

  4. Ematic EGQ307 Speaker Replacement: 4 단계, 이미지 3개 중 1개 Ematic EGQ307 Speaker Replacement: 4 단계, 이미지 3개 중 2개 Ematic EGQ307 Speaker Replacement: 4 단계, 이미지 3개 중 3개
    • Carefully remove tapes holding speaker in place.

    • Disconnect the speaker wires from the motherboard.

    • When working with device, make sure the battery is dead and there is not plugged in to the charger to limit the risk of shock.

  5. Ematic EGQ307 Speaker Replacement: 5 단계, 이미지 2개 중 1개 Ematic EGQ307 Speaker Replacement: 5 단계, 이미지 2개 중 2개
    • Pry the speaker out of the plastic casing to replace it with the new speaker using the spudger.

    • If replacing the speaker, you will need a soldering kit to reconnect the wires with the new speaker after disconnecting the old speaker.

    • How To Solder and Desolder Connections.

결론

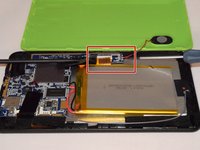
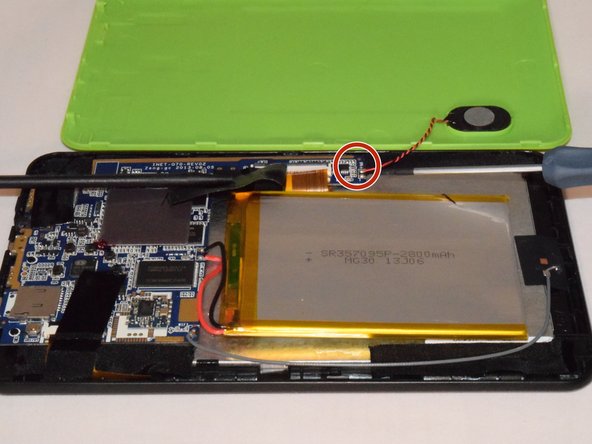
To reassemble your device, follow these instructions in reverse order, note you will need to solder for this replacement.

작성자

4다른 기여자 명과 함께

Jonathan Scinto

회원 가입일: 07/21/15

530 평판

안내서 4개를 작성함

0가이드 댓글

댓글 쓰기

조회 통계:

지난 24시간: 1

지난 7일: 15

지난 30일: 47

전체 시간: 485