소개
If the screen is cracked or damaged it may need to be replaced. This guide will show the user how to easily and safely replace the screen.
필요한 것
-
-
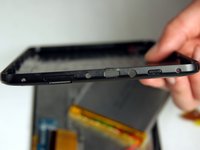
Unscrew the two (2) 1.3mm Phillips #00 screws found on the bottom edge of the tablet, where the power and volume buttons are located.
 FixBot에 문의하기
-
-
-
Insert plastic opening tool into the edge between the screen plate and the back plate to create a separation between the casings.
-
Insert the flat end of the spudger next to the plastic opening tool and carefully pry the edges apart. Continue this all around the edges until the casings separate.
-
-
-
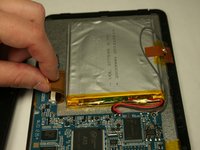
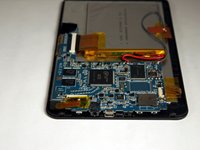
Lift up the two pieces of tape holding the copper plate and the connector ribbon to the battery. Gently hold or place away from the battery.
-
-
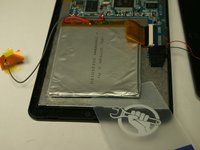
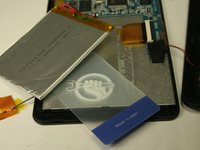
이 단계에 사용된 도구:Plastic Cards$2.99
-
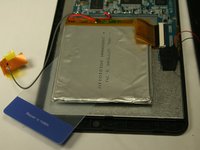
Using a plastic card, gently break the adhesive that holds the battery to the metal screen plate.
-
-
-
-
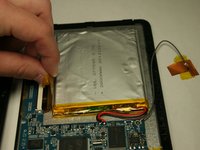
If replacing the battery, disconnect the wires that connect the battery to the motherboard.
-
If not replacing the battery, do NOT disconnect the wires.
-
-
-
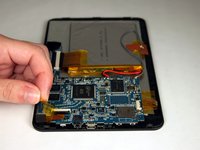
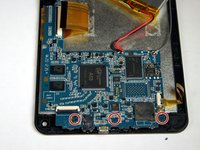
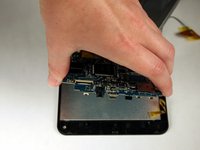
Once the panels are separated, remove the tape holding down the ribbon connector that is connecting the camera to the motherboard.
-
-
-
Lift up the black lever of the connector that holds the camera ribbon in place.
-
-
-
Gently pull the ribbon out of the connector and lift the camera out of the casing.
-
-
-
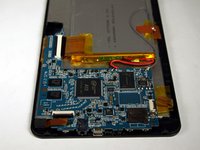
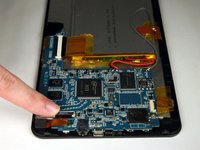
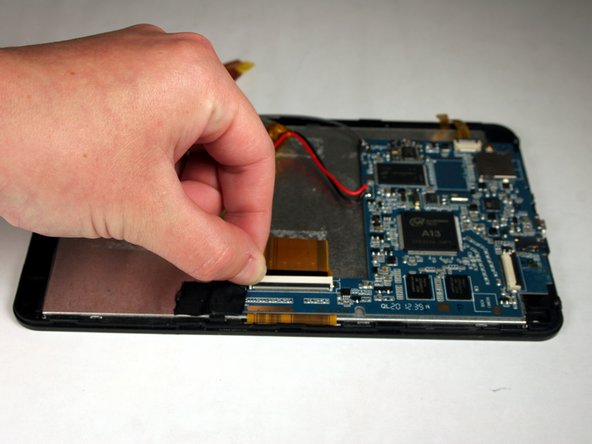
Once battery is removed, flip up the black lever of the connector that is holding the wide ribbon in place for the screen. Remove the ribbon from the connector.
-
-
-
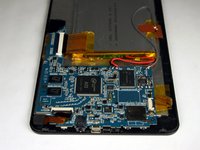
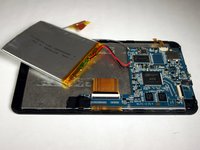
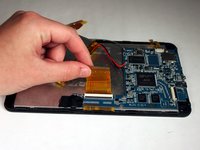
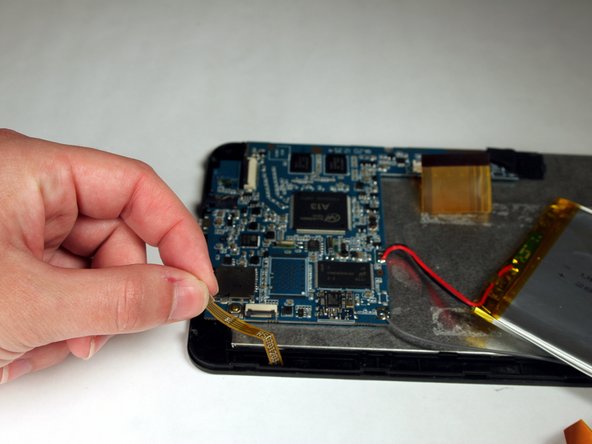
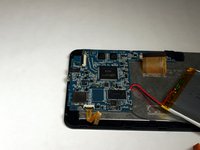
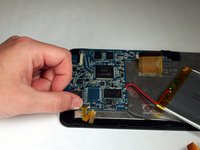
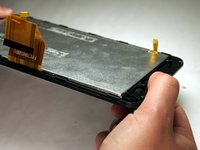
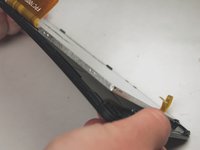
Rotate the tablet 180 degrees and flip up the black lever of the connector holding the small, yellow ribbon. Remove ribbon from the connector.
-
-
-
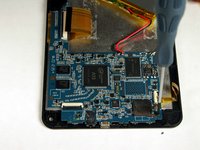
Rotate the tablet 90 degrees and remove the three (3) 1.3 mm Phillips #00 screws that hold the motherboard in place.
-
-
-
Lift up the tape that covers the speaker wires and holds the motherboard in place.
-
-
-
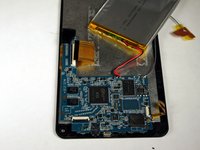
With the motherboard detached from the screen plate, there is now access to the electrical components under the motherboard and the mechanical button components on the back plate.
-
-
-
Once the battery and motherboard have been removed, gently bend the screen plate to pop out the metal digitizer that sits on the glass and plastic screen.
-


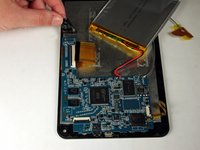


To reassemble your device, follow these instructions in reverse order.
다른 한 분이 해당 안내서를 완성하였습니다.
팀

Baylor, Team 4-3, Williams Spring 2015 Baylor, Team 4-3, Williams Spring 2015 회원
BU-WILLIAMS-S15S4G3
3 회원들
안내서 12개를 작성함