주요 콘텐츠로 건너뛰기
수리 커뮤니티 가입 - 계정 만들기

Ematic eGlide 4 Motherboard Replacement

필요한 것

    1. Ematic eGlide 4 Motherboard Replacement, Rear Panel: 1 단계, 이미지 1개 중 1개
      • Remove the 4.6mm Phillips #00 screw at the base of the device.

      댓글 쓰기

    2. Ematic eGlide 4 Motherboard Replacement: 2 단계, 이미지 1개 중 1개
      • Slide the rear panel away from the base parallel to the screen.

      댓글 쓰기

    3. Ematic eGlide 4 Motherboard Replacement: 3 단계, 이미지 2개 중 1개 Ematic eGlide 4 Motherboard Replacement: 3 단계, 이미지 2개 중 2개
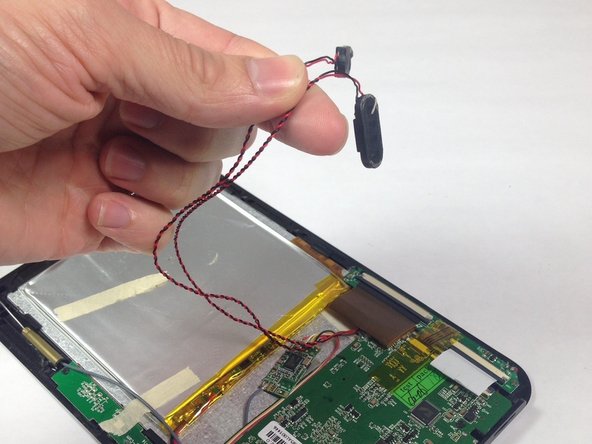
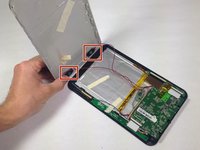
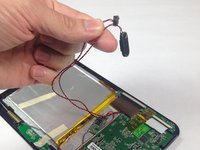
      • Carefully remove the speakers from the rear panel.

      • Pull the speakers off of the rear panel.

      댓글 쓰기

    1. Ematic eGlide 4 Motherboard Replacement, Speaker: 4 단계, 이미지 1개 중 1개

      댓글 쓰기

    1. Ematic eGlide 4 Motherboard Replacement, Motherboard: 5 단계, 이미지 1개 중 1개
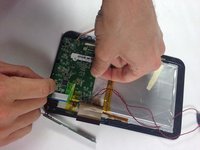
      • Slide the grey ribbon wire connector clip away from the ribbon wire port on the motherboard using the pointed tip of a spudger.

      • You do not need to fully disconnect the ribbon wire clip from the ribbon wire port: the clip will stay attached in a loose fit.

      • Remove the gold ribbon wire from the ribbon wire port on the motherboard.

      댓글 쓰기

    2. Ematic eGlide 4 Motherboard Replacement: 6 단계, 이미지 1개 중 1개
      • Slide the grey ribbon wire connector clip away from the white ribbon wire port on the screen board using the pointed tip of a spudger.

      • You do not need to fully disconnect the ribbon wire clip from the ribbon wire port: the clip will stay attached in a loose fit.

      • Remove the ribbon wire from the ribbon wire port on the screen board.

      댓글 쓰기

    3. Ematic eGlide 4 Motherboard Replacement: 7 단계, 이미지 1개 중 1개
      • Slide the grey ribbon wire connector clip away from the ribbon wire port using the pointed tip of a spudger.

      • You do not need to fully disconnect the ribbon wire clip from the ribbon wire port: the clip will stay attached in a loose fit.

      • Remove the ribbon wire from the ribbon wire port.

      • If you have already removed the side button array you do not need to do this step.

      댓글 쓰기

    4. Ematic eGlide 4 Motherboard Replacement: 8 단계, 이미지 1개 중 1개
      • Remove the 2 Phillips #00 4.5 mm screws from the motherboard.

      댓글 쓰기

    5. Ematic eGlide 4 Motherboard Replacement: 9 단계, 이미지 1개 중 1개
      • Desolder the Wi-Fi Adaptor

      • If not replacing the motherboard or Wi-Fi Adaptor, omit this step

      • See ifixit's guide to soldering and desoldering for help: How to Solder and Desolder Connections

      댓글 쓰기

    6. Ematic eGlide 4 Motherboard Replacement: 10 단계, 이미지 1개 중 1개
      • Desolder the battery connections

      • If not replacing the motherboard or battery, omit this step

      • See ifixit's guide to soldering and desoldering for help: How to Solder and Desolder Connections

      댓글 쓰기

    7. Ematic eGlide 4 Motherboard Replacement: 11 단계, 이미지 2개 중 1개 Ematic eGlide 4 Motherboard Replacement: 11 단계, 이미지 2개 중 2개
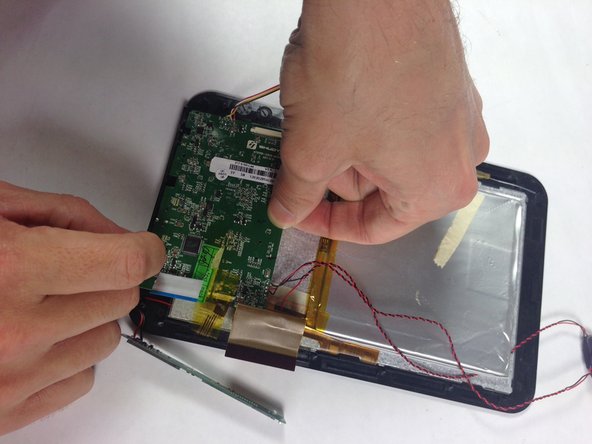
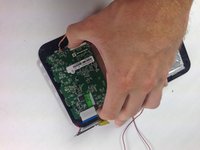
      • Slide and pull the motherboard out of its current position, so that the ports disconnect from the device.

      • Lift the motherboard out of the device.

      댓글 쓰기

결론

To reassemble your device, follow these instructions in reverse order.

취소: 해당 안내서를 완성하지 않았습니다.

다른 한 분이 해당 안내서를 완성하였습니다.

작성자

4다른 기여자 명과 함께

Bailey Hughes

회원 가입일: 03/22/15

617 평판

안내서 6개를 작성함

Baylor, Team 5-8, Williams Spring 2015 Baylor, Team 5-8, Williams Spring 2015 회원

BU-WILLIAMS-S15S5G8

3 회원들

안내서 6개를 작성함

0가이드 댓글

댓글 쓰기

조회 통계:

지난 24시간: 3

지난 7일: 12

지난 30일: 24

전체 시간: 625