
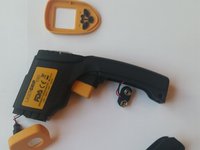
Etekcity Lasergrip 1080 Laser Replacement
This will teach you to uninstall and reinstall a laser from the motherboard. This is needed if the laser stops working and cannot be turned on by pressing the button to do so. The tools required will be a screwdriver and a soldering iron. The soldering iron is hot and may cause a potential hazard. For those who are uncomfortable soldering, there is a link to a soldering guide in the Troubleshooting section of the device page.


To reassemble your device, follow these instructions in reverse order.
To reassemble your device, follow these instructions in reverse order.
팀

USF Tampa, Team 5-1, Blackwell Fall 2015 USF Tampa, Team 5-1, Blackwell Fall 2015 회원
USFT-BLACKWELL-F15S5G1
3 회원들
안내서 9개를 작성함