
Fujitsu LifeBook N3510 Hard Drive Replacement
5 - 10 분
쉬움
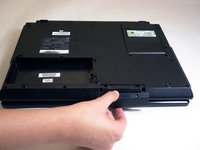
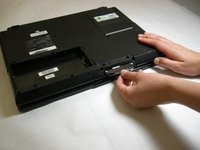
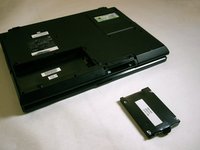
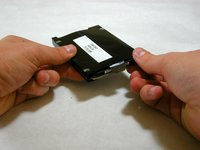
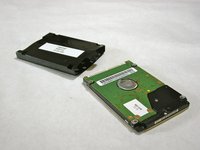
You can install a new hard drive in your computer.


거의 끝나갑니다!
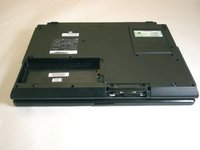
To reassemble your device, follow these instructions in reverse order.
결론
To reassemble your device, follow these instructions in reverse order.
다른 4명이 해당 안내서를 완성하였습니다.
팀

Cal Poly, Team 5-18, Amido Winter 2011 Cal Poly, Team 5-18, Amido Winter 2011 회원
CPSU-AMIDO-W11S5G18
3 회원들
안내서 22개를 작성함