주요 콘텐츠로 건너뛰기
수리 커뮤니티 가입 - 계정 만들기

Garmin Nuvi 42LM Screen Replacement

필요한 것

  1. Garmin Nuvi 42LM Screen Replacement, Back Cover: 1 단계, 이미지 3개 중 1개 Garmin Nuvi 42LM Screen Replacement, Back Cover: 1 단계, 이미지 3개 중 2개 Garmin Nuvi 42LM Screen Replacement, Back Cover: 1 단계, 이미지 3개 중 3개
    • Remove the four screws on the back of the GPS using the T5 Torx screwdriver.

    댓글 쓰기

  2. Garmin Nuvi 42LM Screen Replacement: 2 단계, 이미지 3개 중 1개 Garmin Nuvi 42LM Screen Replacement: 2 단계, 이미지 3개 중 2개 Garmin Nuvi 42LM Screen Replacement: 2 단계, 이미지 3개 중 3개
    • Pry the GPS open using a plastic opening tool.

    • When prying open the device, use caution to avoid damaging the motherboard.

    댓글 쓰기

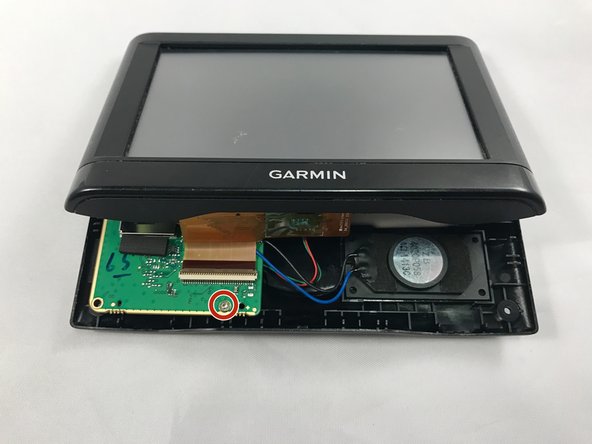
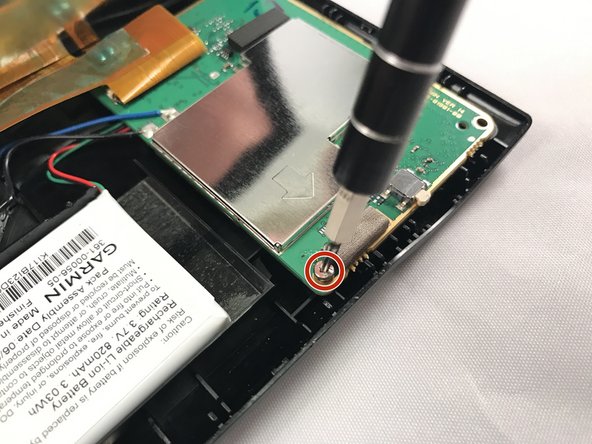
  3. Garmin Nuvi 42LM Screen Replacement, Motherboard: 3 단계, 이미지 3개 중 1개 Garmin Nuvi 42LM Screen Replacement, Motherboard: 3 단계, 이미지 3개 중 2개 Garmin Nuvi 42LM Screen Replacement, Motherboard: 3 단계, 이미지 3개 중 3개
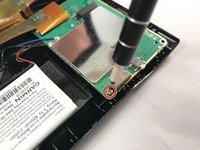
    • Using the T5 Torx screwdriver, remove the two screws located on the motherboard.

    • There are two screws - one in the back and one in the front.

    댓글 쓰기

  4. Garmin Nuvi 42LM Screen Replacement: 4 단계, 이미지 1개 중 1개
    • Move the motherboard from from its designated location on the GPS.

    • Do not pull on red, green, and black cables when repositioning the motherboard.

    댓글 쓰기

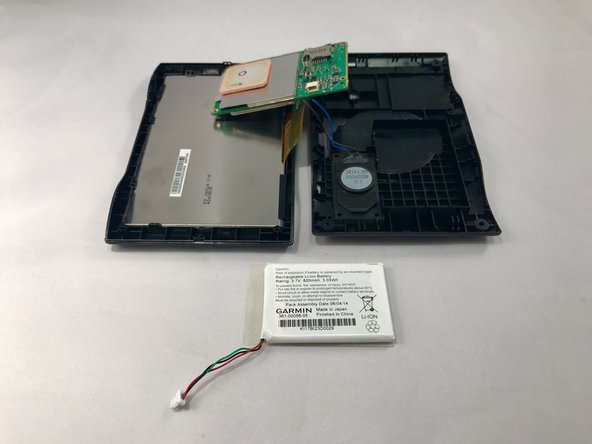
  5. Garmin Nuvi 42LM Screen Replacement: 5 단계, 이미지 2개 중 1개 Garmin Nuvi 42LM Screen Replacement: 5 단계, 이미지 2개 중 2개
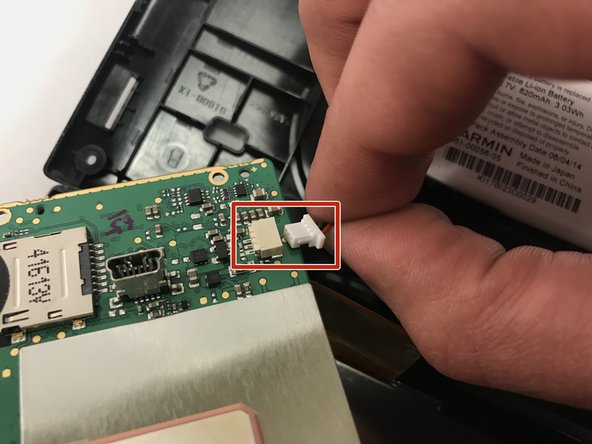
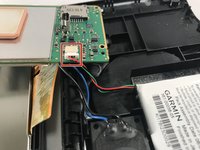
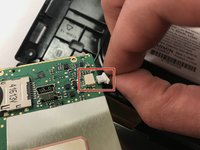
    • Gently unplug the red, green, and black bundled cable to remove the battery.

    댓글 쓰기

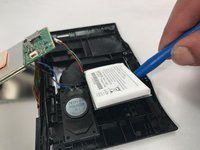
  6. Garmin Nuvi 42LM Screen Replacement: 6 단계, 이미지 2개 중 1개 Garmin Nuvi 42LM Screen Replacement: 6 단계, 이미지 2개 중 2개
    • Use blue plastic opening tool to carefully pry the battery from the GPS.

    • You might need to use additional force when prying because there is adhesive glue on the back of the battery.

    댓글 쓰기

  7. Garmin Nuvi 42LM Screen Replacement: 7 단계, 이미지 1개 중 1개
    • Using a soldering iron, desolder the black and blue wires connected to the motherboard.

    • Once the black and blue wires are desoldered, llift the motherboard out and away from the device.

    • Check out this awesome guide on how to solder and desolder connections.

    댓글 쓰기

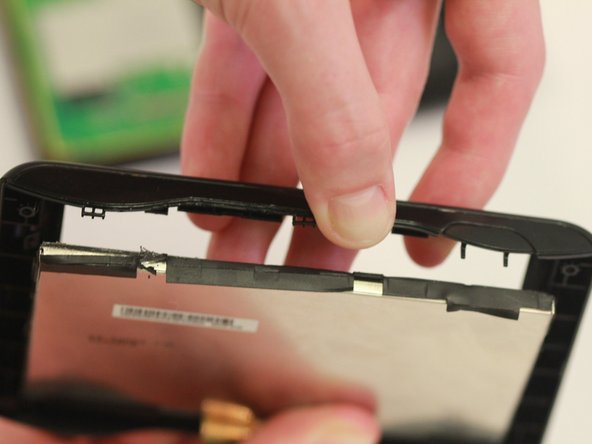
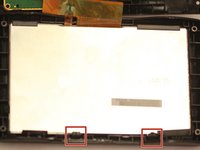
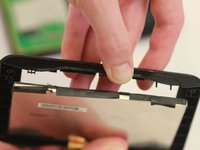
  8. Garmin Nuvi 42LM Screen Replacement, Screen: 8 단계, 이미지 2개 중 1개 Garmin Nuvi 42LM Screen Replacement, Screen: 8 단계, 이미지 2개 중 2개
    • Push out the screen by pulling back the black clips.

    • The screen is attached to the motherboard and needs to be replaced with it.

    댓글 쓰기

결론

To reassemble your device, follow these instructions in reverse order.

취소: 해당 안내서를 완성하지 않았습니다.

다른 2명이 해당 안내서를 완성하였습니다.

작성자

3다른 기여자 명과 함께

Elina Zhukov

회원 가입일: 01/18/17

558 평판

안내서 5개를 작성함

1가이드 댓글

Where do I purchase the screen for the Nuvi 42LM?

DR ROGER BROWNE - 답글 공유

댓글 쓰기

조회 통계:

지난 24시간: 3

지난 7일: 5

지난 30일: 22

전체 시간: 705