주요 콘텐츠로 건너뛰기
Gateway 600YGR  DVD Disc Drive Replacement

Gateway 600YGR DVD Disc Drive Replacement

123

1232 다른 기여자

최종 수정일 June 1, 2019

45 초
매우 쉬움

This guide provides the step by step directions for removing and replacing a damaged DVD disk drive. There are no prerequisite guides that need to be completed in order to use this guide. There are no tools required to complete this guide.

필요한 것

iFixit은 귀하가 이 링크를 통해 구매할 때 커미션을 받습니다.
  1. Gateway 600YGR  DVD Disc Drive Replacement, DVD Disc Drive: 1 단계, 이미지 3개 중 1개 Gateway 600YGR  DVD Disc Drive Replacement, DVD Disc Drive: 1 단계, 이미지 3개 중 2개 Gateway 600YGR  DVD Disc Drive Replacement, DVD Disc Drive: 1 단계, 이미지 3개 중 3개
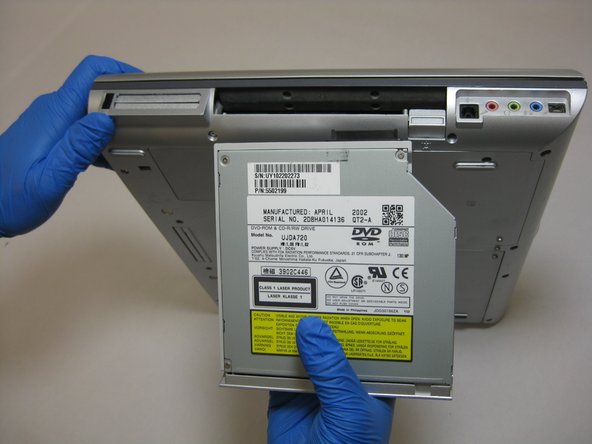
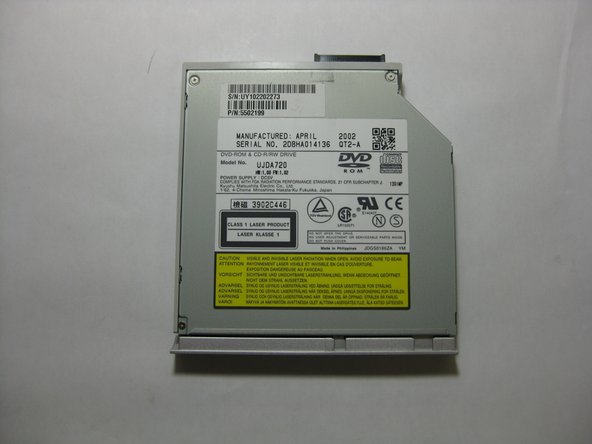
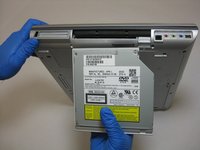
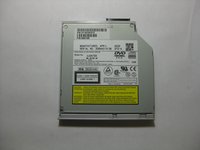
    • Turn your device over so the bottom is face up and locate the DVD disc drive.

  2. Gateway 600YGR  DVD Disc Drive Replacement: 2 단계, 이미지 2개 중 1개 Gateway 600YGR  DVD Disc Drive Replacement: 2 단계, 이미지 2개 중 2개
    • Slide the tab indicated in red to the right.

    • Simultaneously push the button indicated in orange.

    • The DVD disk drive should partially eject itself.

  3. Gateway 600YGR  DVD Disc Drive Replacement: 3 단계, 이미지 3개 중 1개 Gateway 600YGR  DVD Disc Drive Replacement: 3 단계, 이미지 3개 중 2개 Gateway 600YGR  DVD Disc Drive Replacement: 3 단계, 이미지 3개 중 3개
    • Pull the DVD disk drive out.

    • For reinstallation slide new DVD disc drive into slot until a click is heard.

결론

To reassemble your device, follow these instructions in reverse order.

댓글 0개

댓글 쓰기

조회 통계:

지난 24시간: 0

지난 7일: 0

지난 30일: 0

전체 시간: 204